

How To Install Brick Pavers On Concrete Steps
DIY: How To Install Pavers Over One-time Concrete
When we shared that we were covering our old concrete walkway with $1 pavers from Lowe'southward, yous guys had LOTS of questions. We're excited to share a full tutorial with aaaall the deets. Let'south swoop in!
This postal service is sponsored by Lowe'due south.
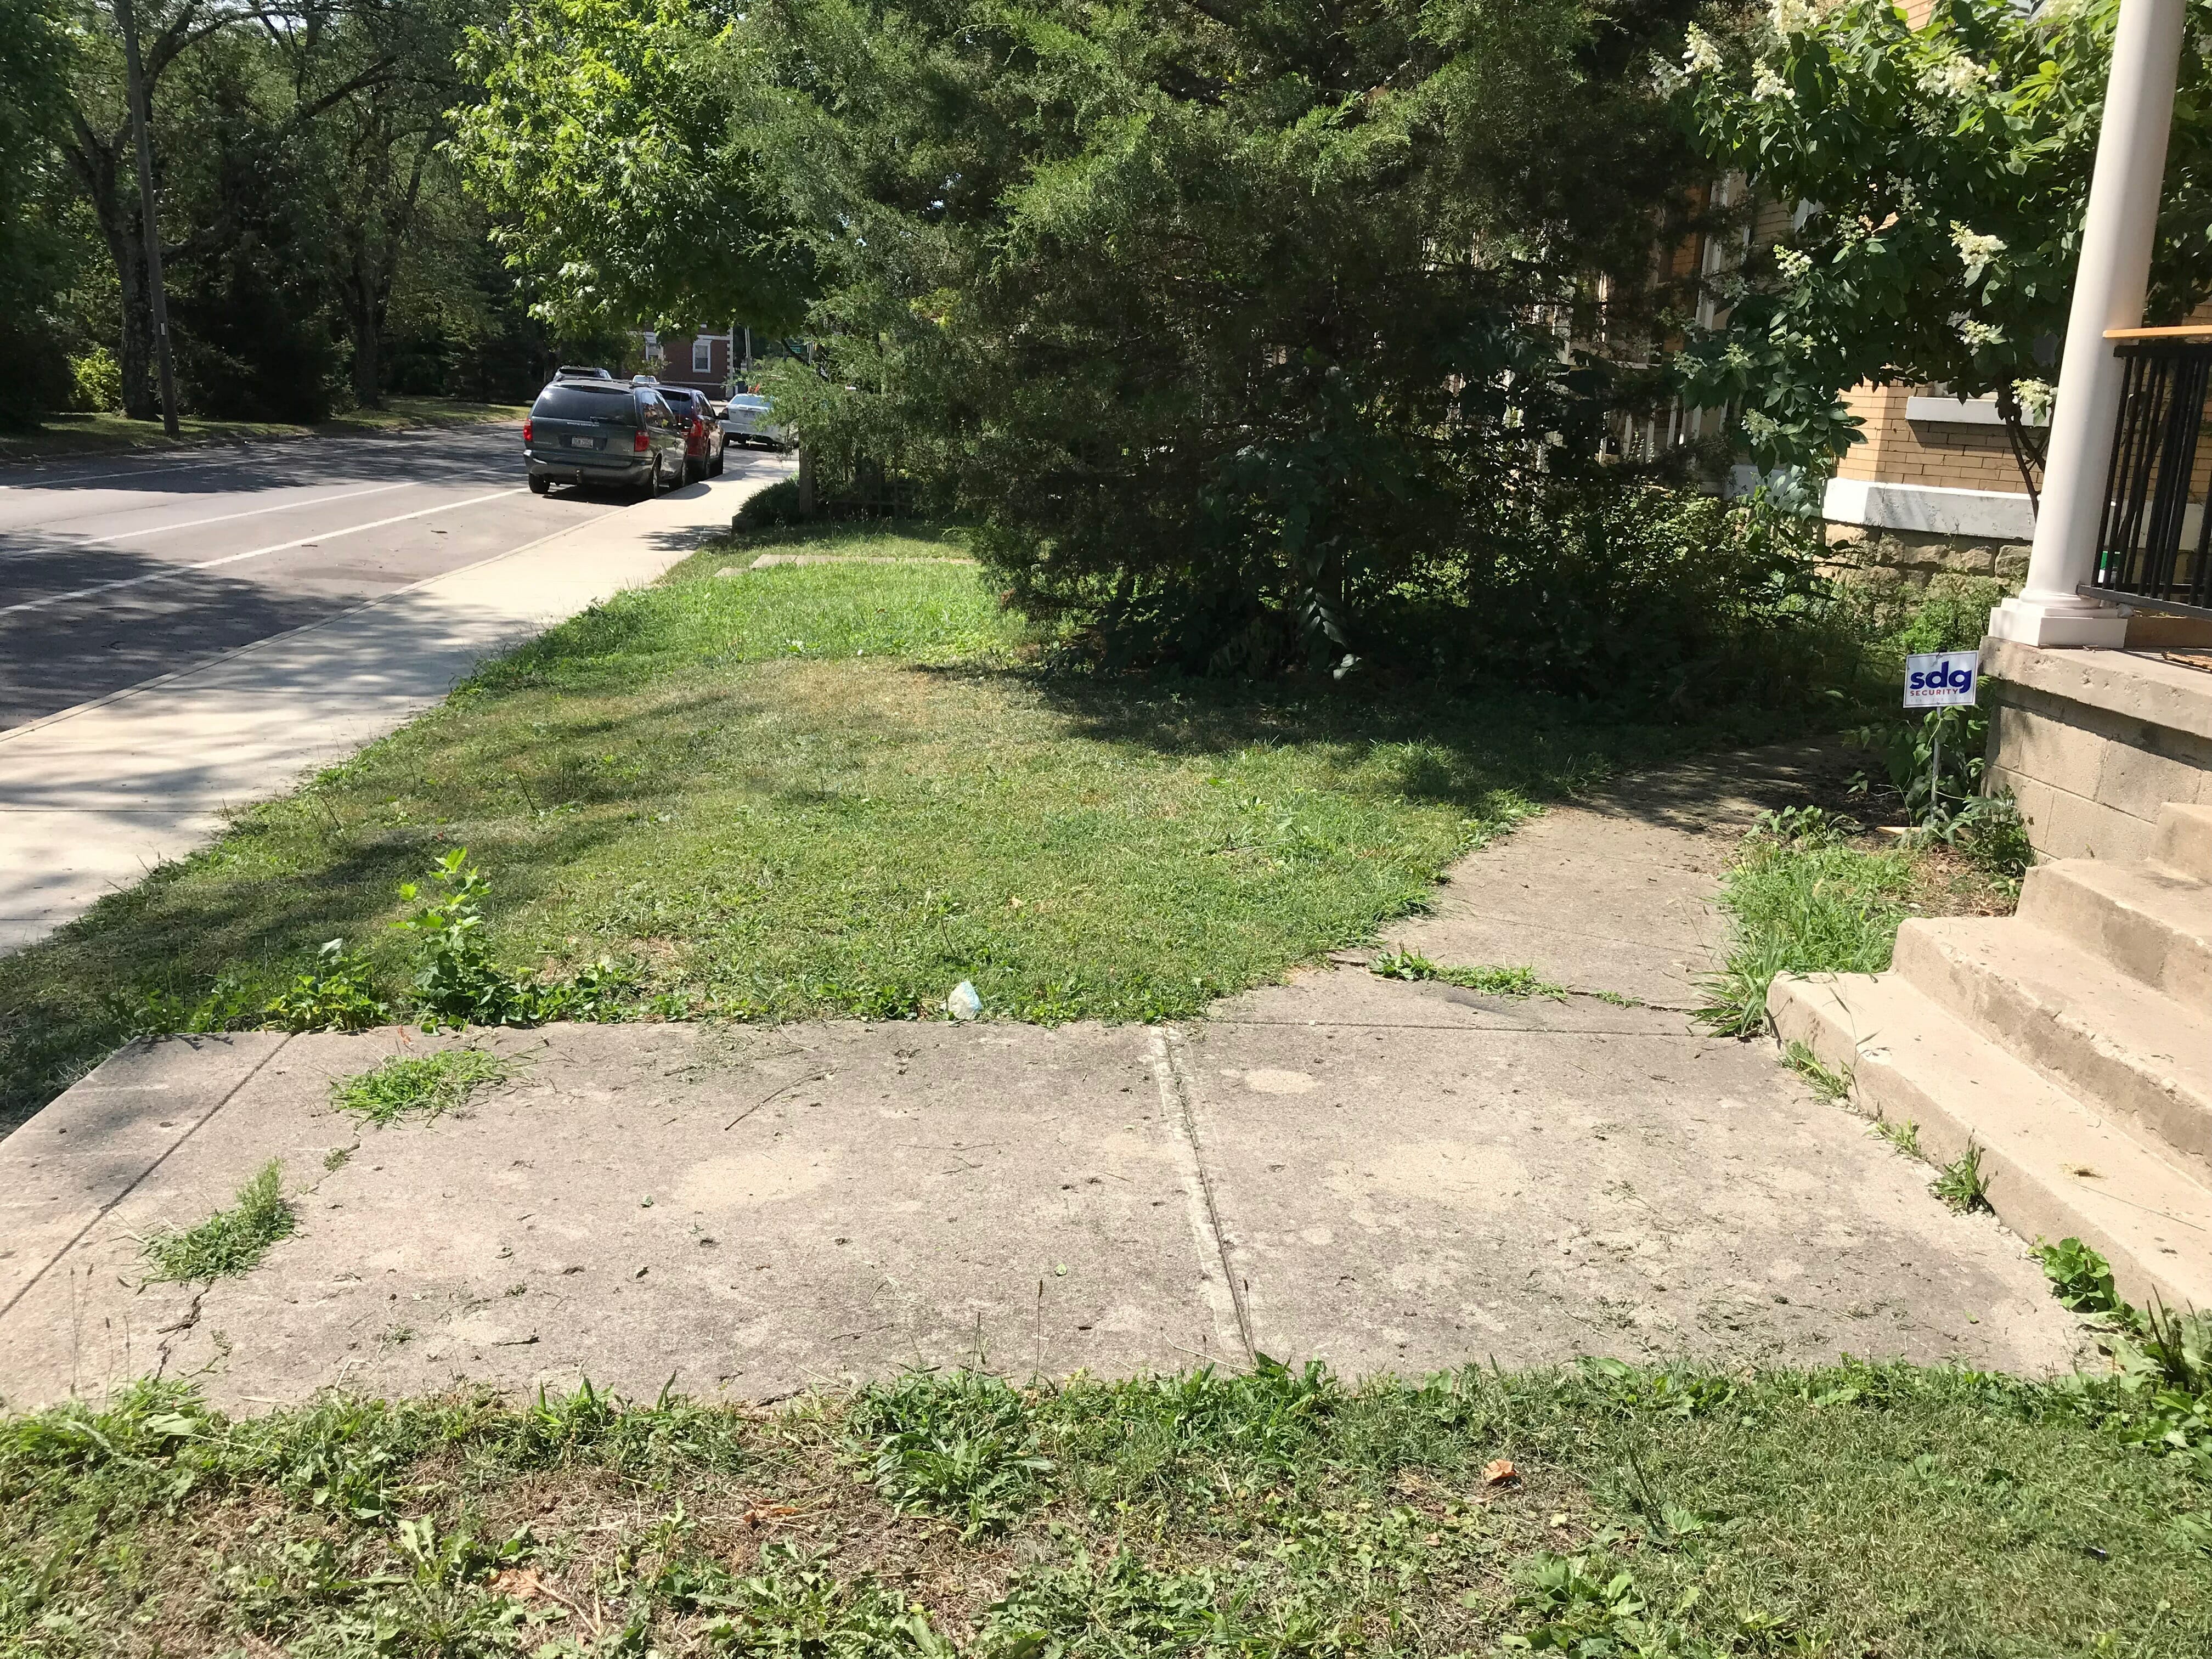
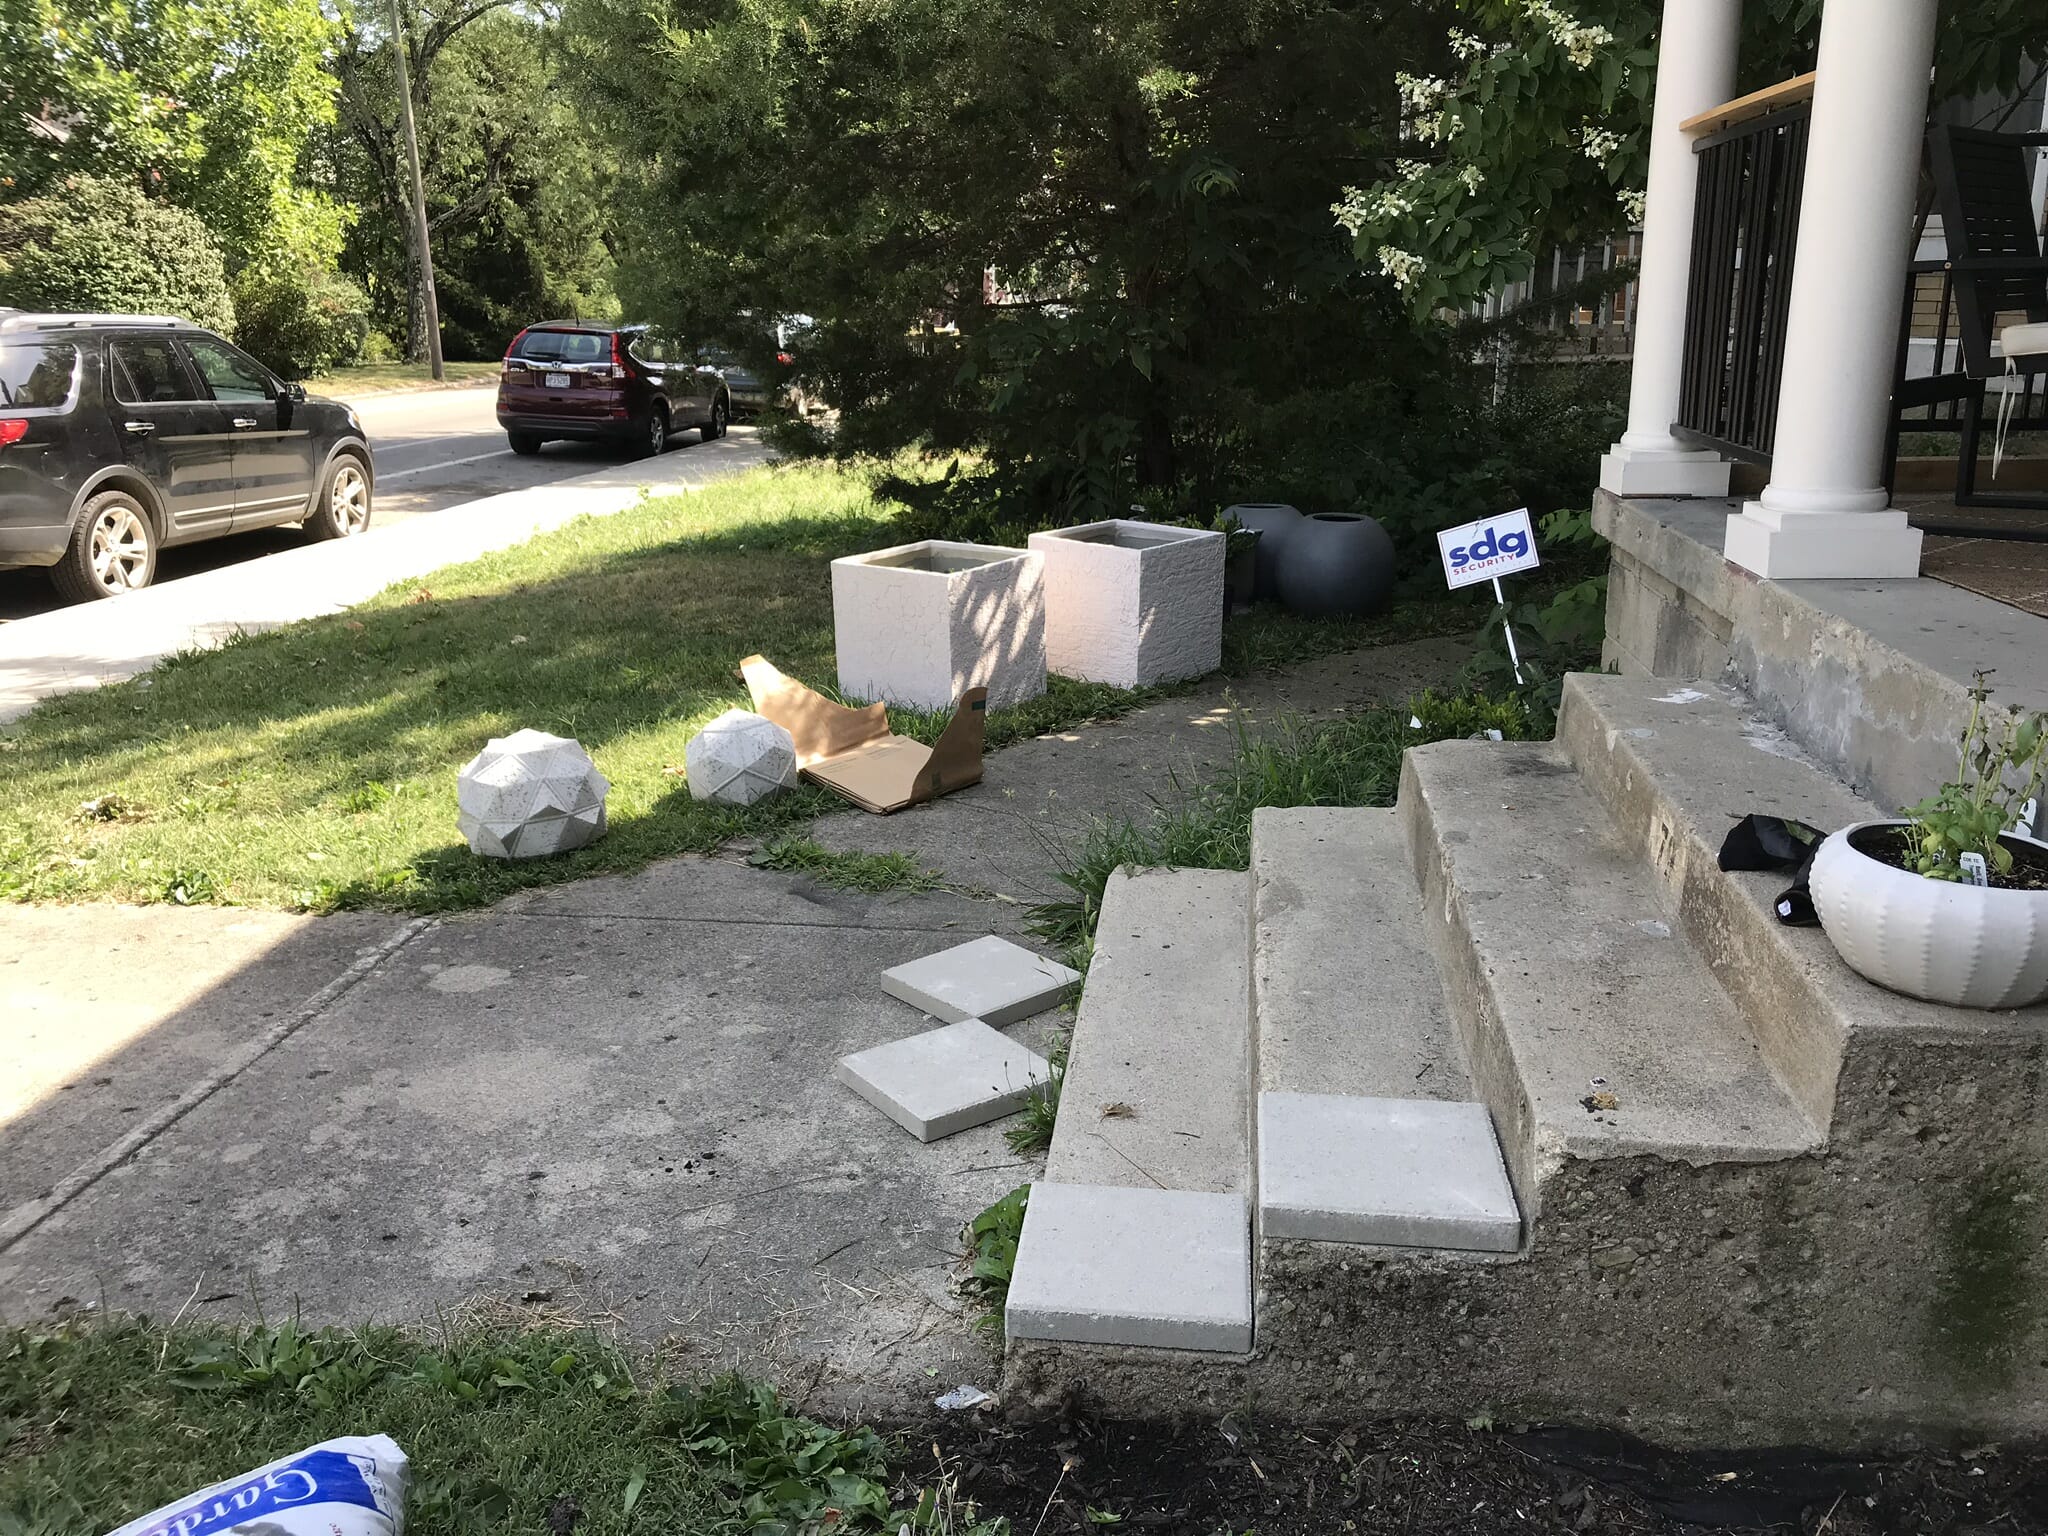
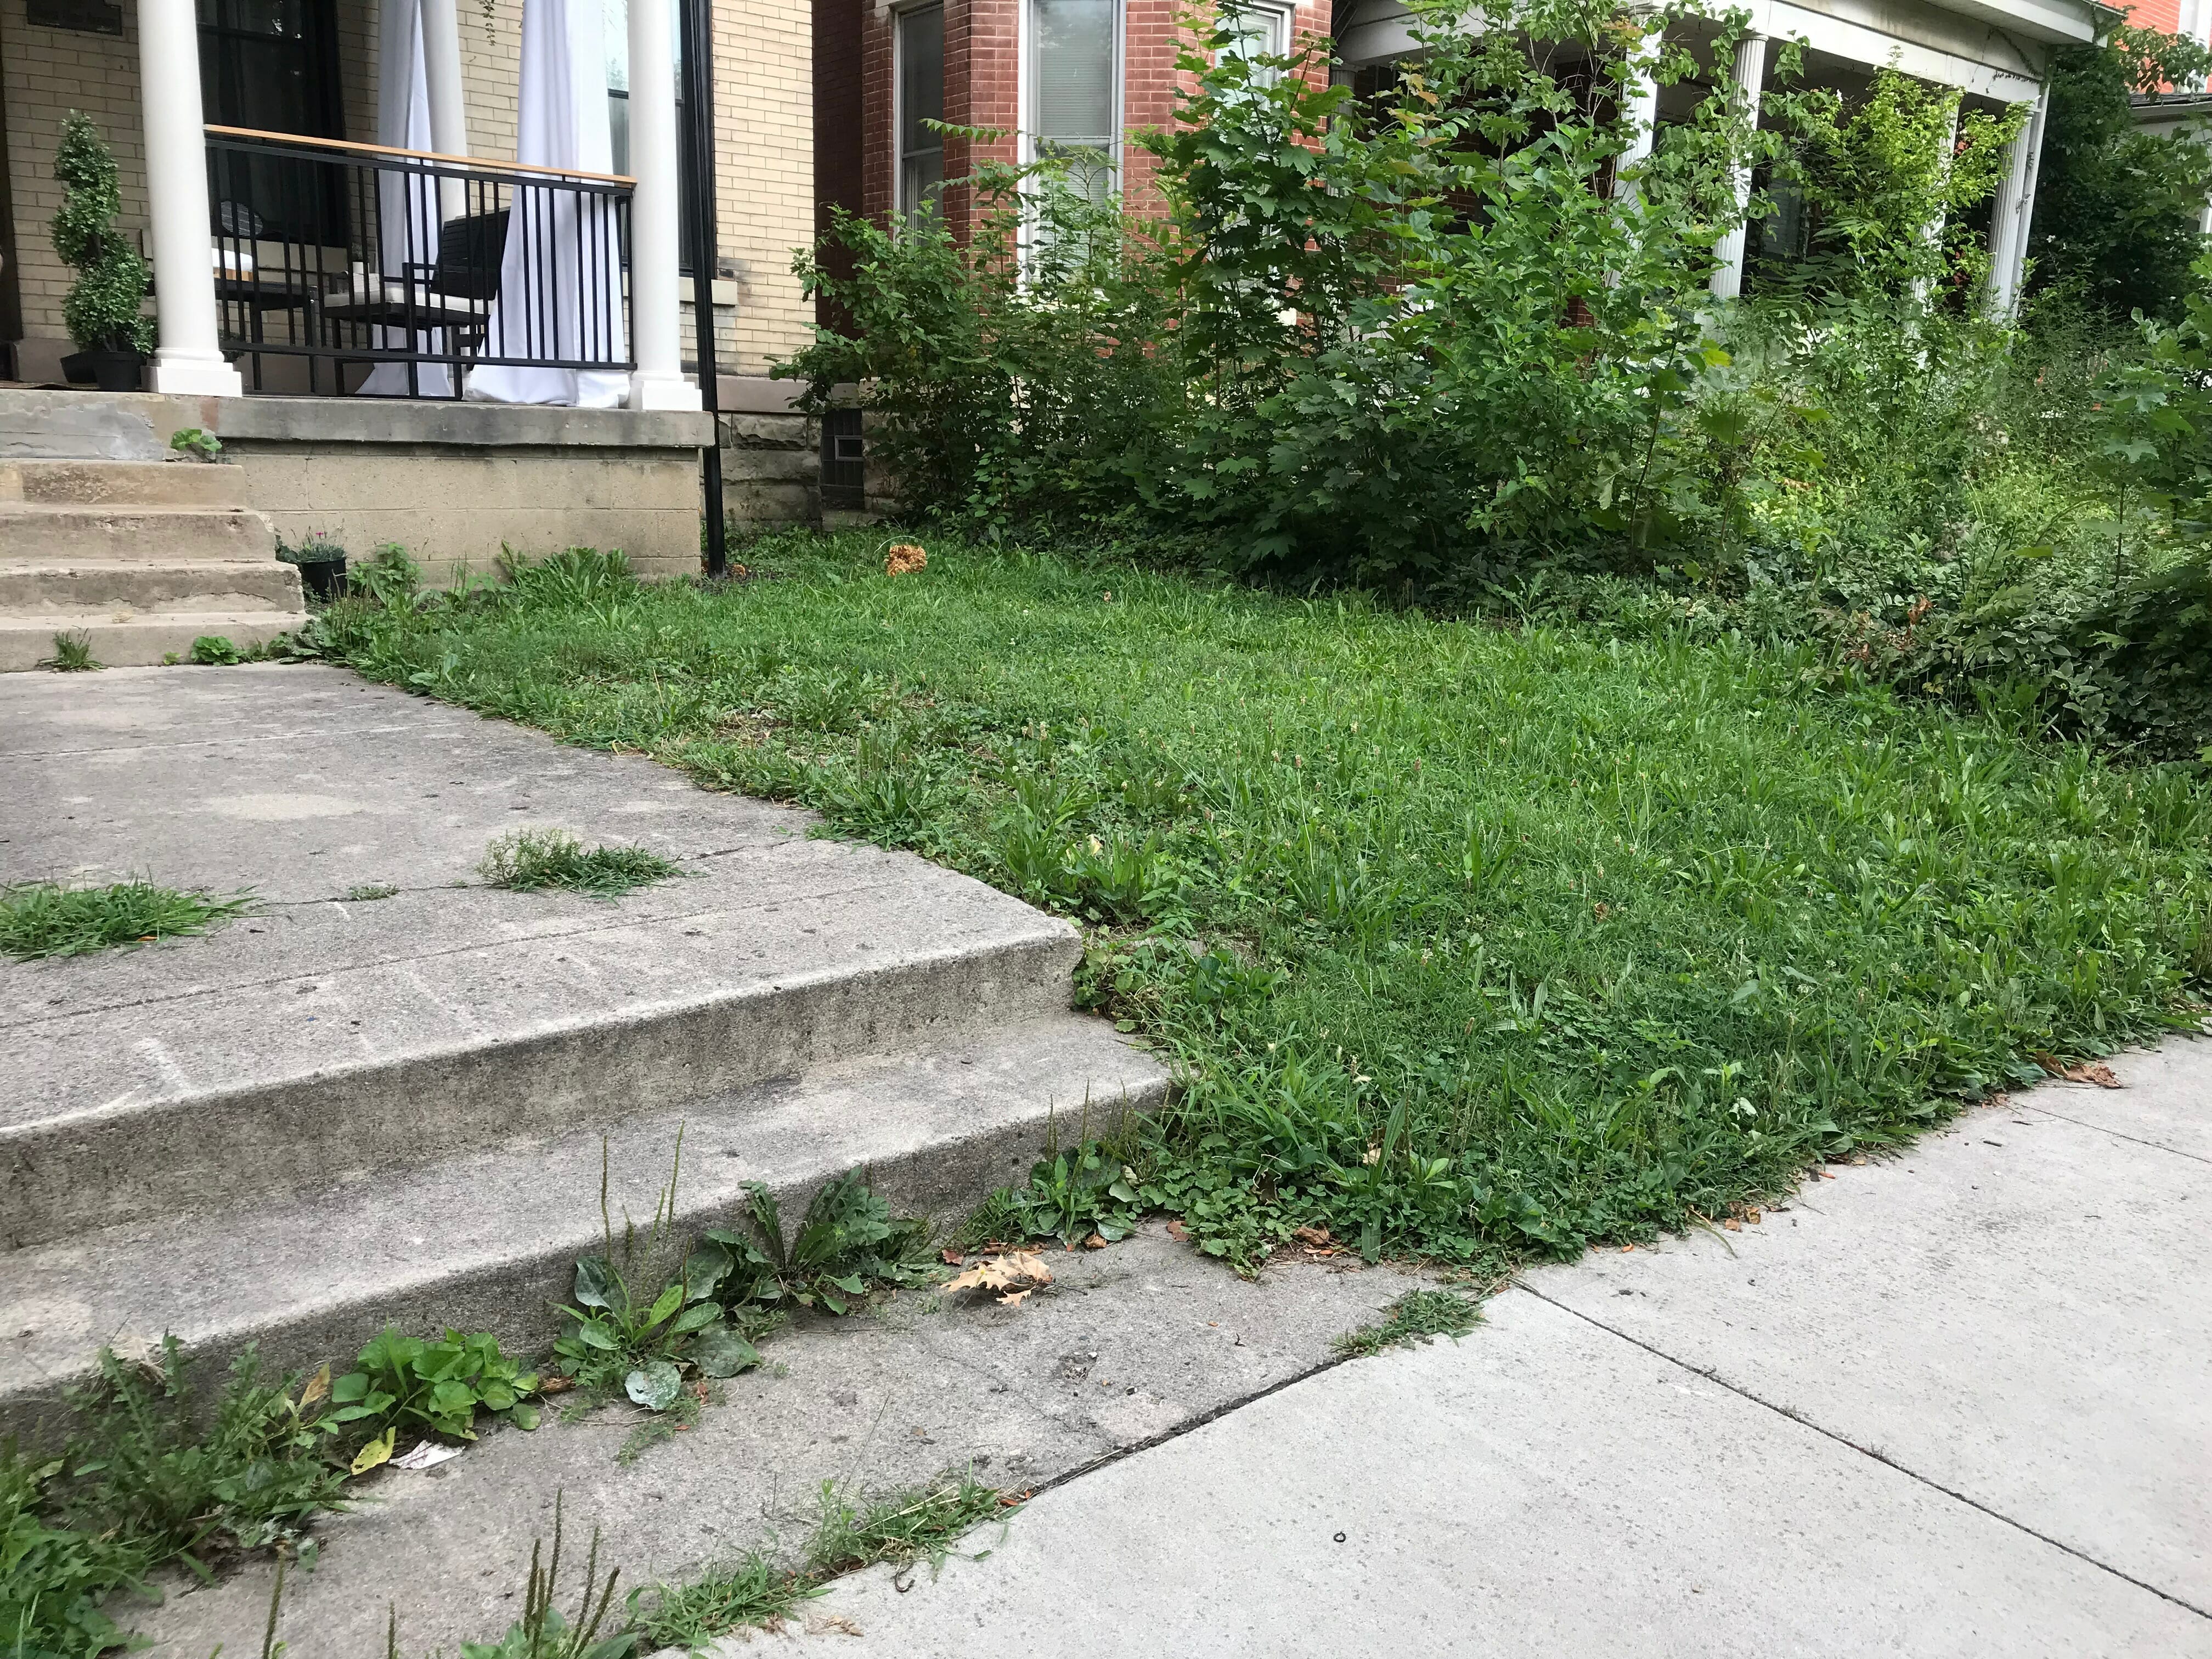
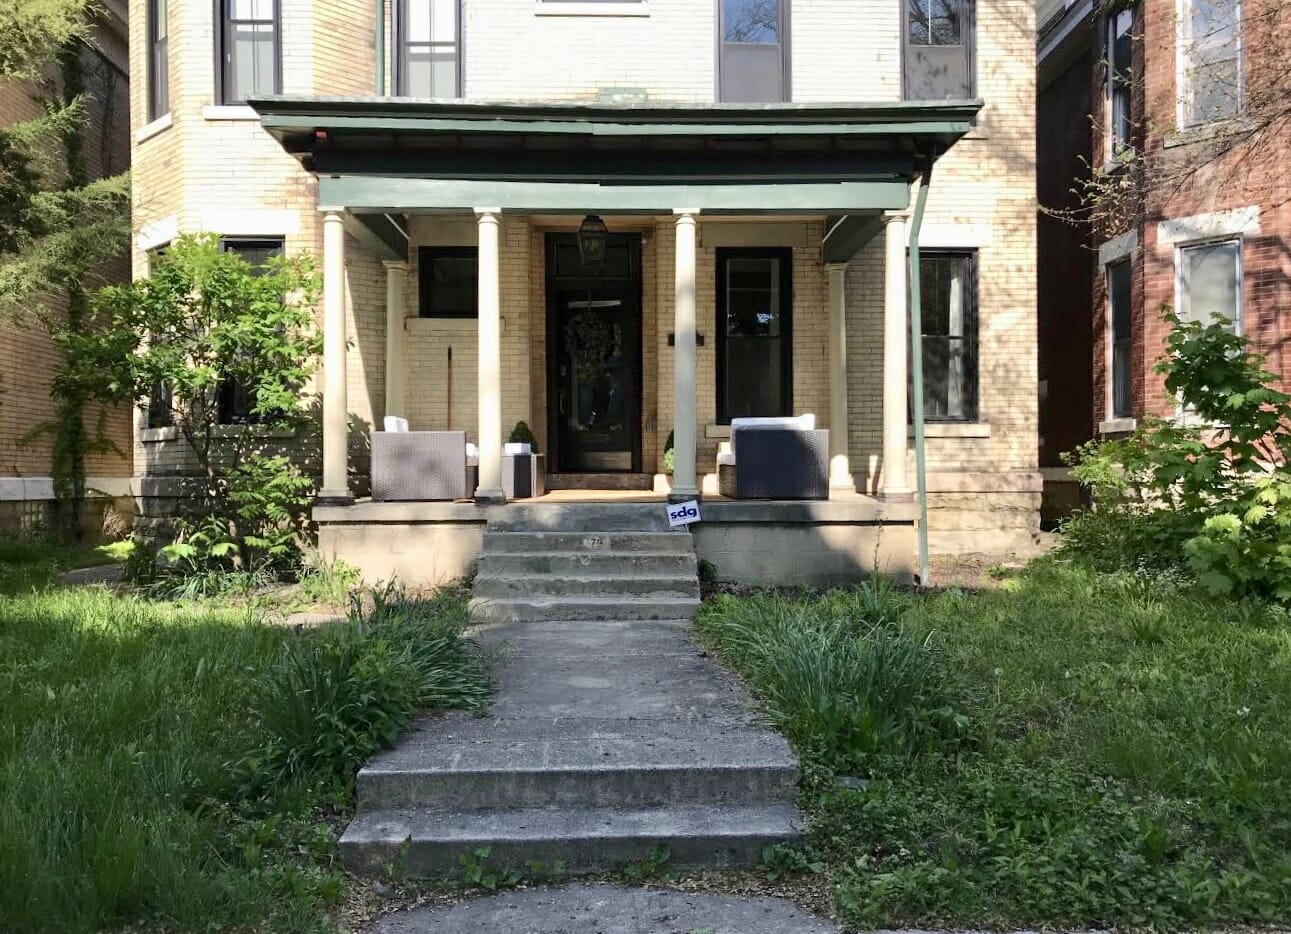
Our front walkway at The Vic left much to be desired…
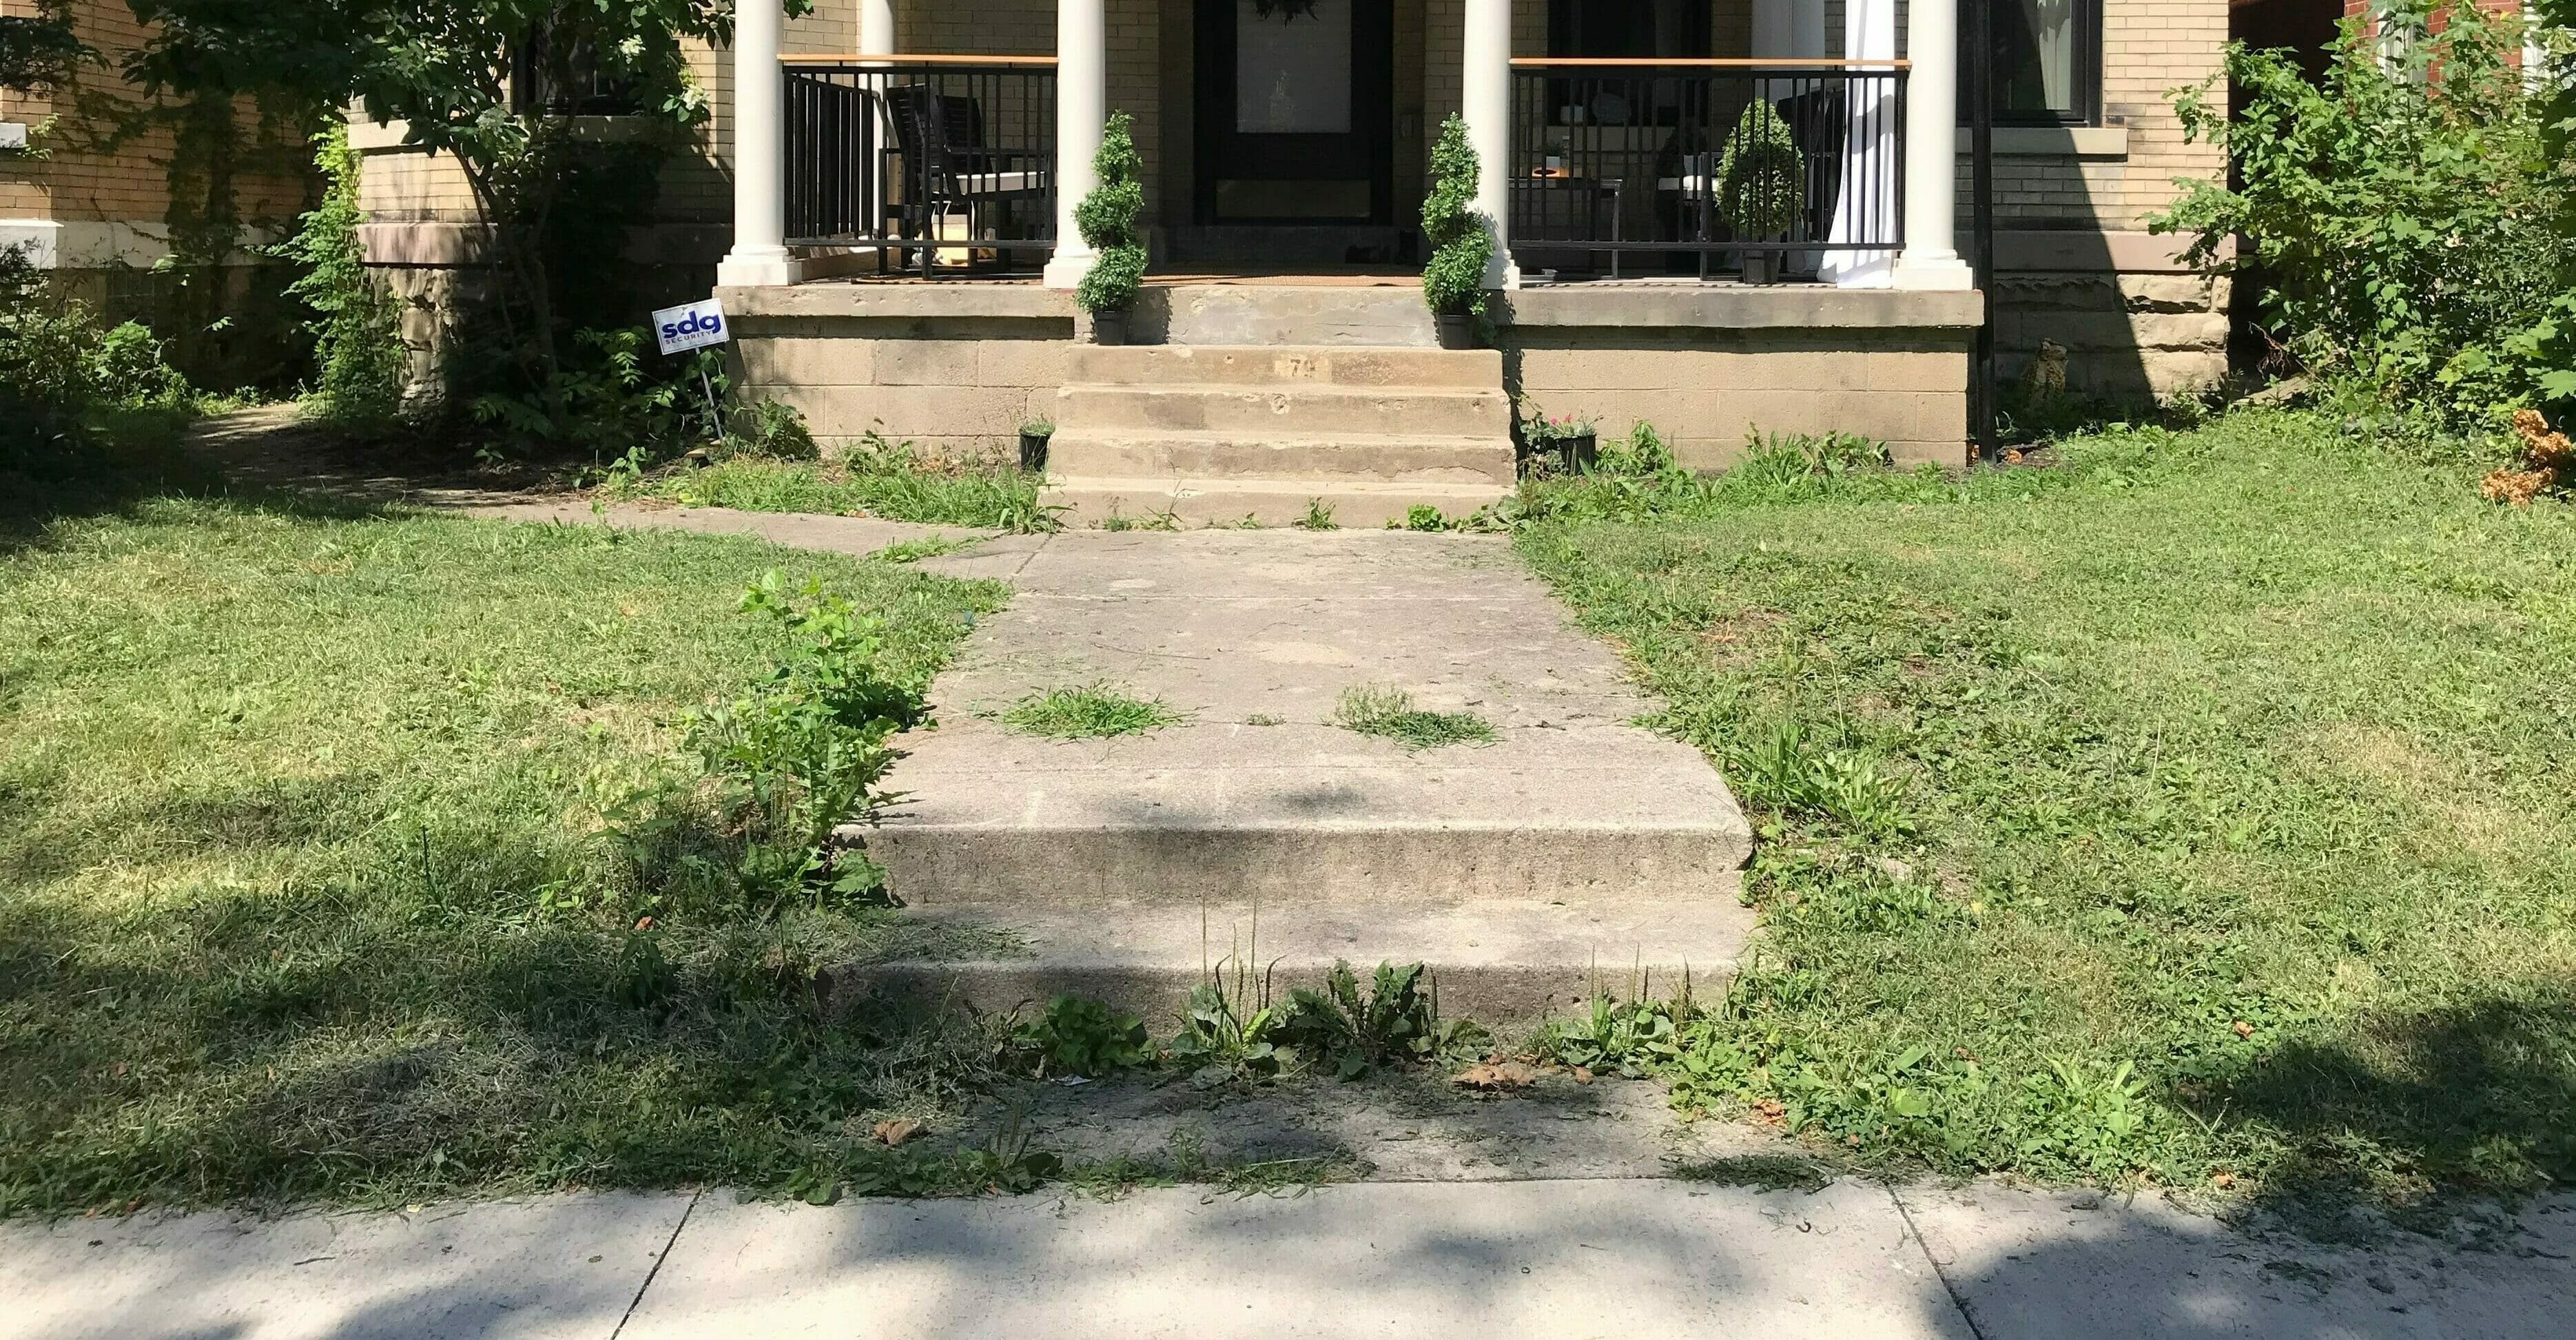
A big part of the problem was our concrete walkway and stairs.
Equally a function of our curb appeal update this summer, nosotros planned on jacking upwardly all of the old concrete and replacing it with new physical. The contractors we contacted were all booked and expensive, then we started thinking of other ideas. Would it be possible to but embrace it with new pavers instead? Afterward lots of research, the answer was yes! Information technology'due south possible, and totally doable, to encompass old concrete with pavers. In that location'due south but a few caveats:
#1: Your surface needs to exist intact and solid. If you lot take a crumbling surface, this project won't work without some extra prep piece of work.
#two: Your surface needs to be relatively apartment without whatever large cracks or bumps in it.
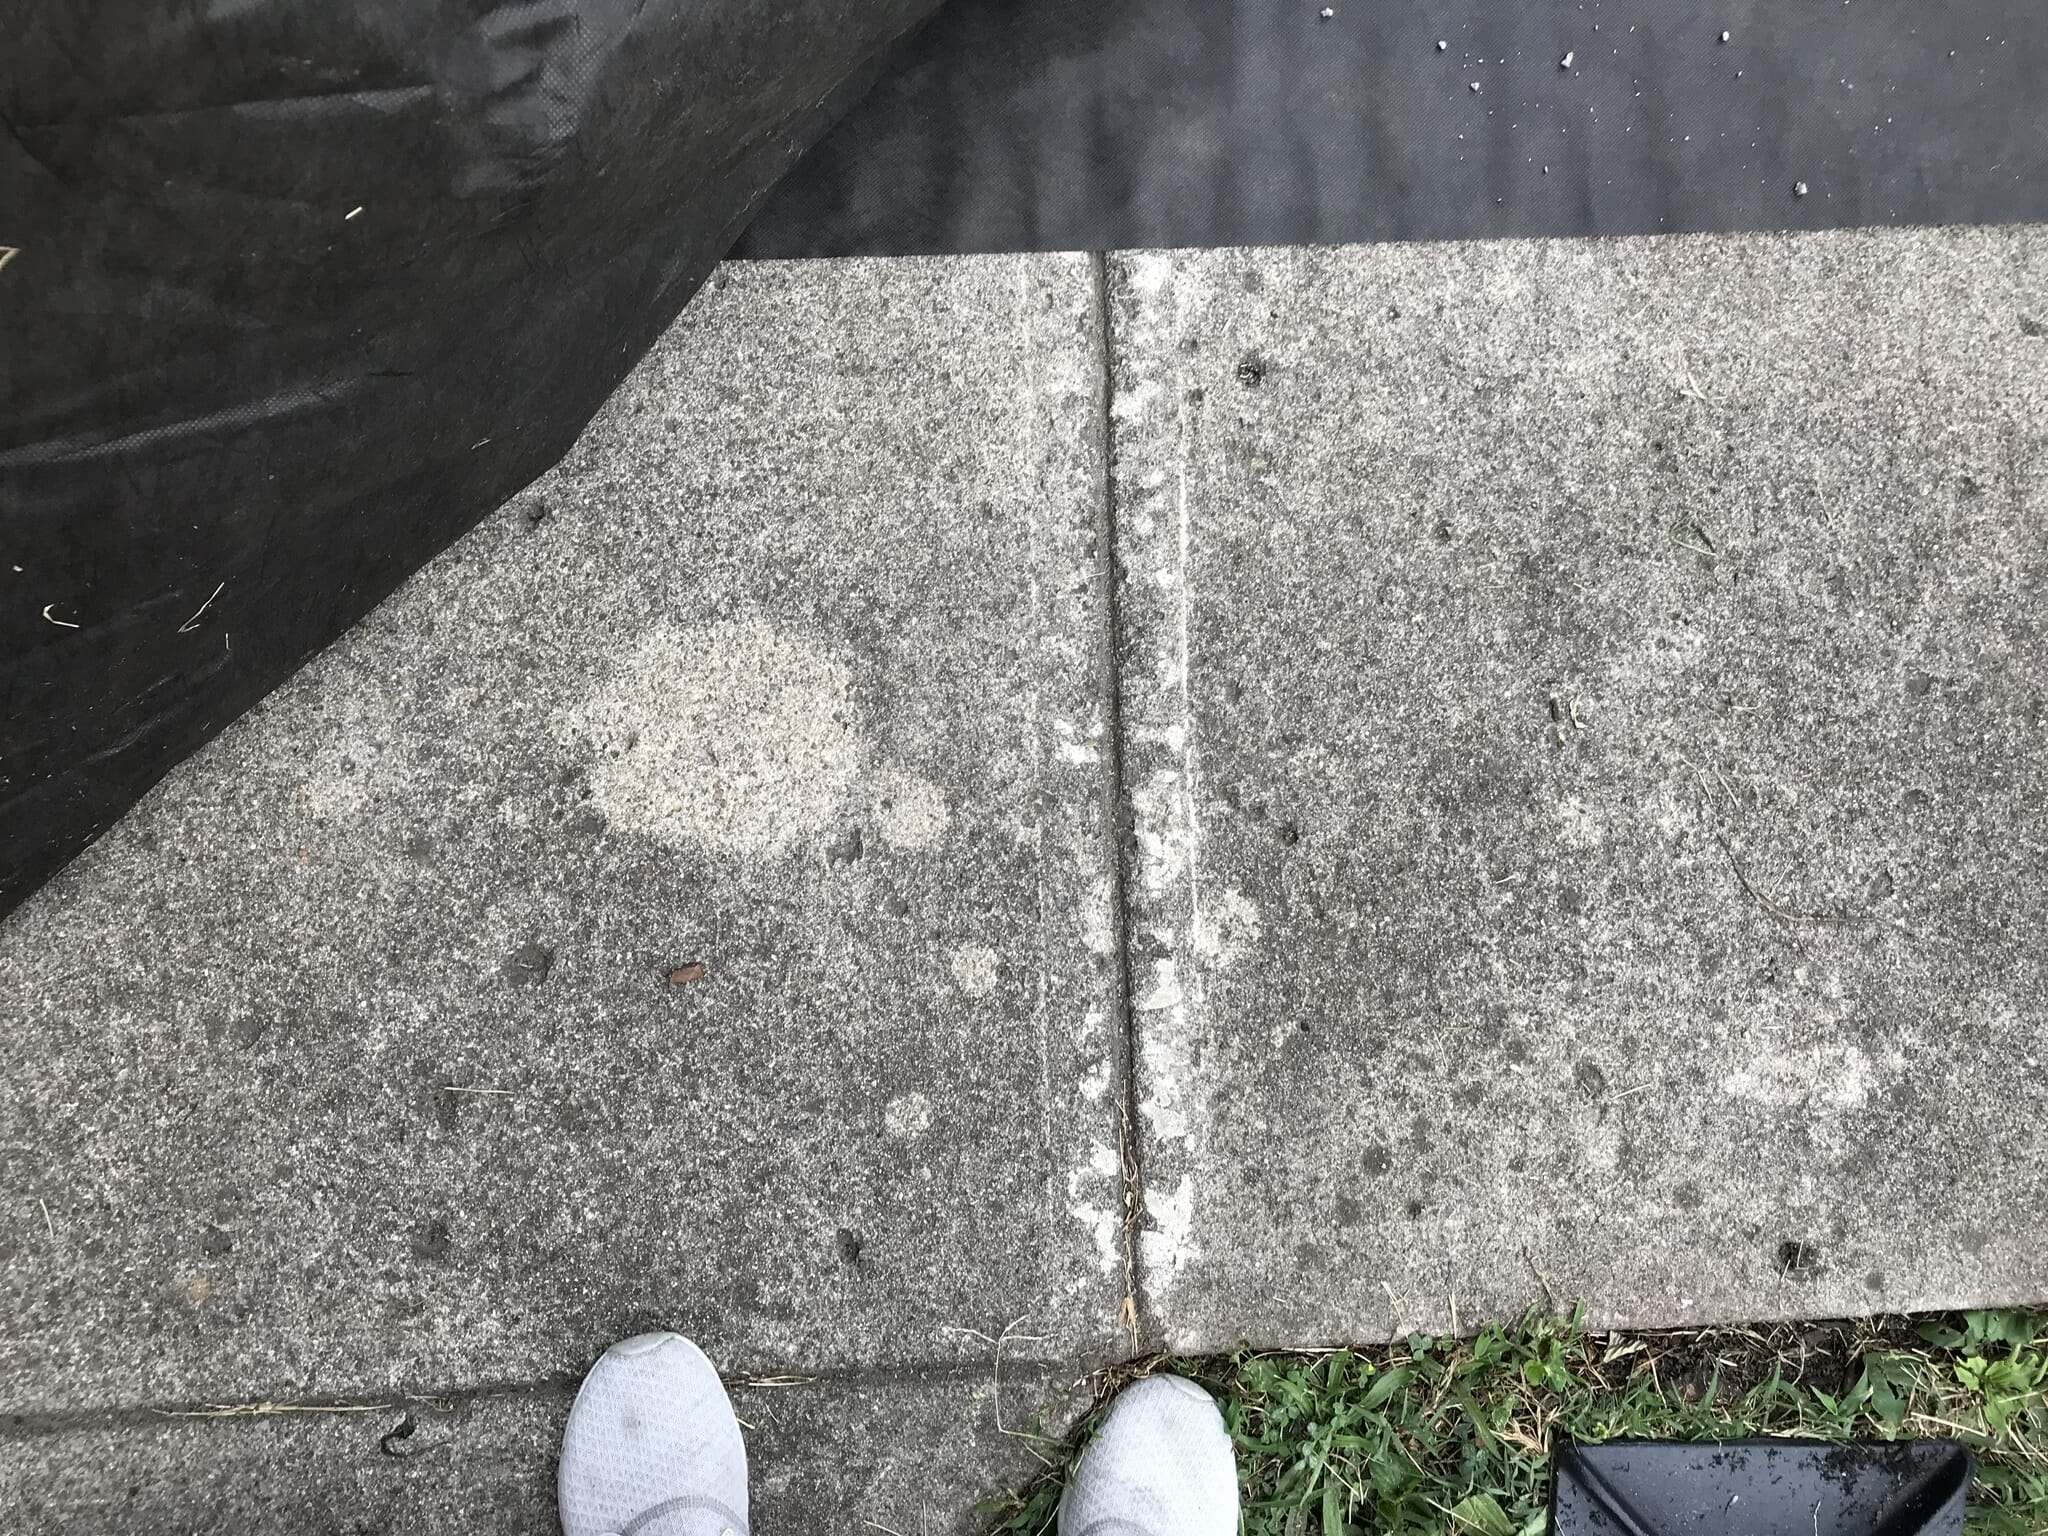
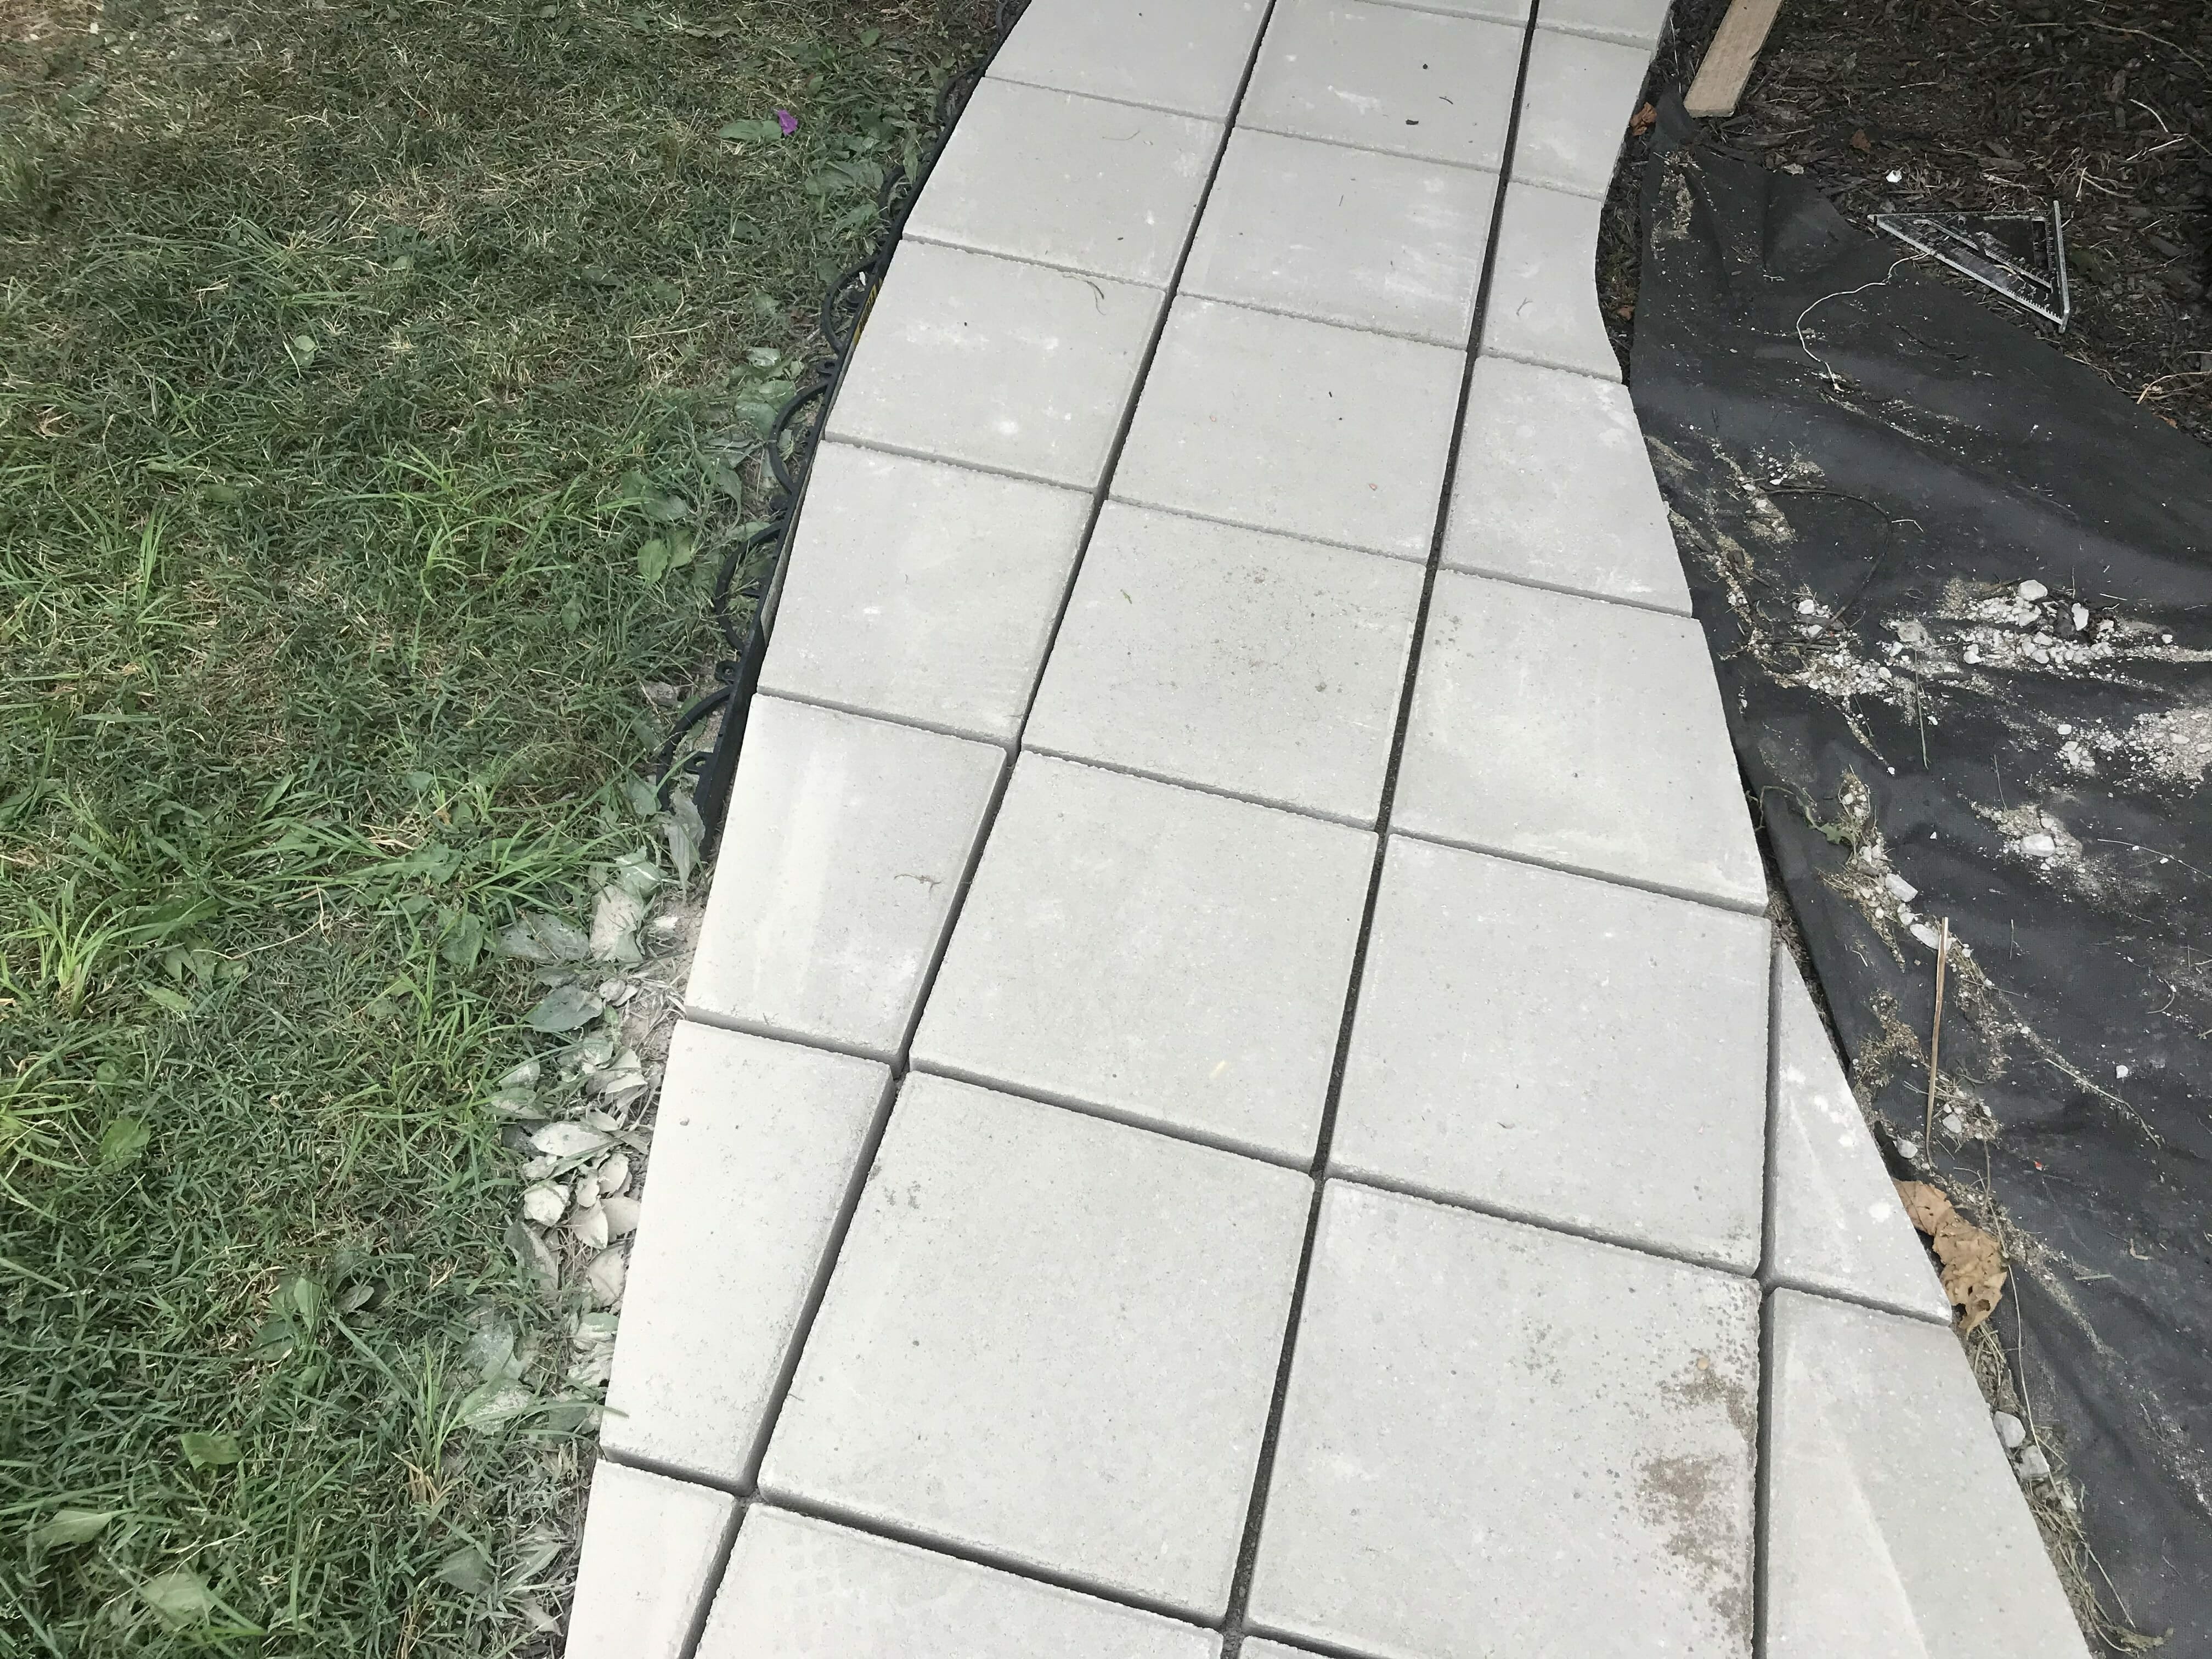
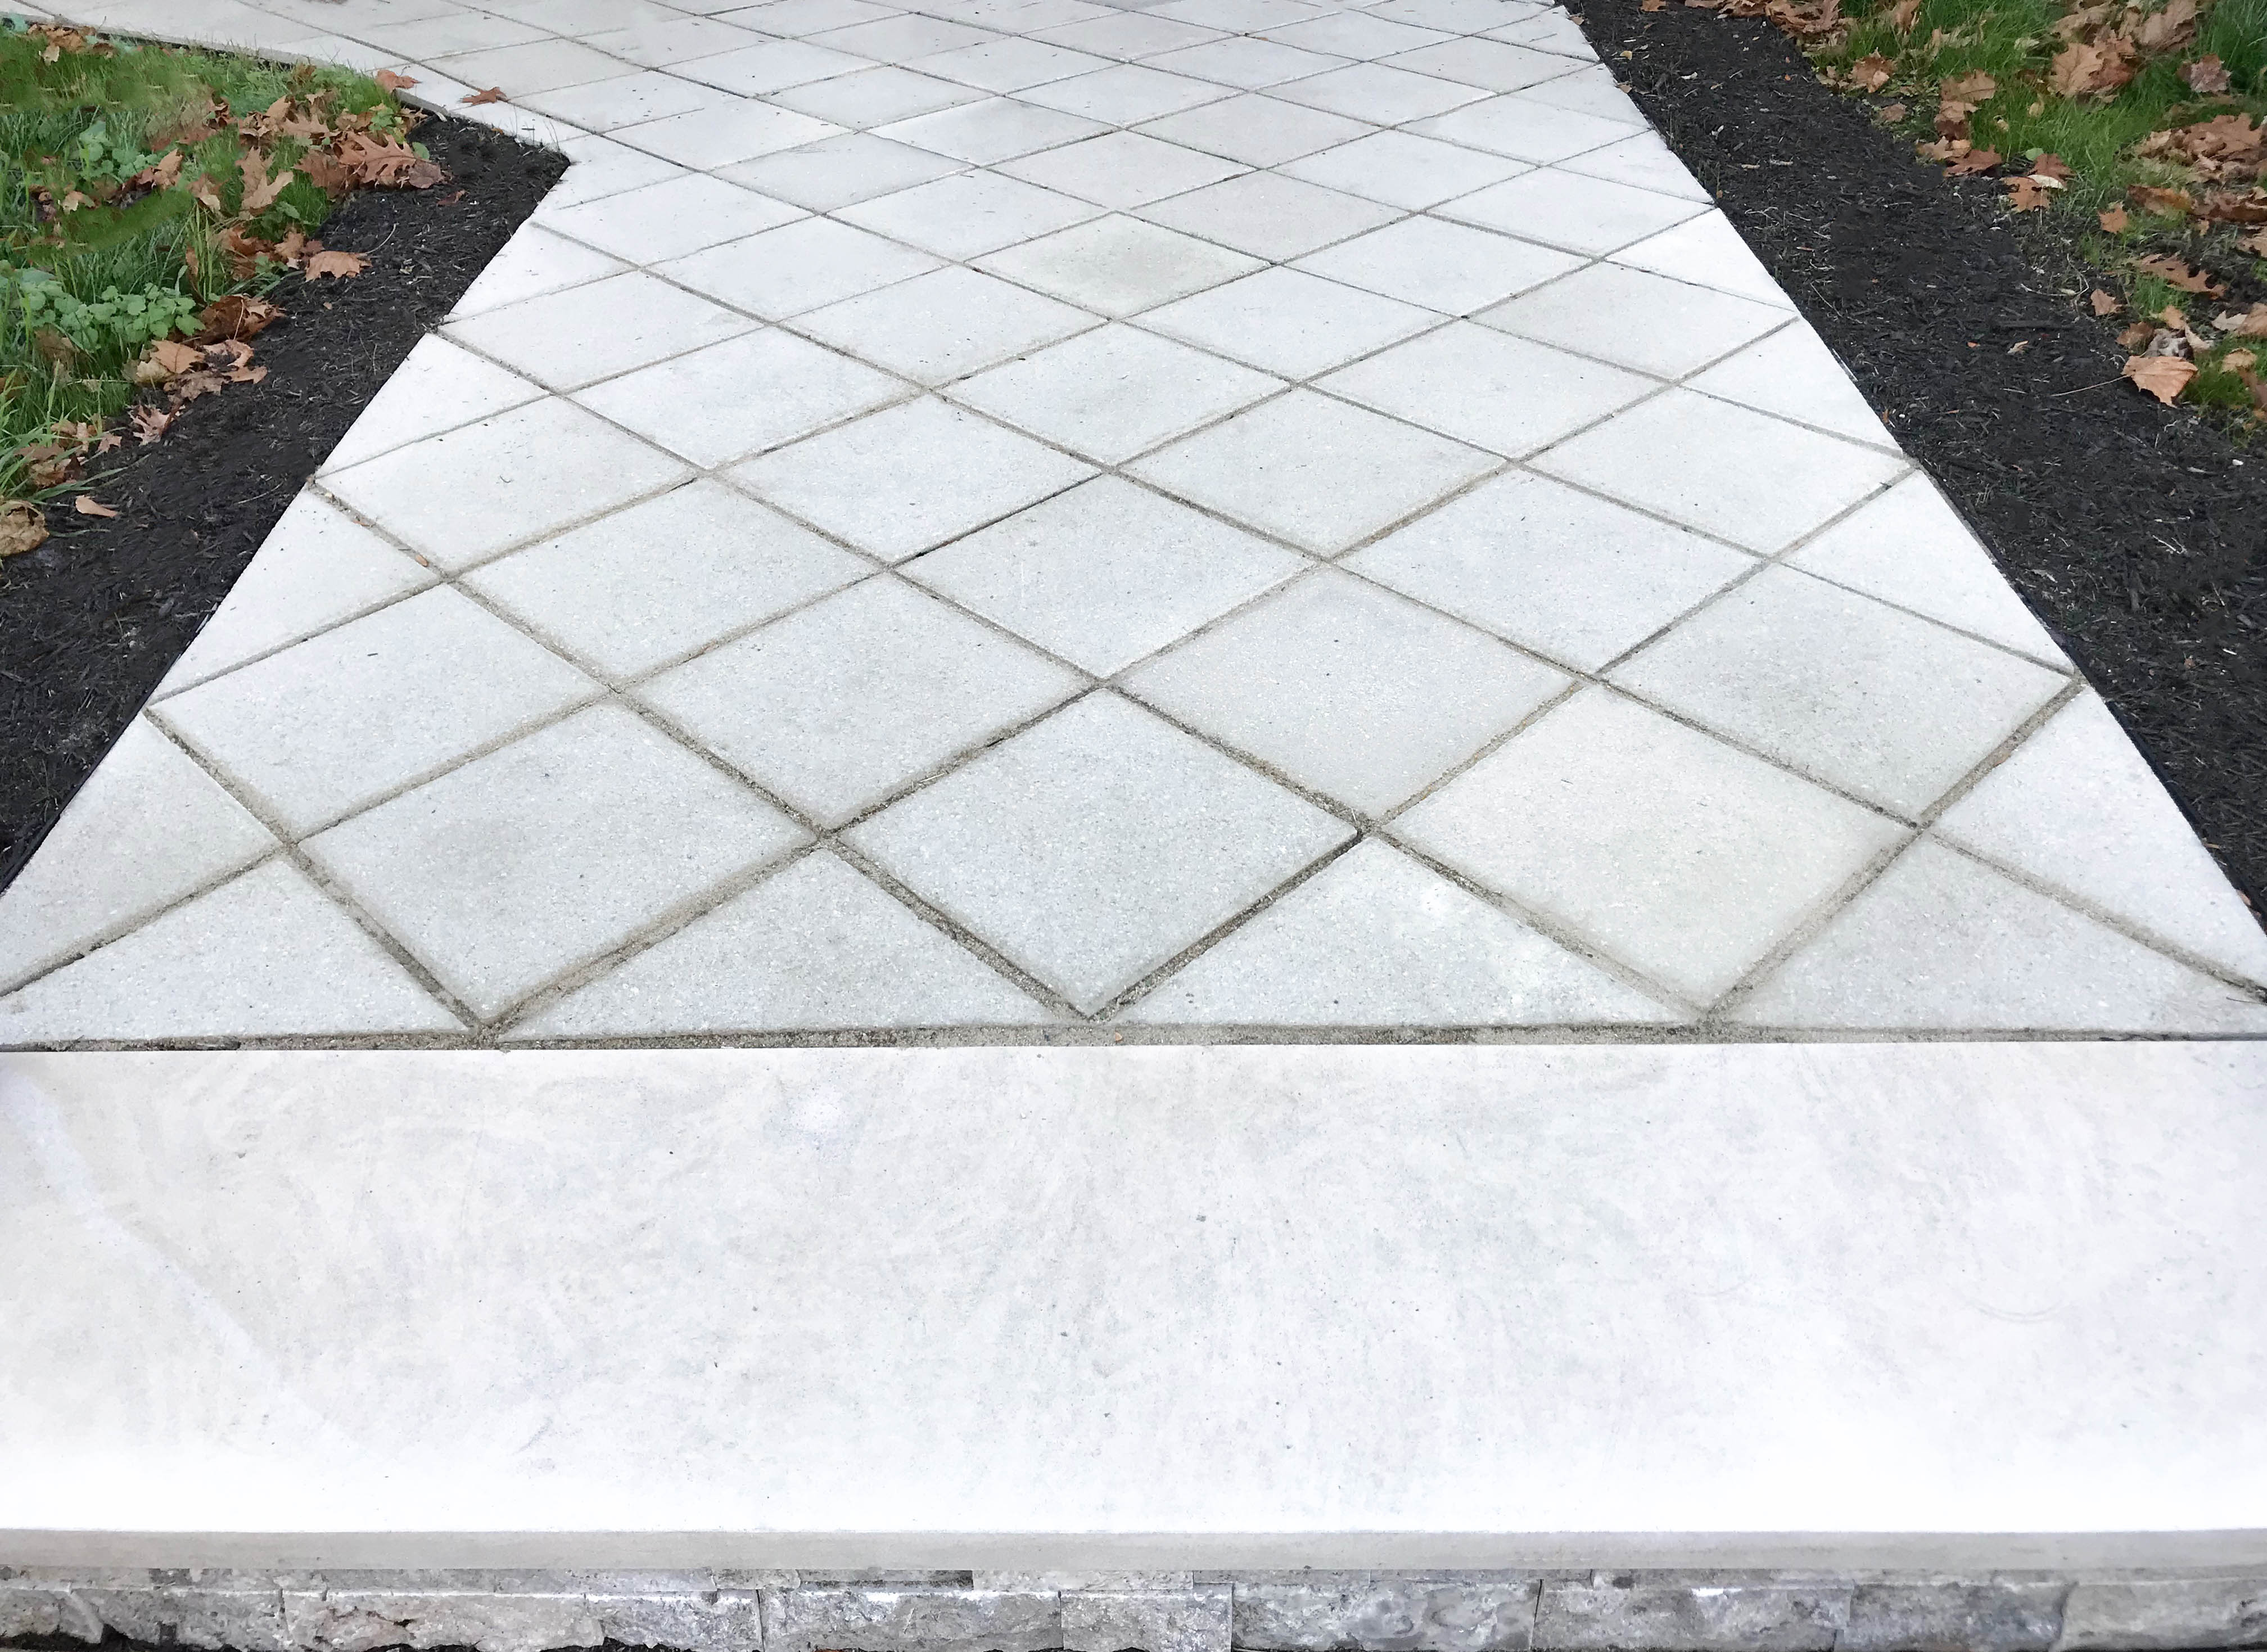
Our walkway was pretty solid with the exception of two cracks about 1/2″ loftier, which we knew nosotros could fix with proper prep. Nosotros grabbed a few $1 concrete pavers from Lowe'southward and placed them in a diamond pattern to come across if we liked the fashion they looked.
We LOVED the bear on the pattern had on our curb appeal and decided to give information technology a shot. Hither's what we did:
STEP ane: Gather all TOOLS AND MATERIALS needed
To get this project done, we used the following materials:
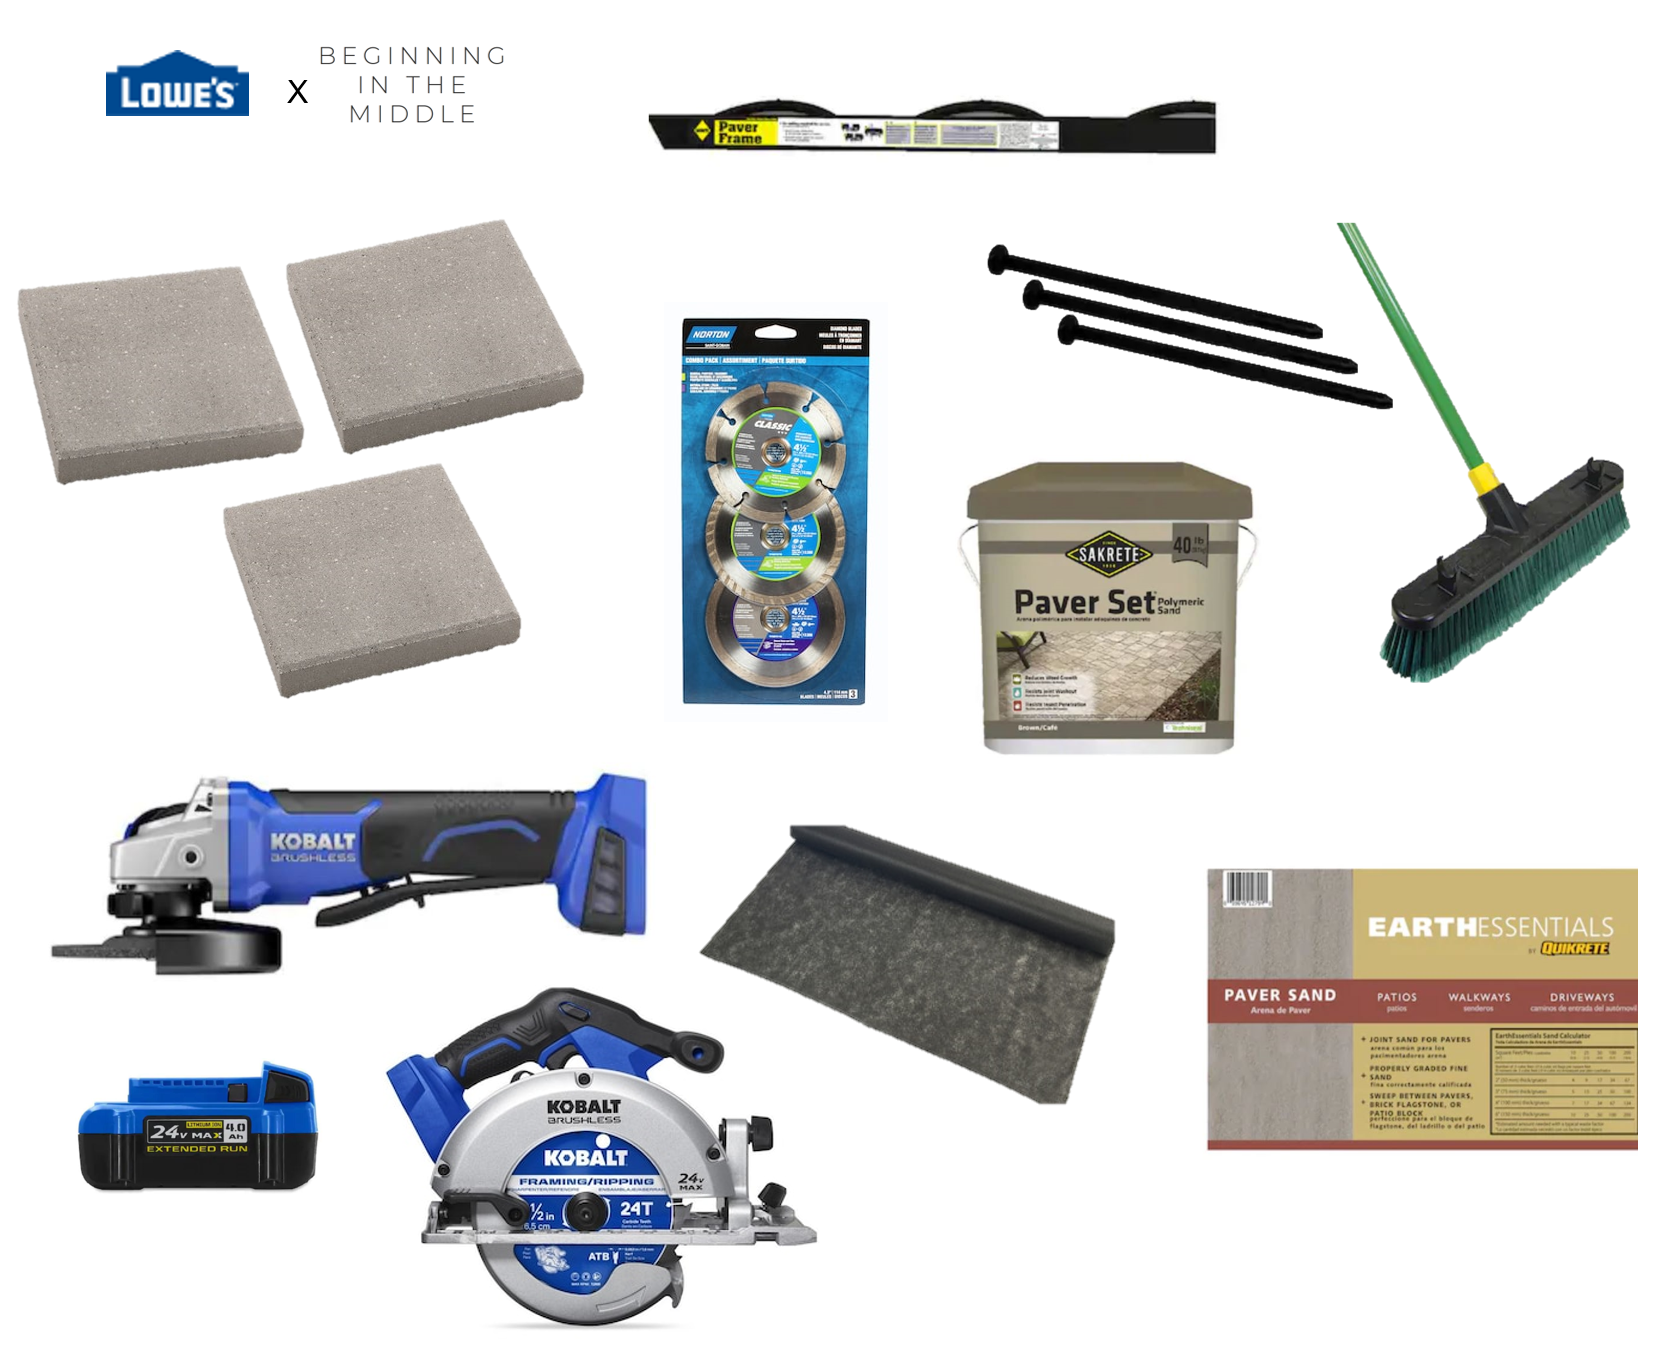
- Pavers – we used basic $1 concrete pavers from Lowe'due south (ours were on auction, but they're normally priced betwixt $1-two)
- Spacers – we used plastic paver spikes as spacers, and then reused them for our paver edging when nosotros were finished
- Paver edging – this holds pavers in place and prevents them from shifting
- Landscaping cloth (and weed killer, if you lot need it) – to prevent weeds from growing through cracks subsequently pavers are installed
- Leveling paver sand – this helps level any surface unevenness under the pavers
- Polymeric sand – a special kind of sand that helps adheres sand in place
- A broom – to spread polymeric sand after pavers are in place
- A circular saw for making straight paver cuts (if you prefer corded, this i has great reviews as well!)
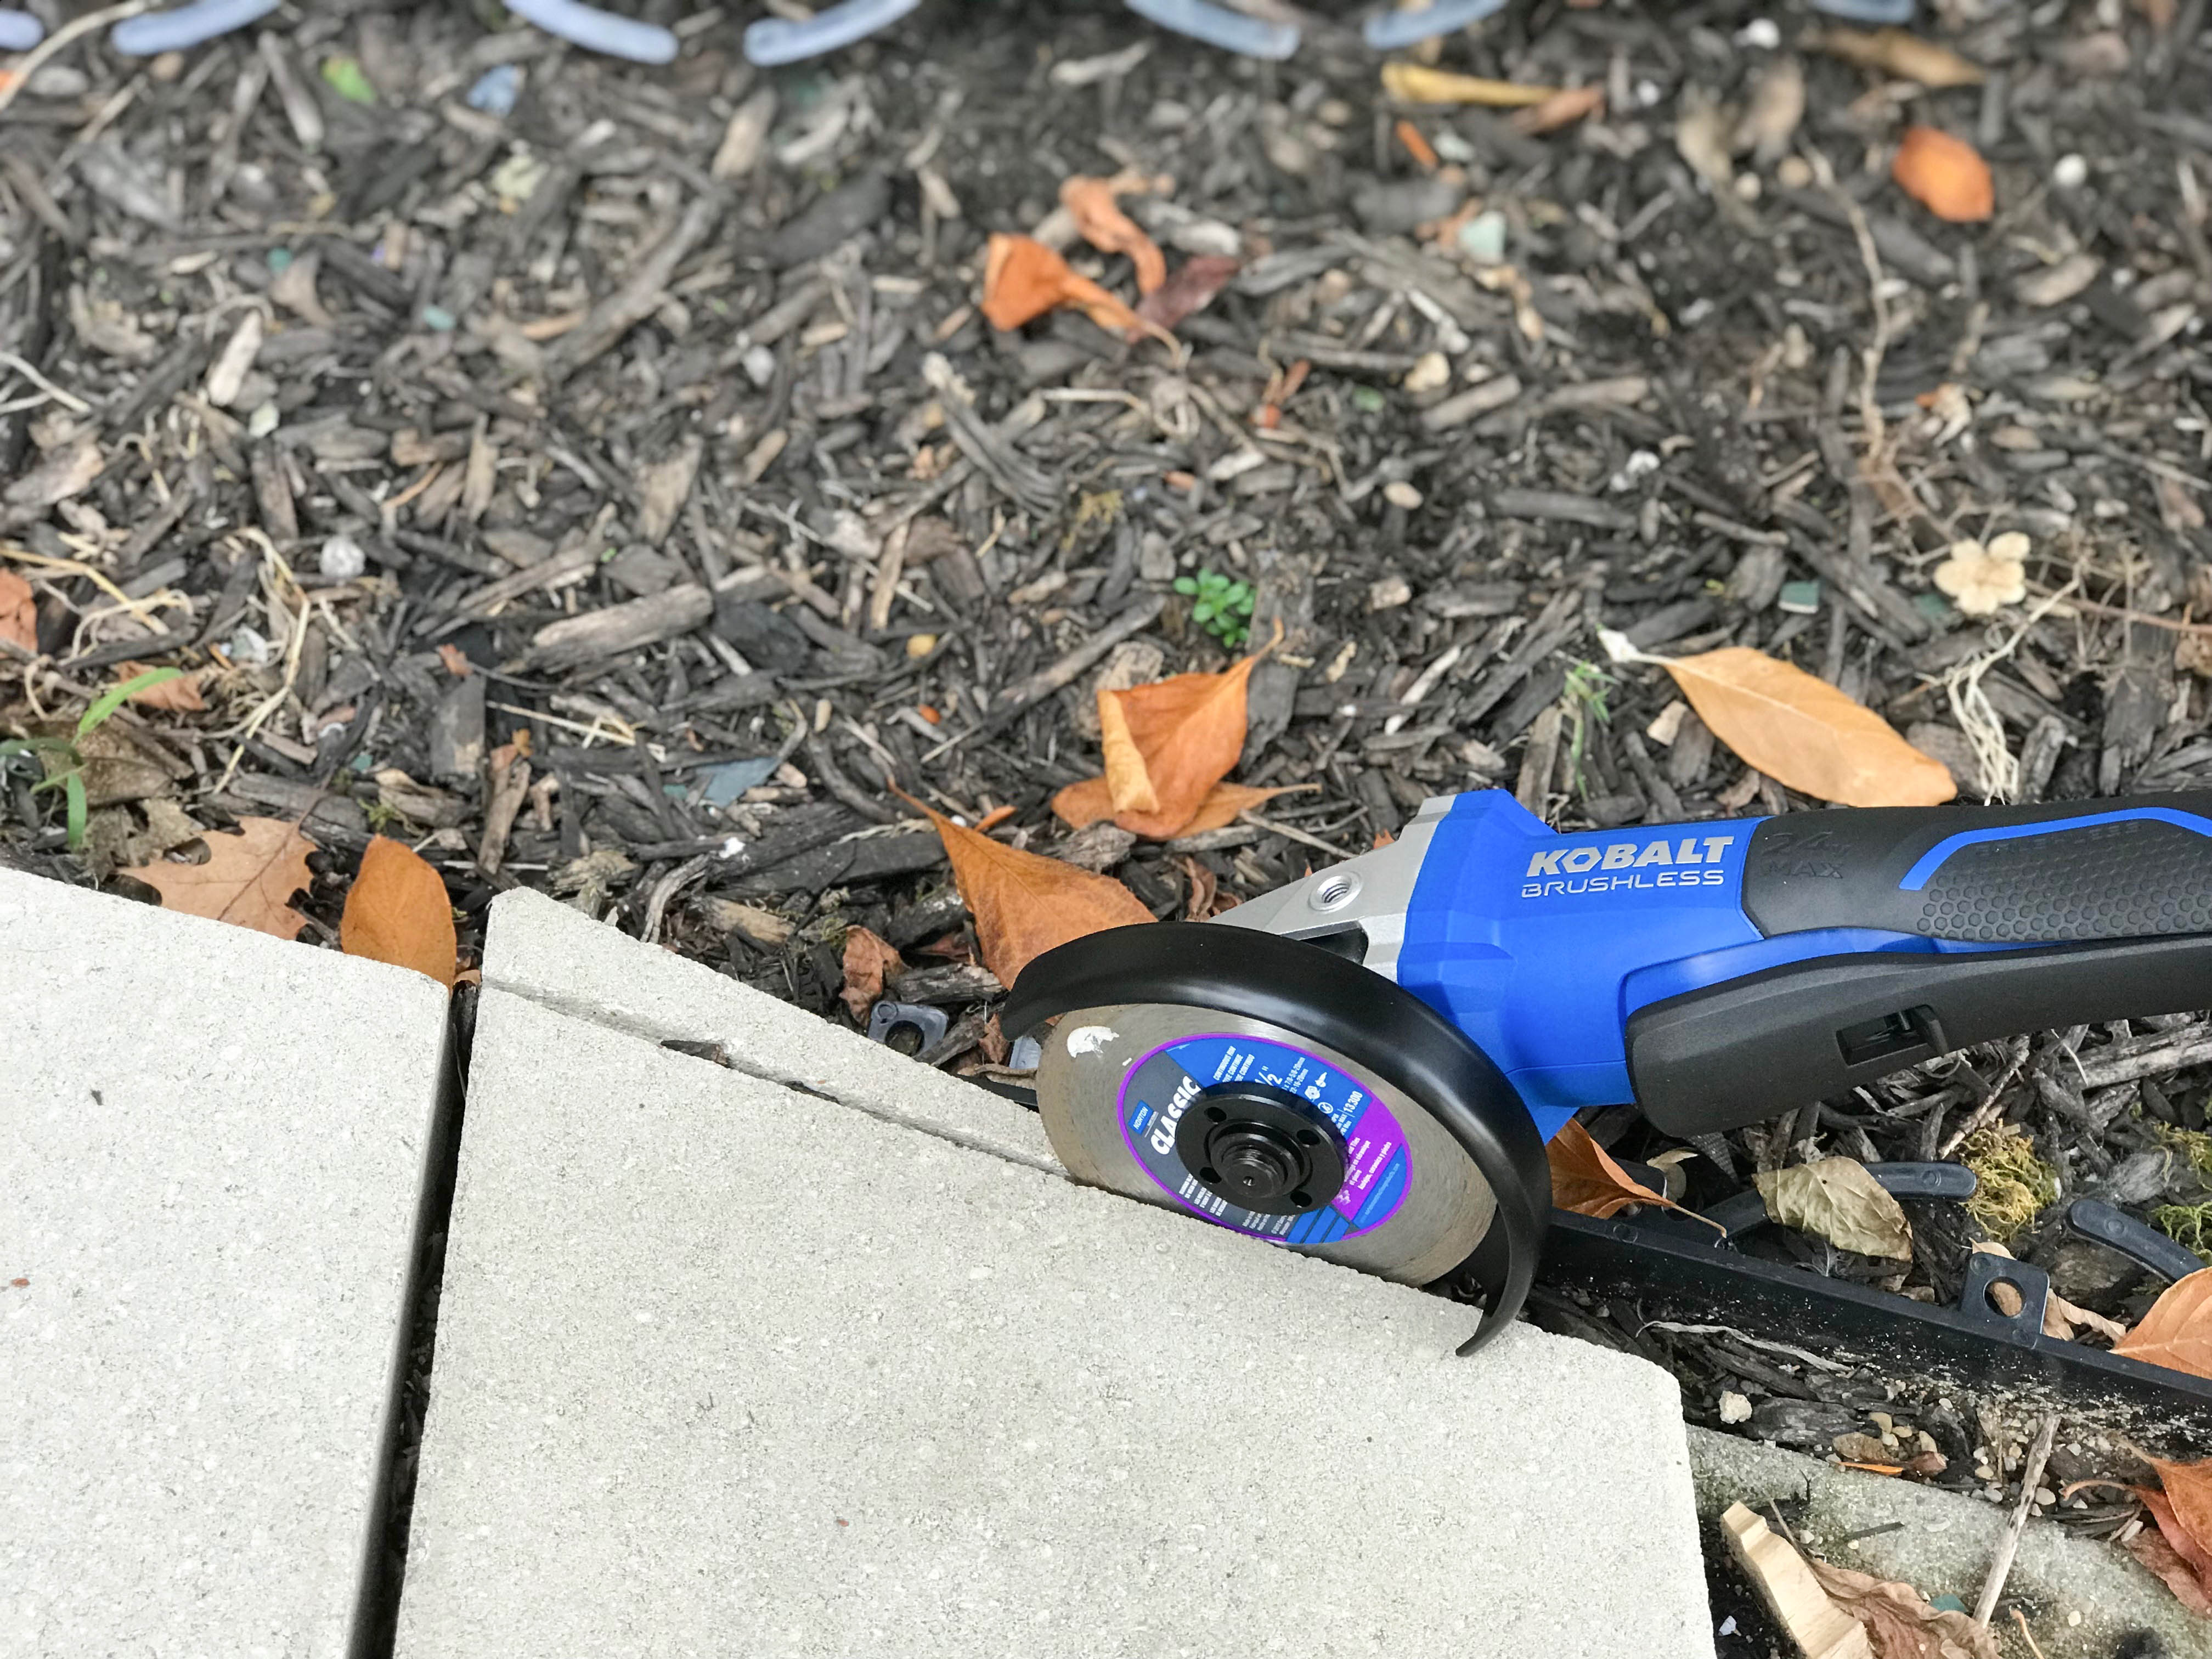
- A grinder for making curved paver cuts (we used this cordless Kobalt one)
- Diamond tip saw blades
- Water
Stride 2: dry out run
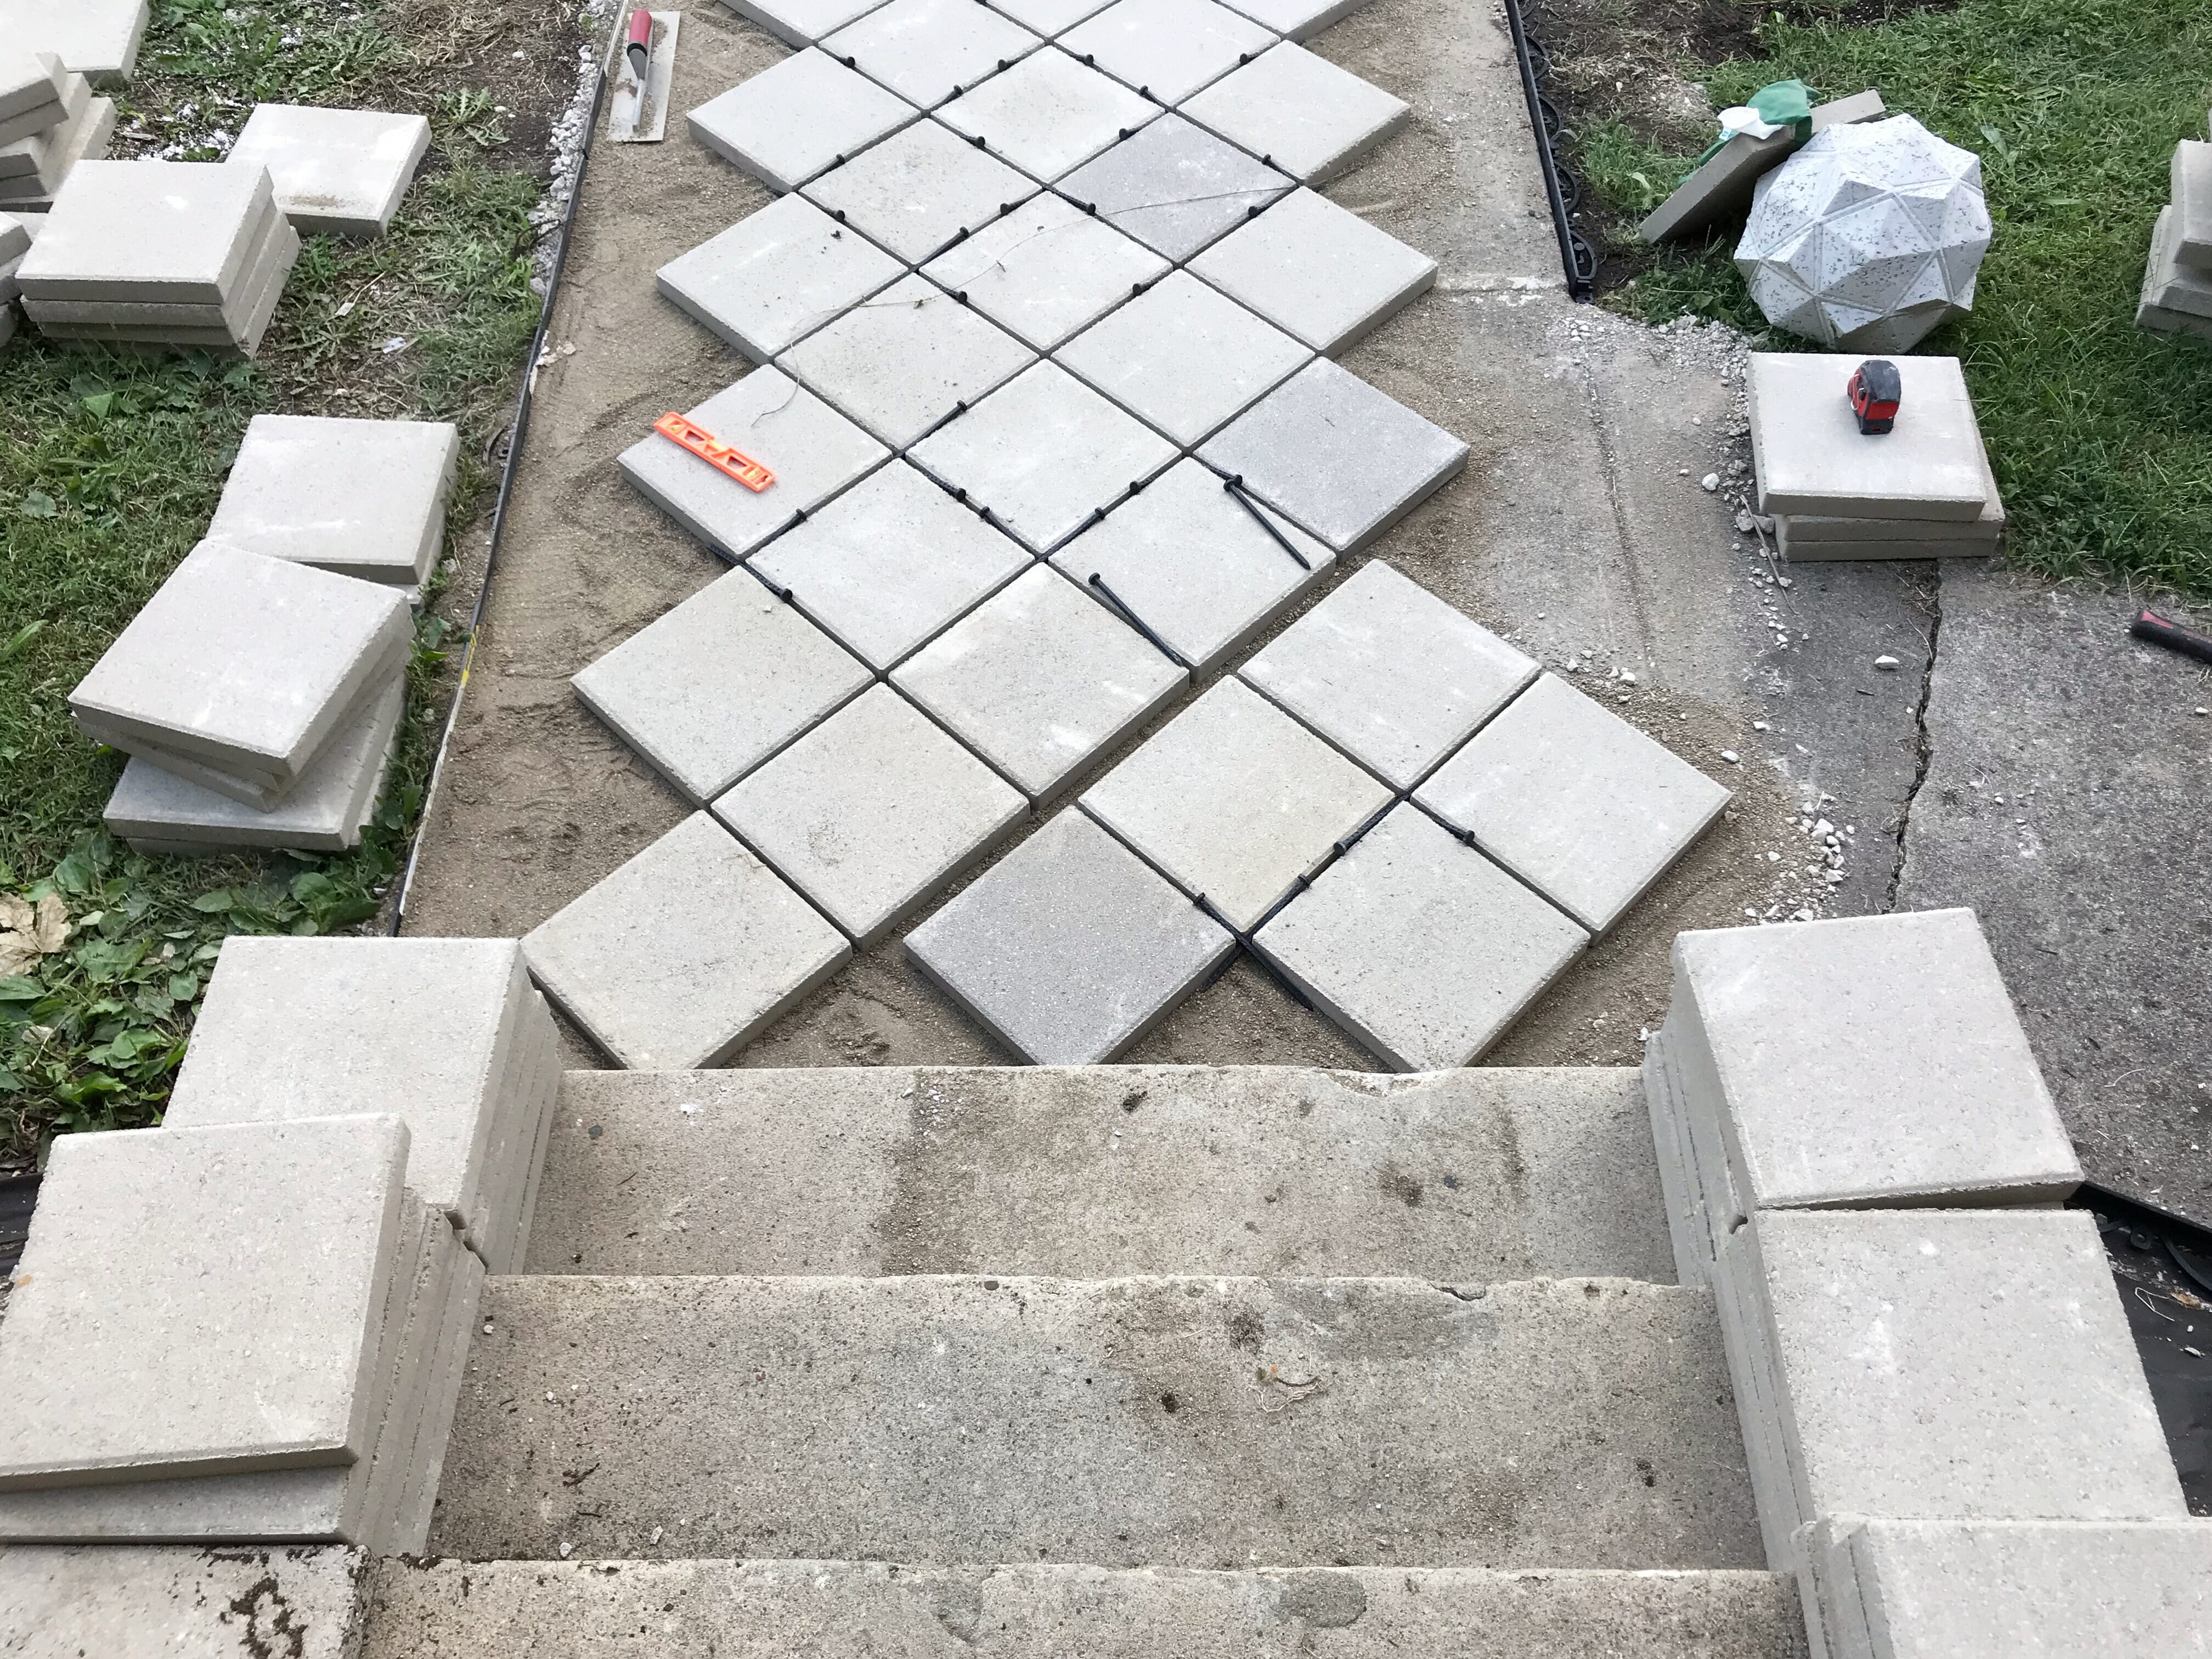
Before we started actually laying our pavers and making cuts, nosotros did a dry run to figure out our centre line, correct spacing, etc. This allowed us to shift pavers and make adjustments quickly and easily earlier committing. In our case, nosotros wanted our diamond pattern to line up evenly on both sides of the walkway, and our edge cuts to be triangles with three even sides. It took us several hours of shifting them effectually to become it right.
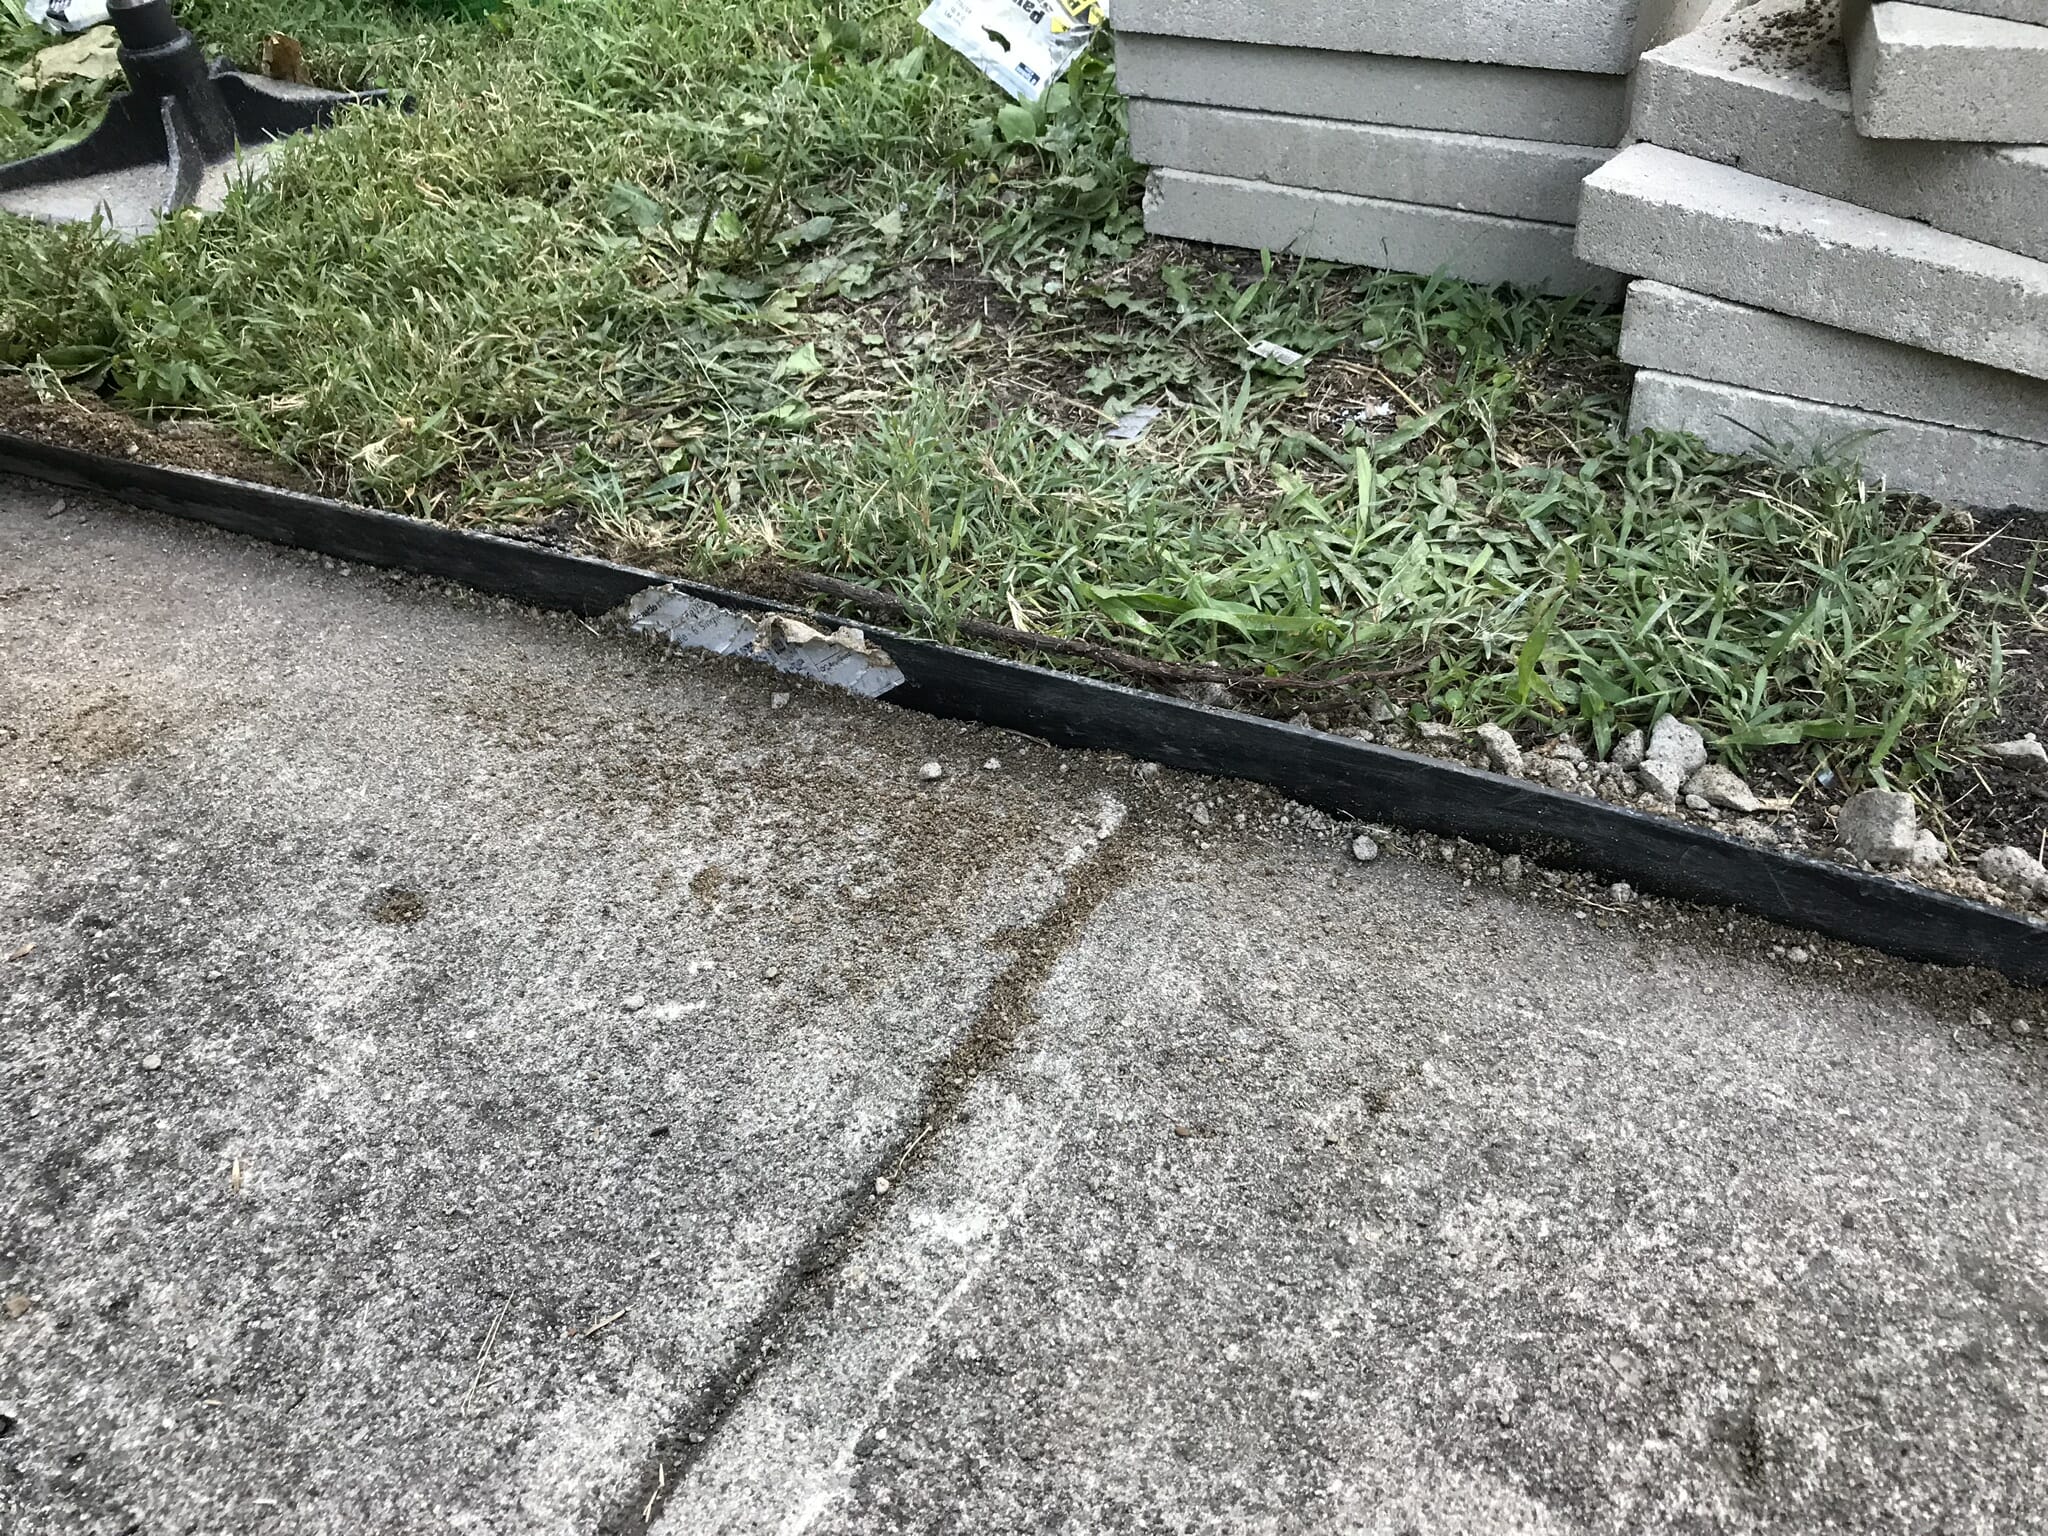
STEP three: INSTALL EDGING
Nosotros lined our walkway with plastic paver edging. This prevents the pavers from shifting out of identify. In one case our grass fills in, we await this to become less visible.
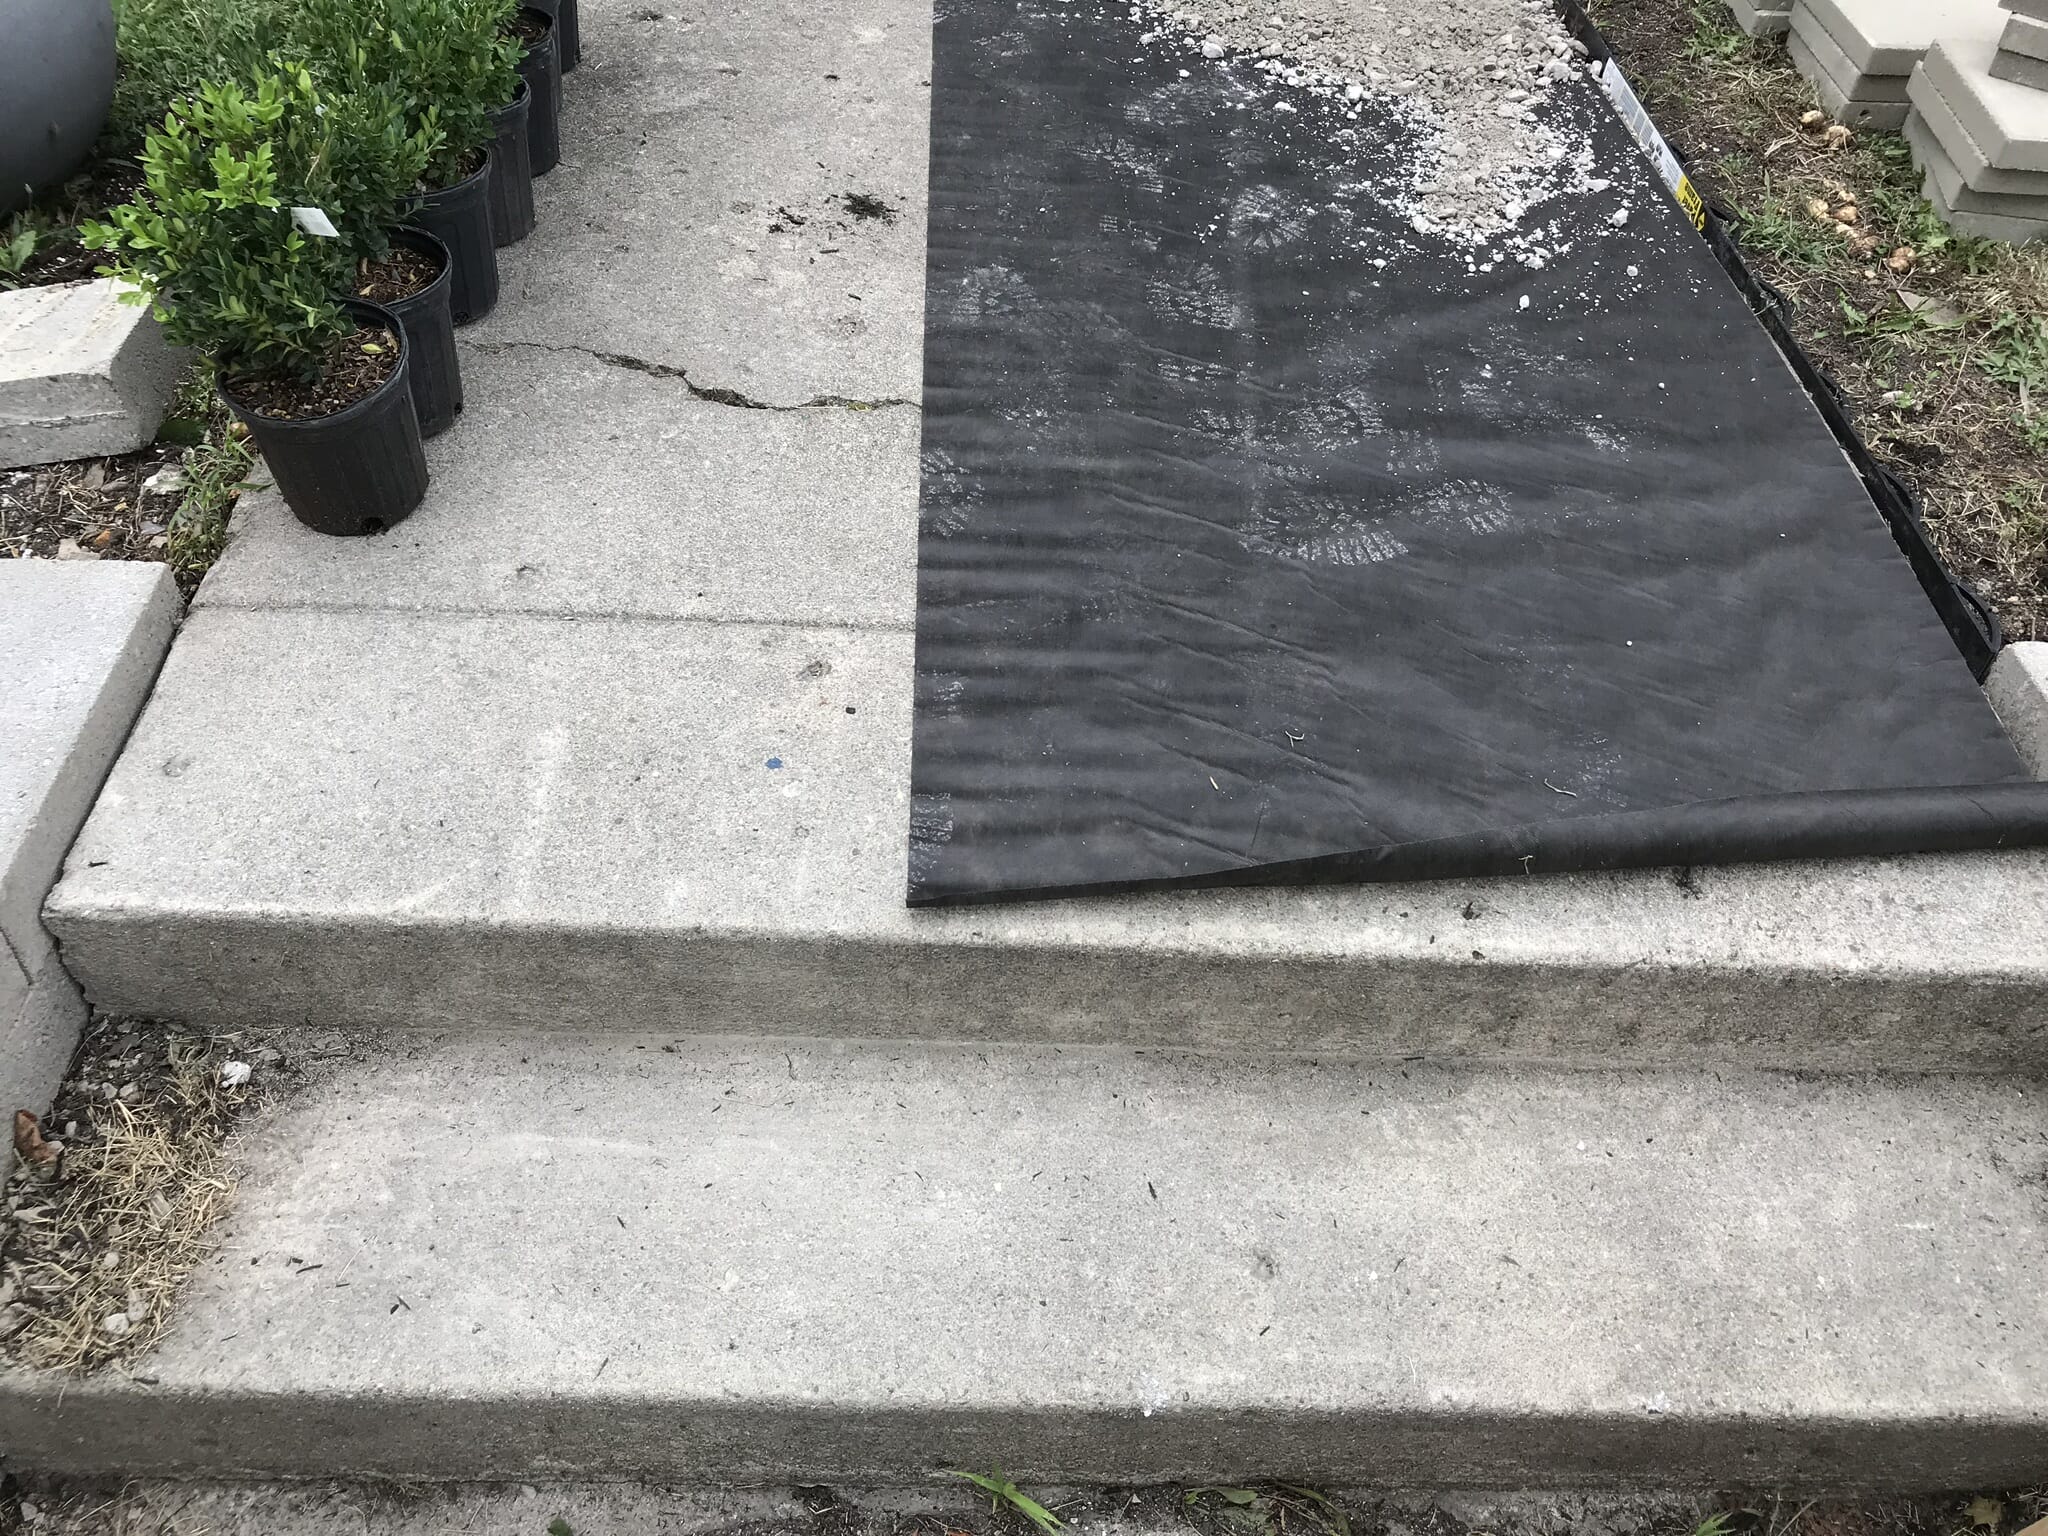
stride 4: kill weeds + lay landscaping material
We pulled weeds from the ii cracks in the walkway, and sprayed weed killer on for good measure. We laid landscaping fabric over the cracks, which will foreclose weeds from growing and pushing pavers out of place.
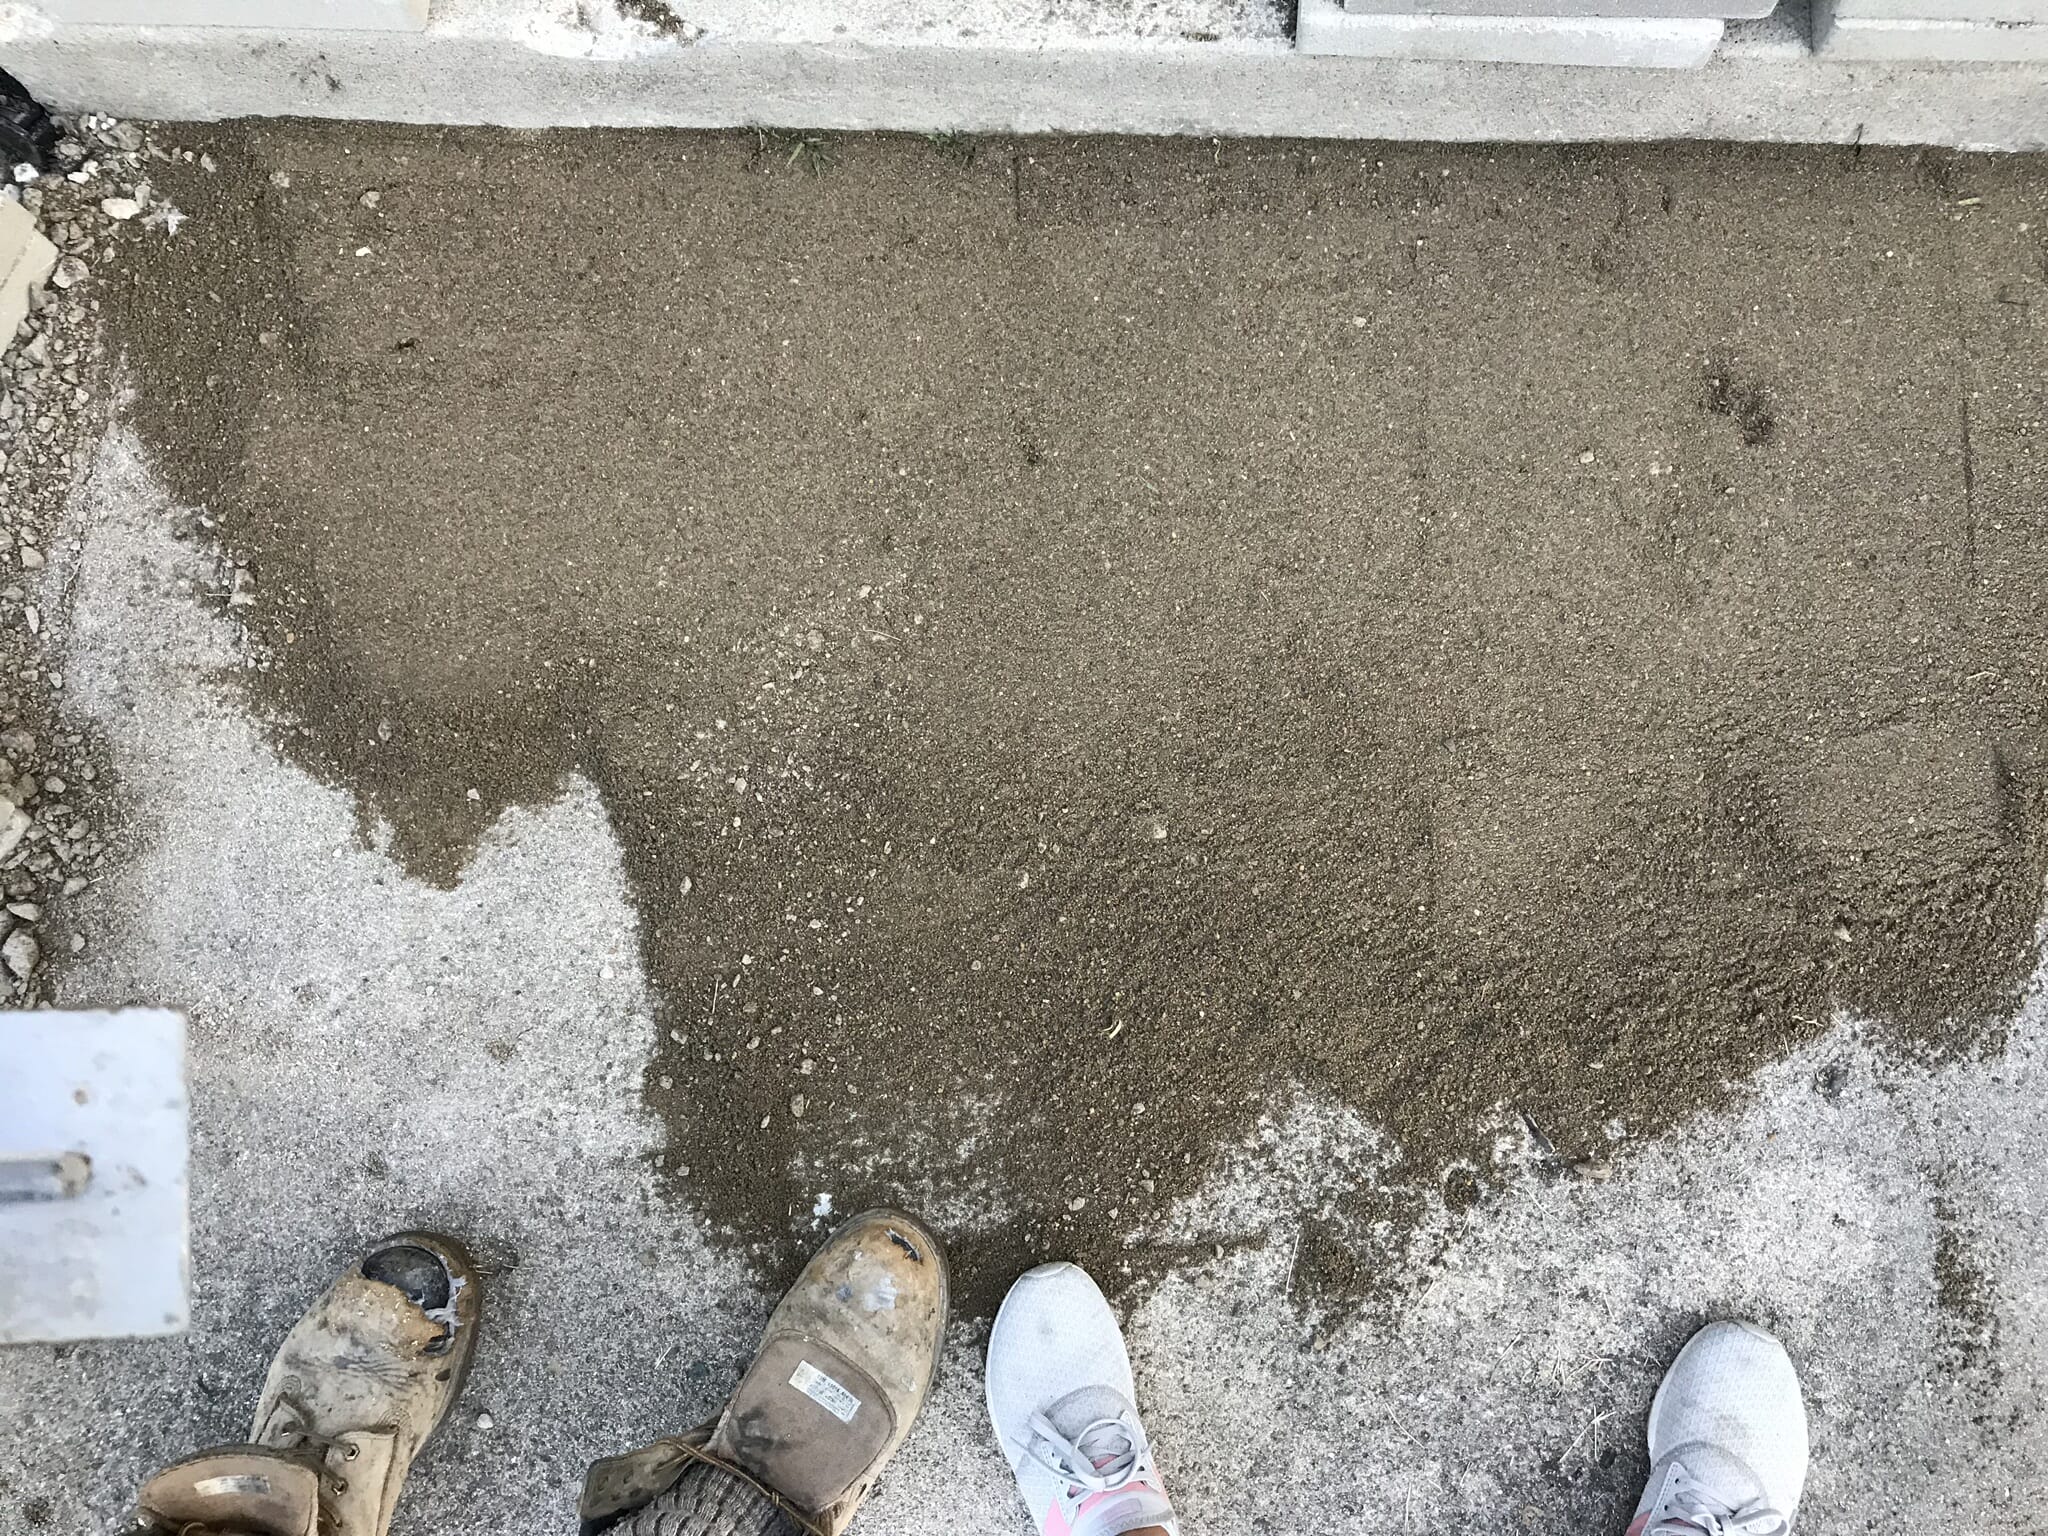
STEP 5: Spread Paver sand over concrete
Nosotros had some trial & fault in this stride. We accidentally bought this paver base sand, which nosotros assumed was what we should exist using based on the description. We poured out a bunch of bags and stomped it downwards, attempting to create a solid base over our concrete.
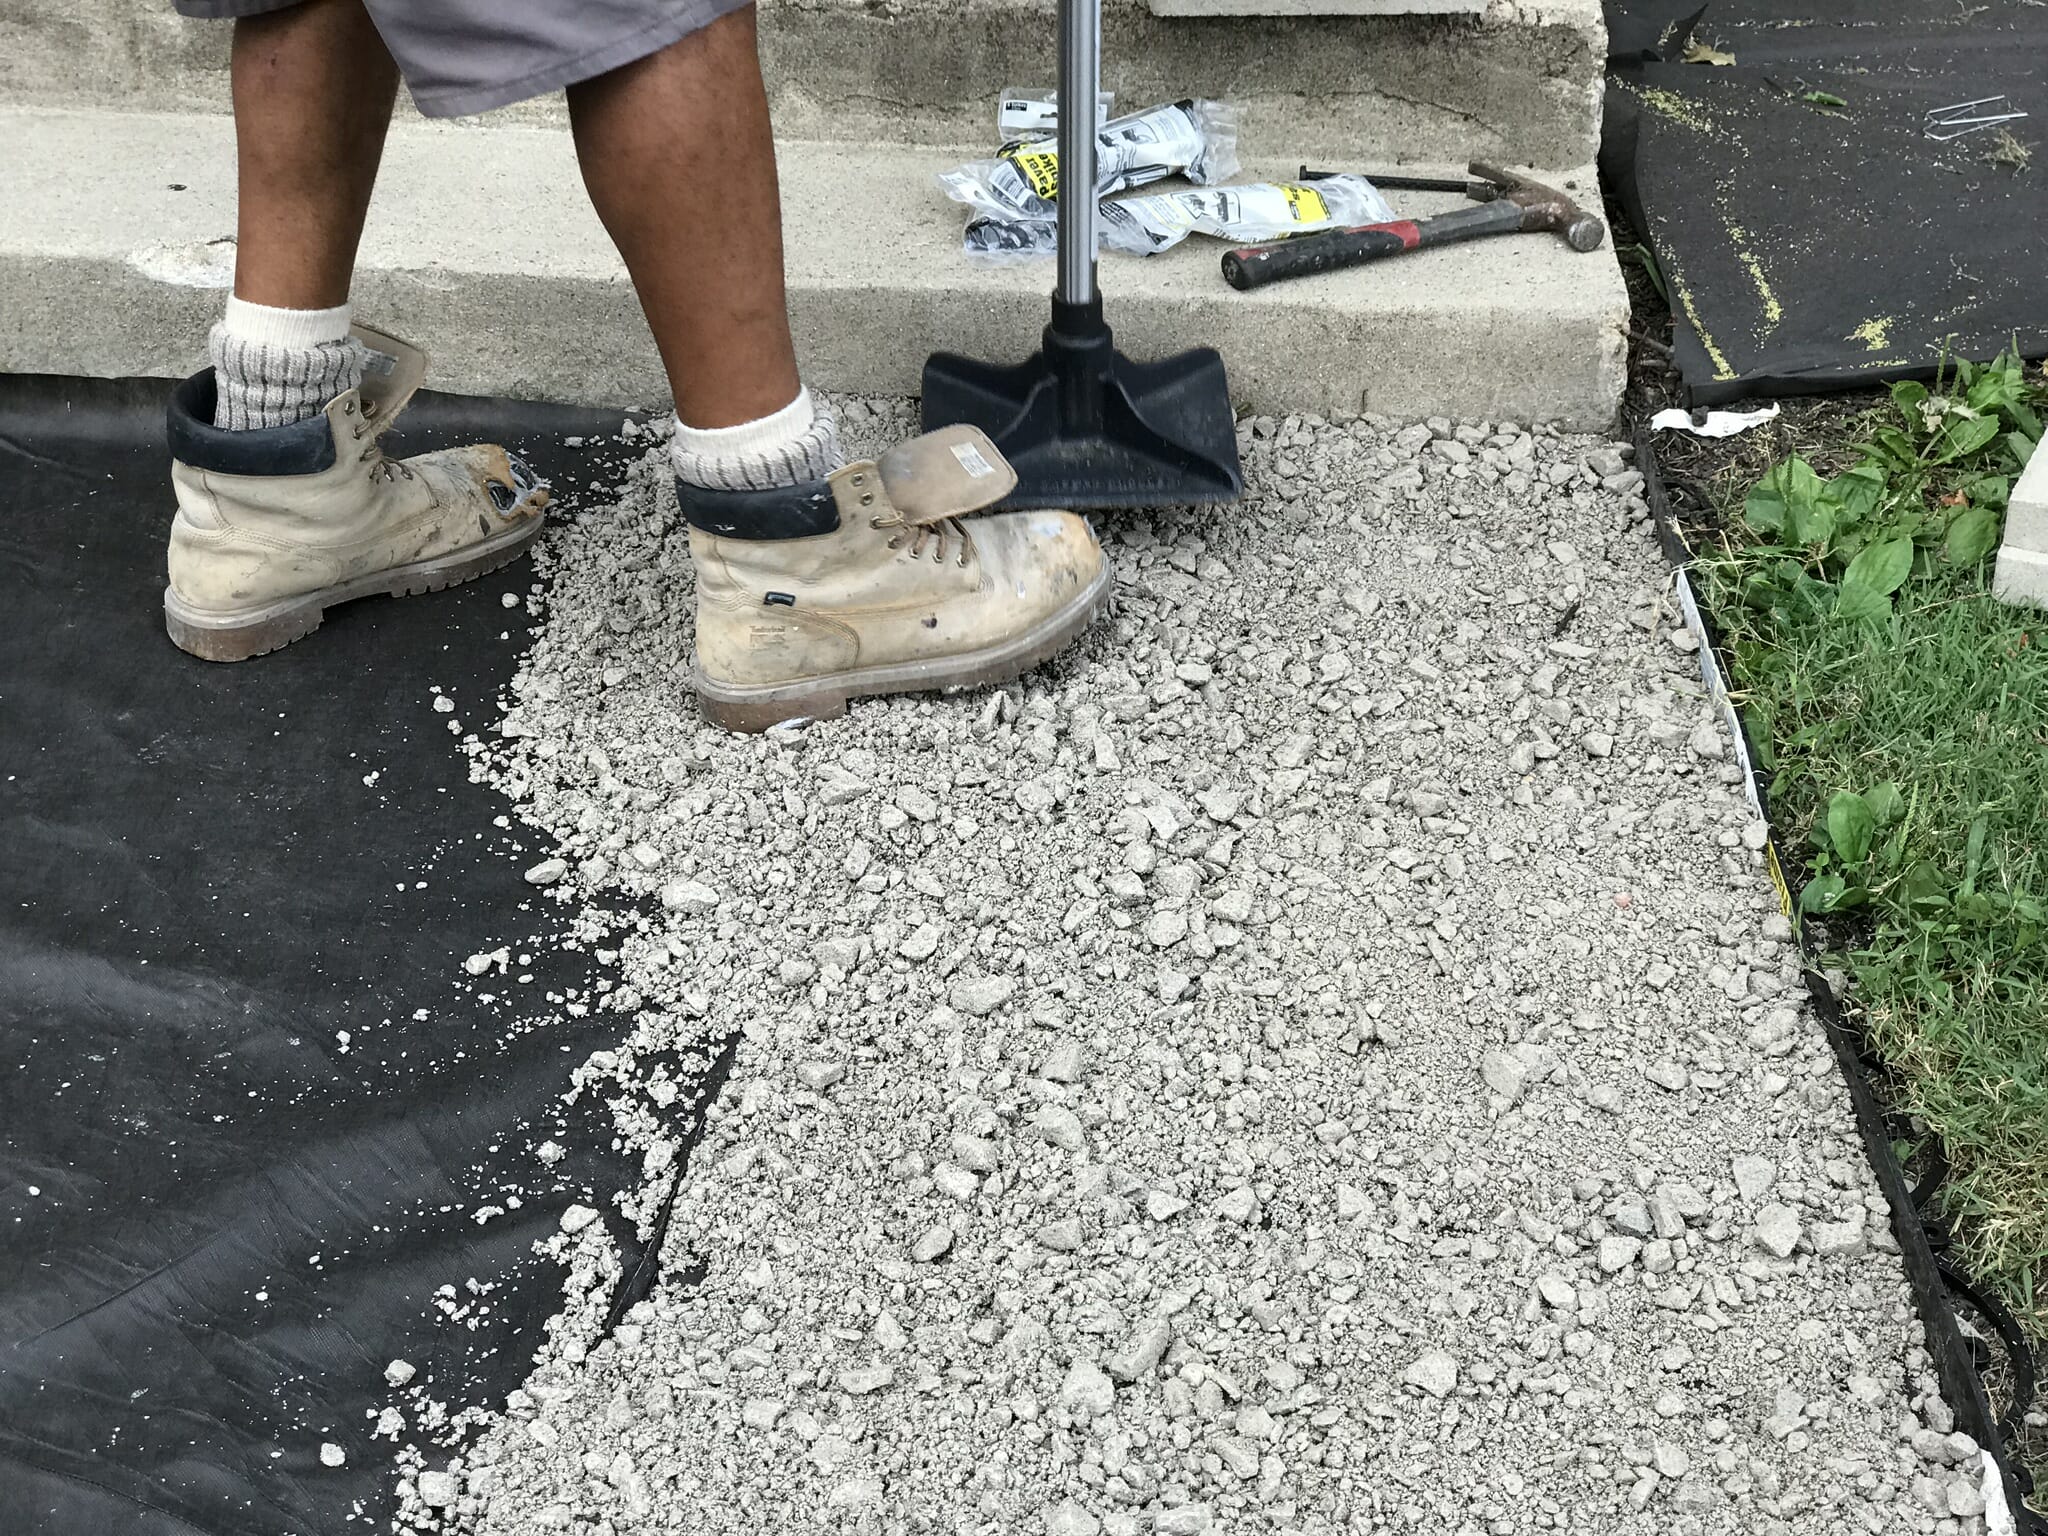
We spread the finer paver sand on top of it, and started laying pavers. Later getting through many rows, we tested them and realized they were wobbly. The paver base was too rocky, and then we removed all of it and started from scratch.
This time, we skipped the paver base and used JUST sand. The effectively sand was so much easier to work with and gave the pavers a soft but firm surface to sit on. We poured near three/iv″ of leveling paver sand on top of the sometime concrete and spread it to level out any minor surface imperfections.
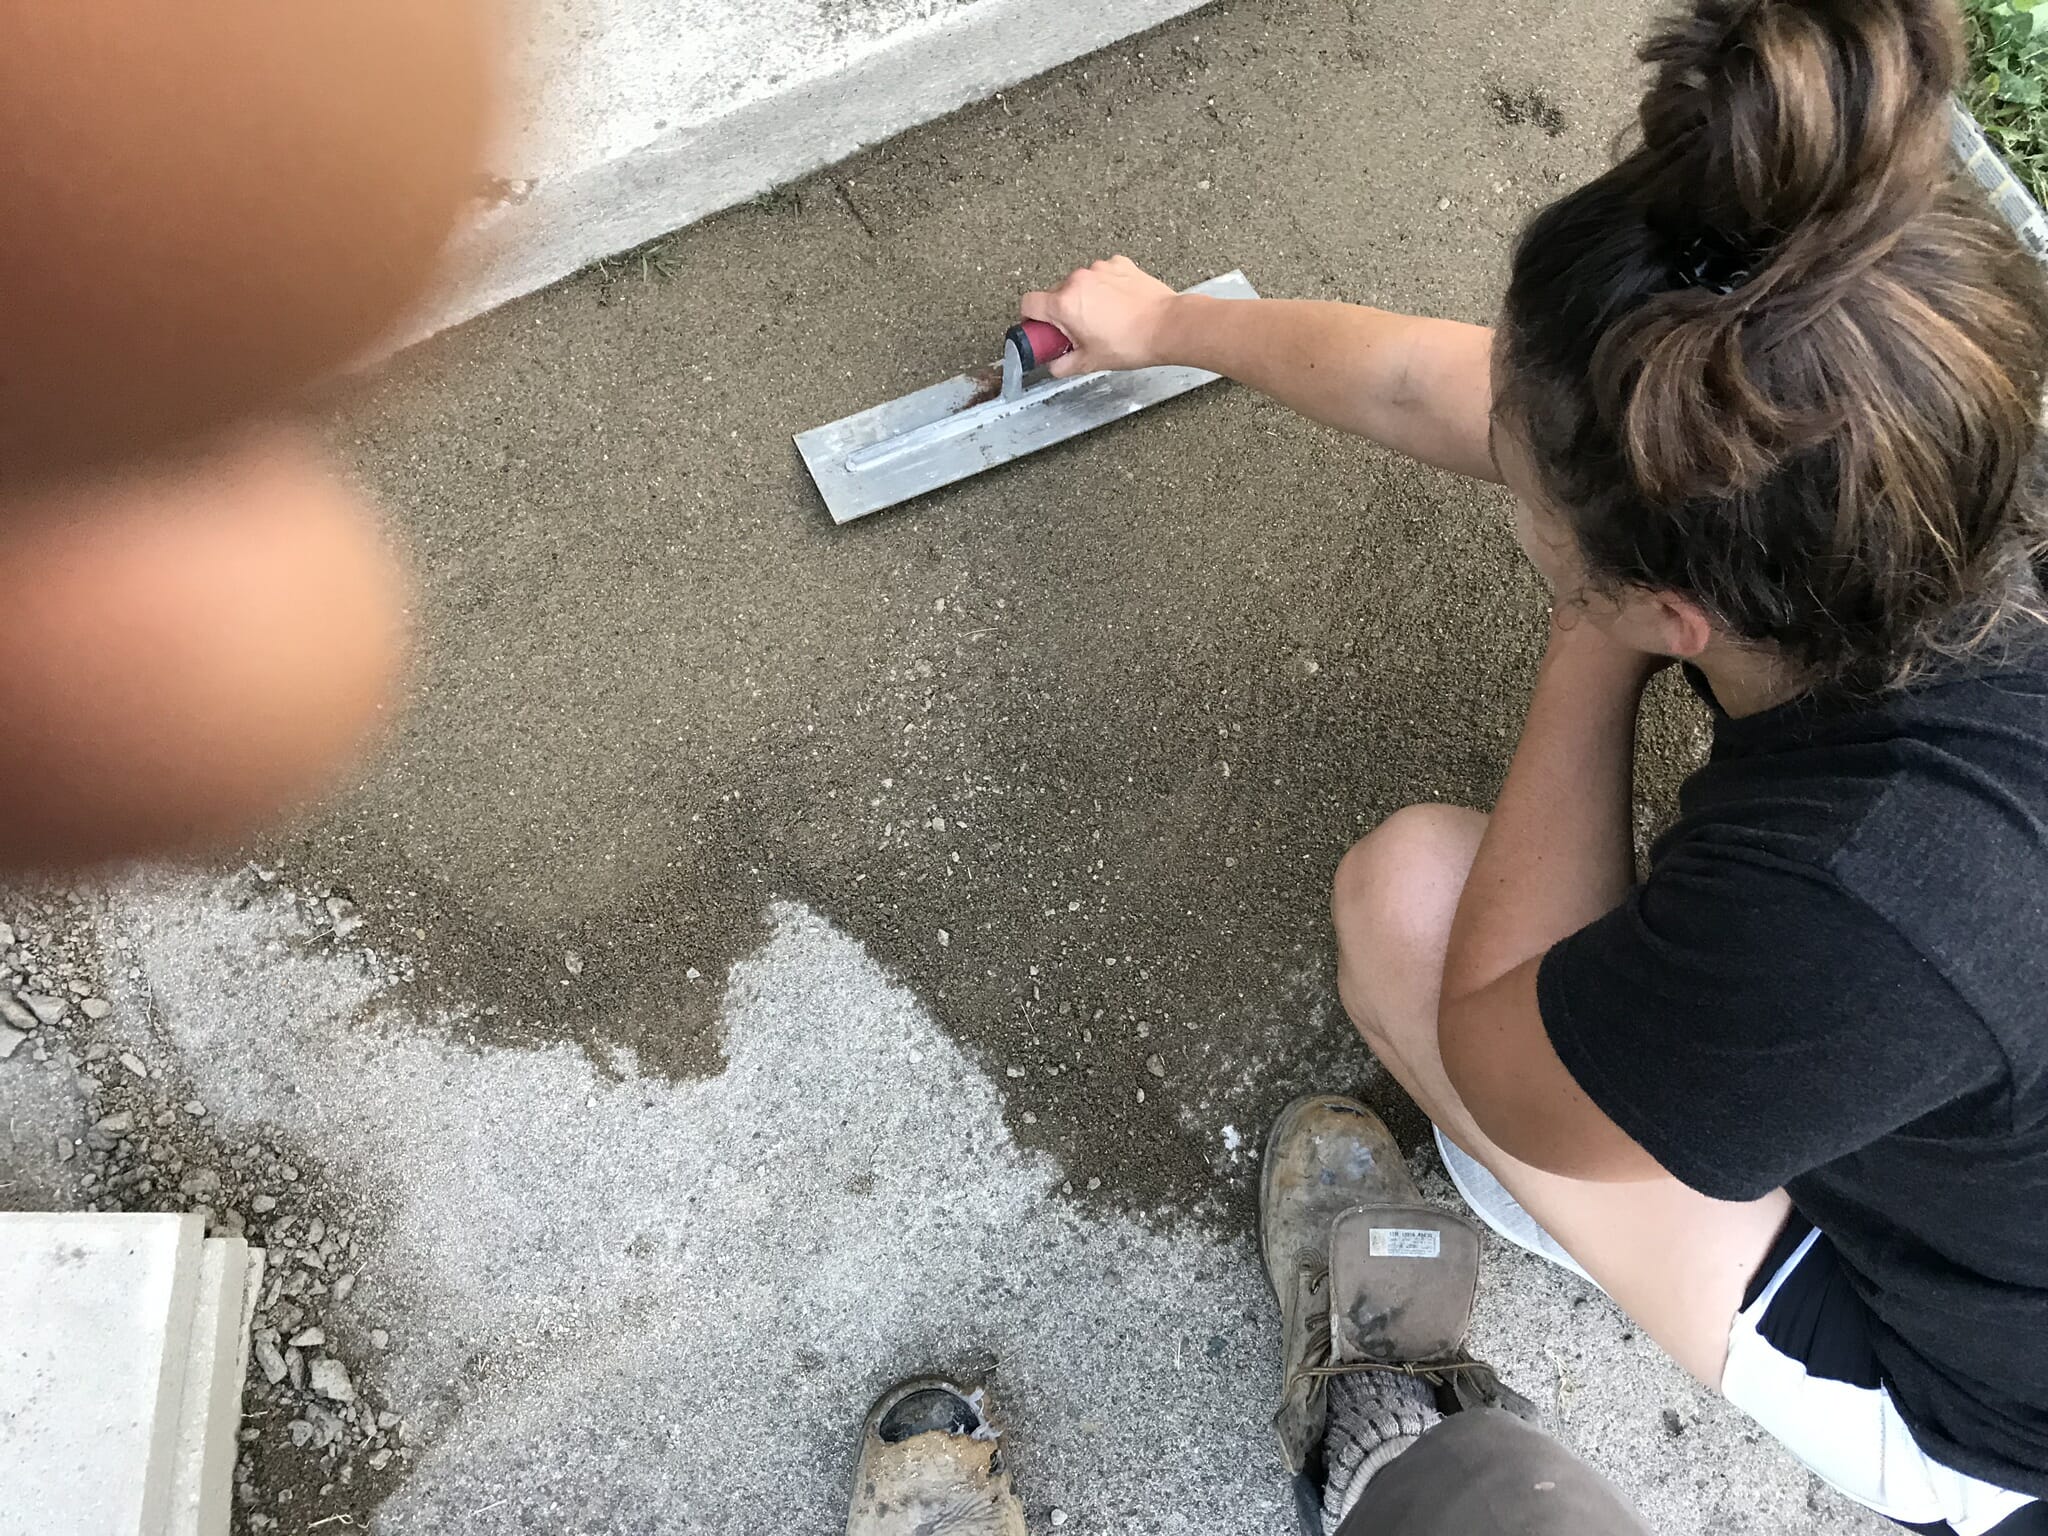
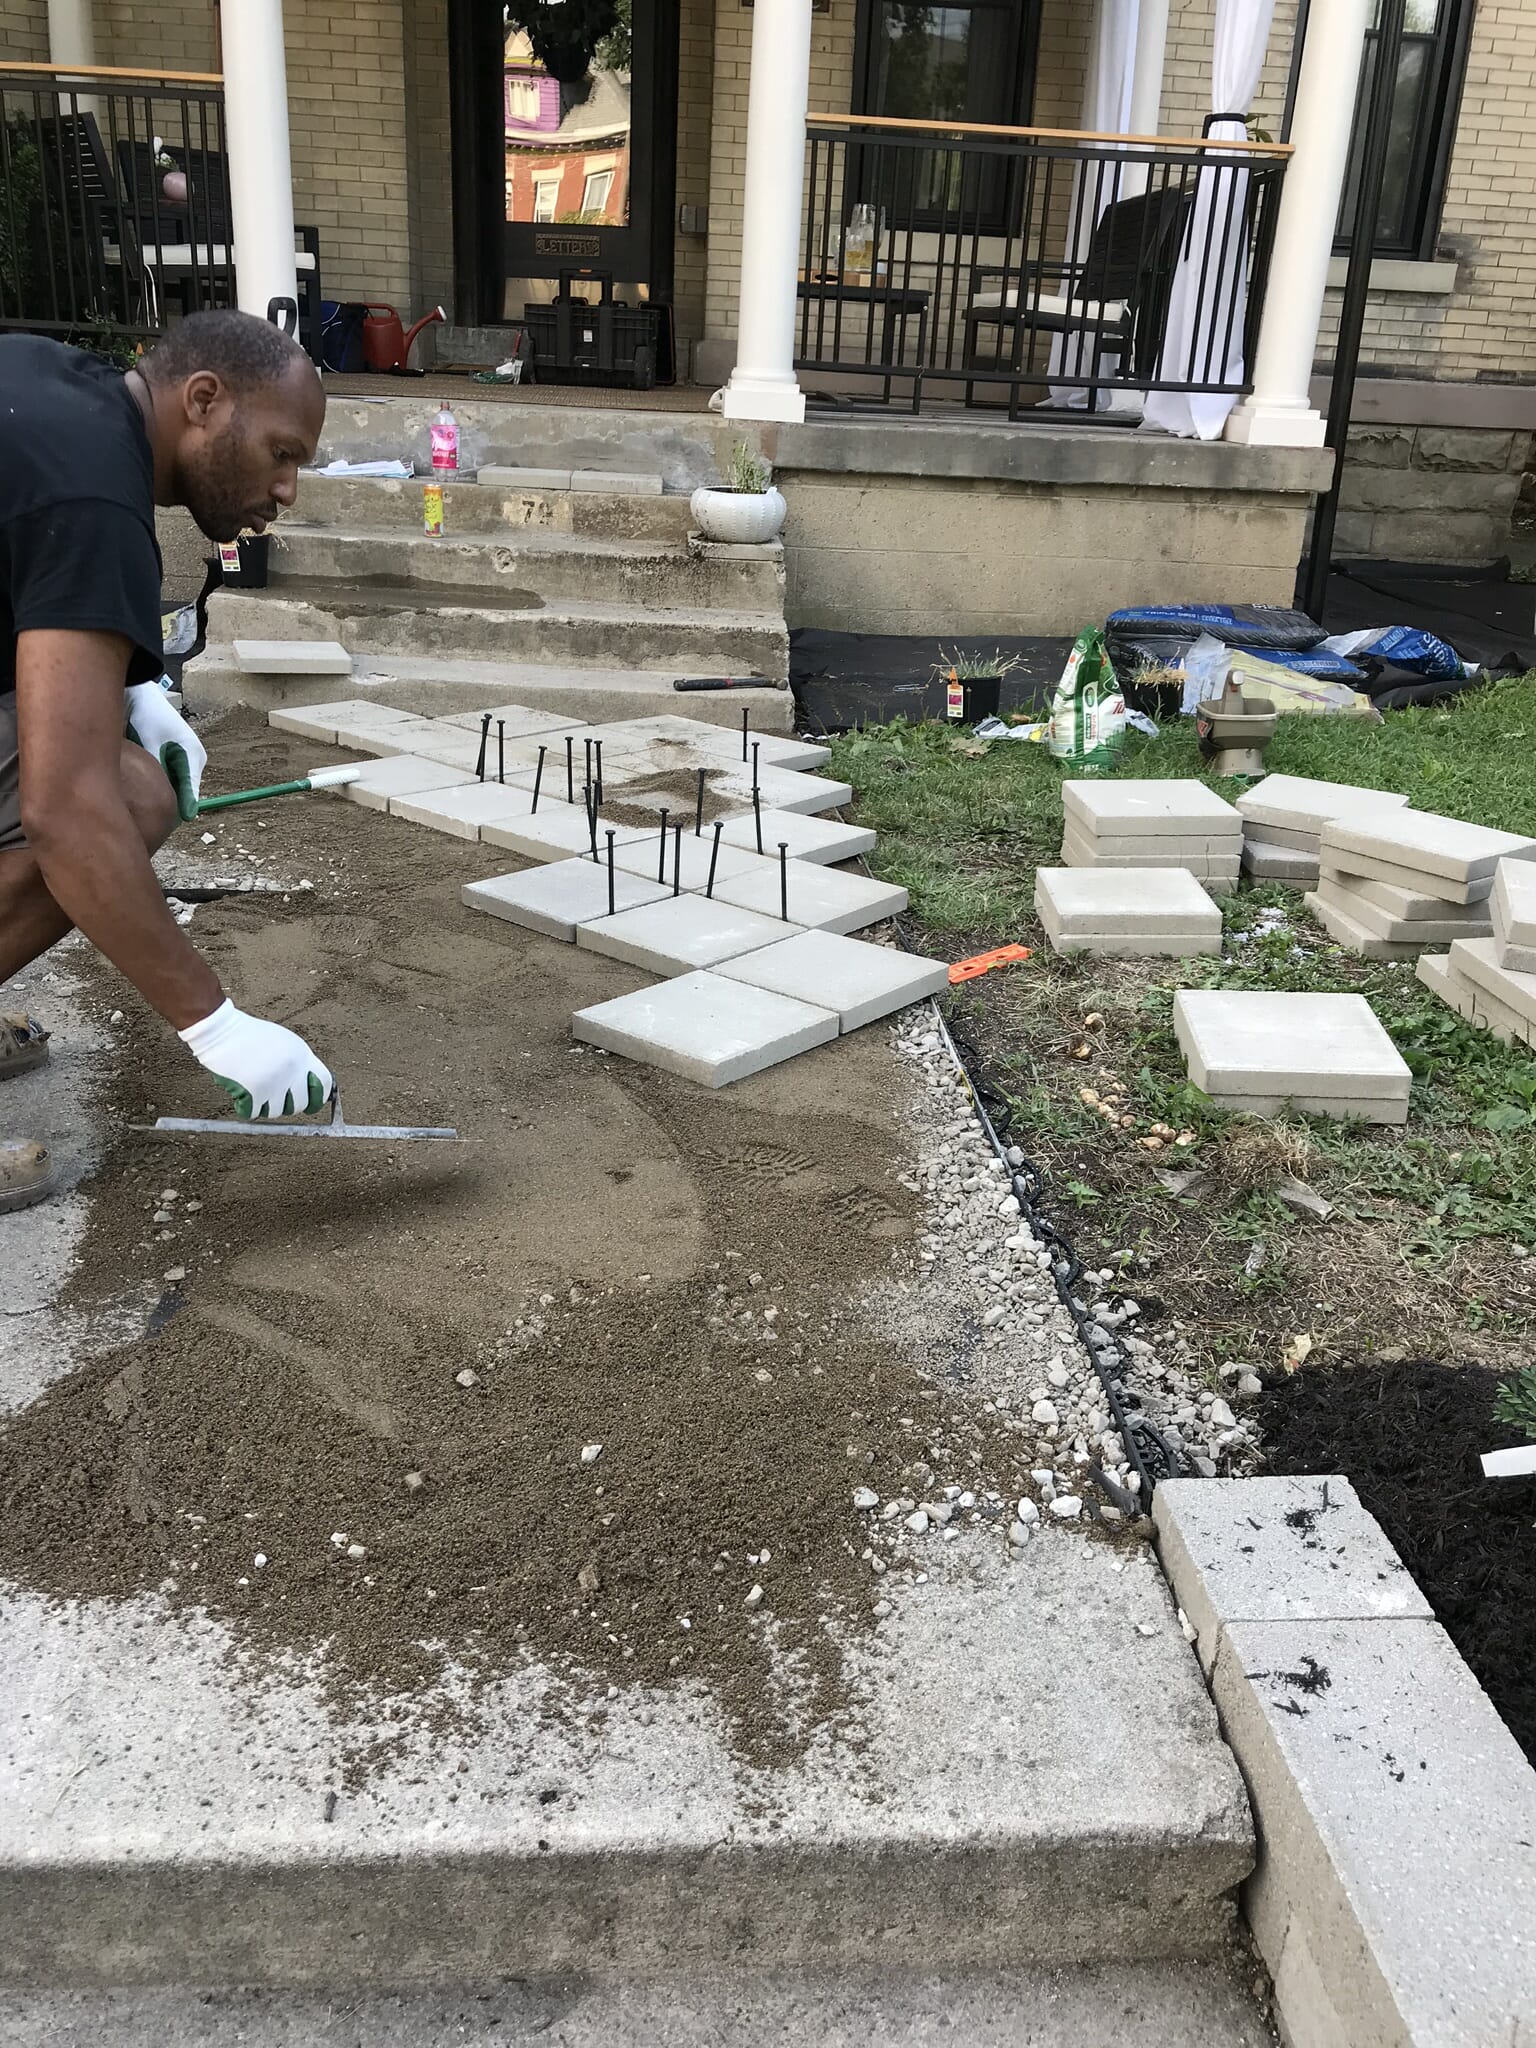
Footstep 6: lay pavers
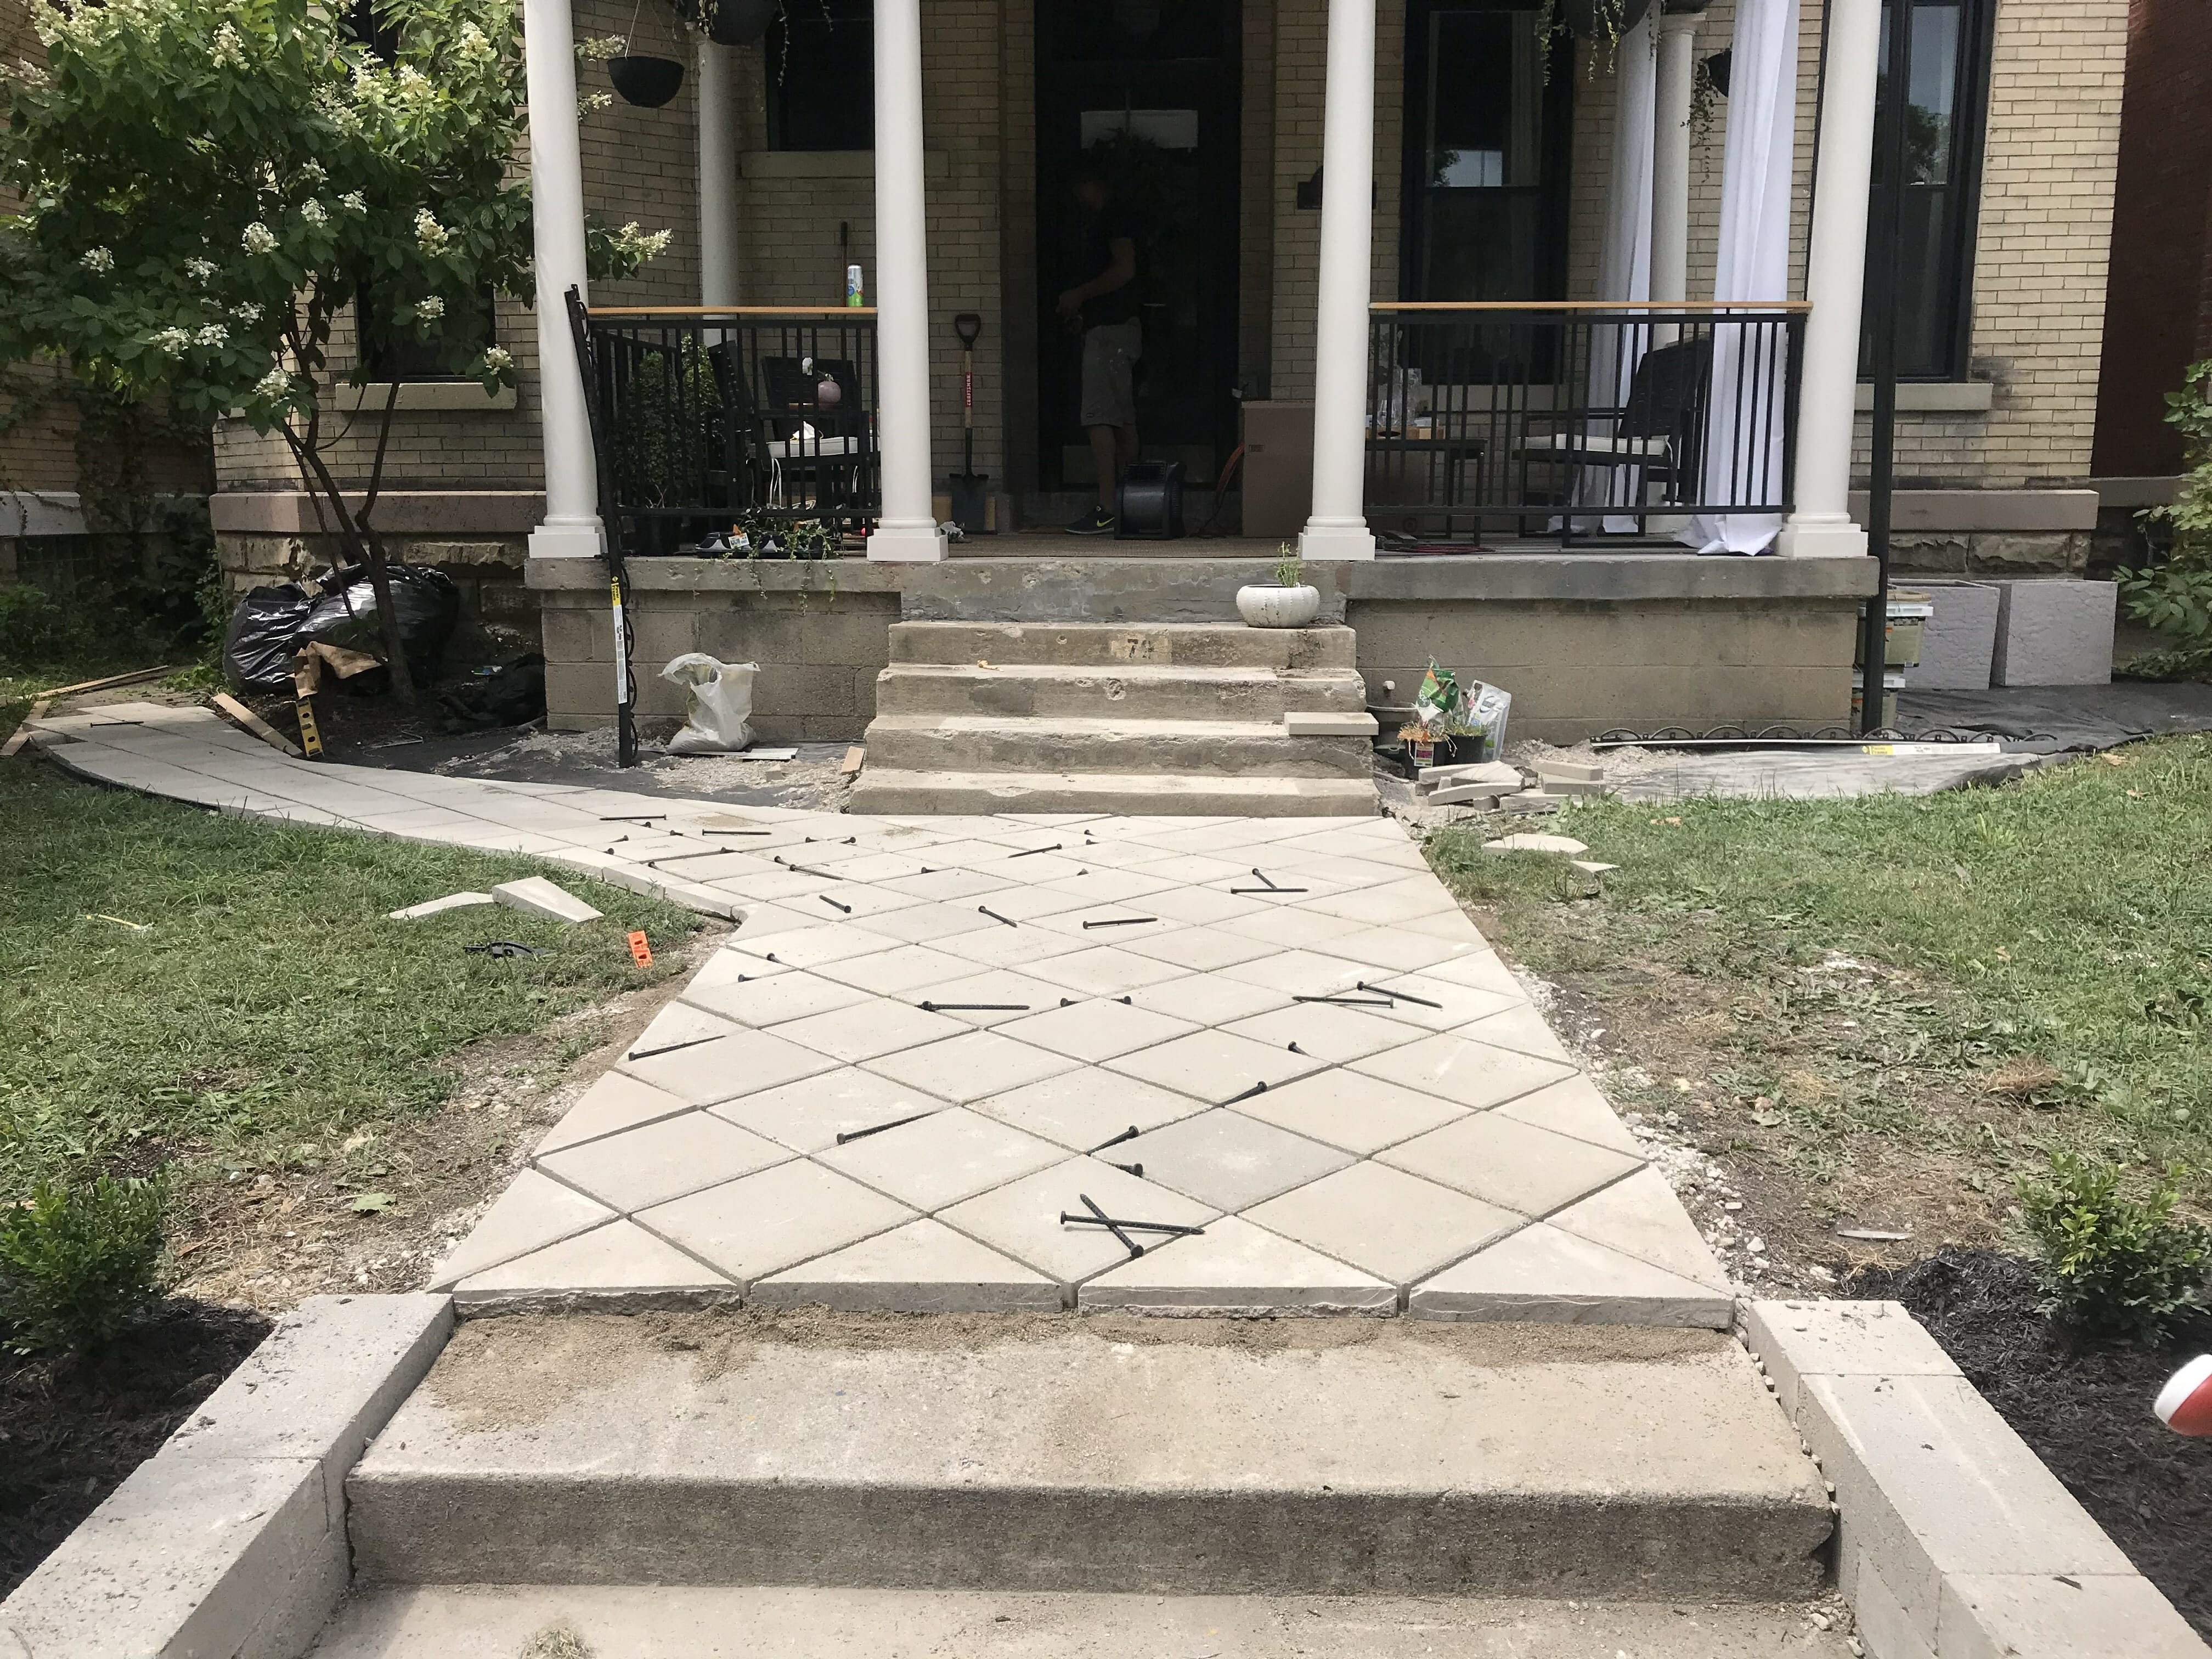
We laid our pavers 1 past 1 based on the measurements we marked during our dry out run. We used plastic paver spikes as spacers, placing one in each joint. When nosotros were finished, nosotros reused them for additional edging we installed around the yard.
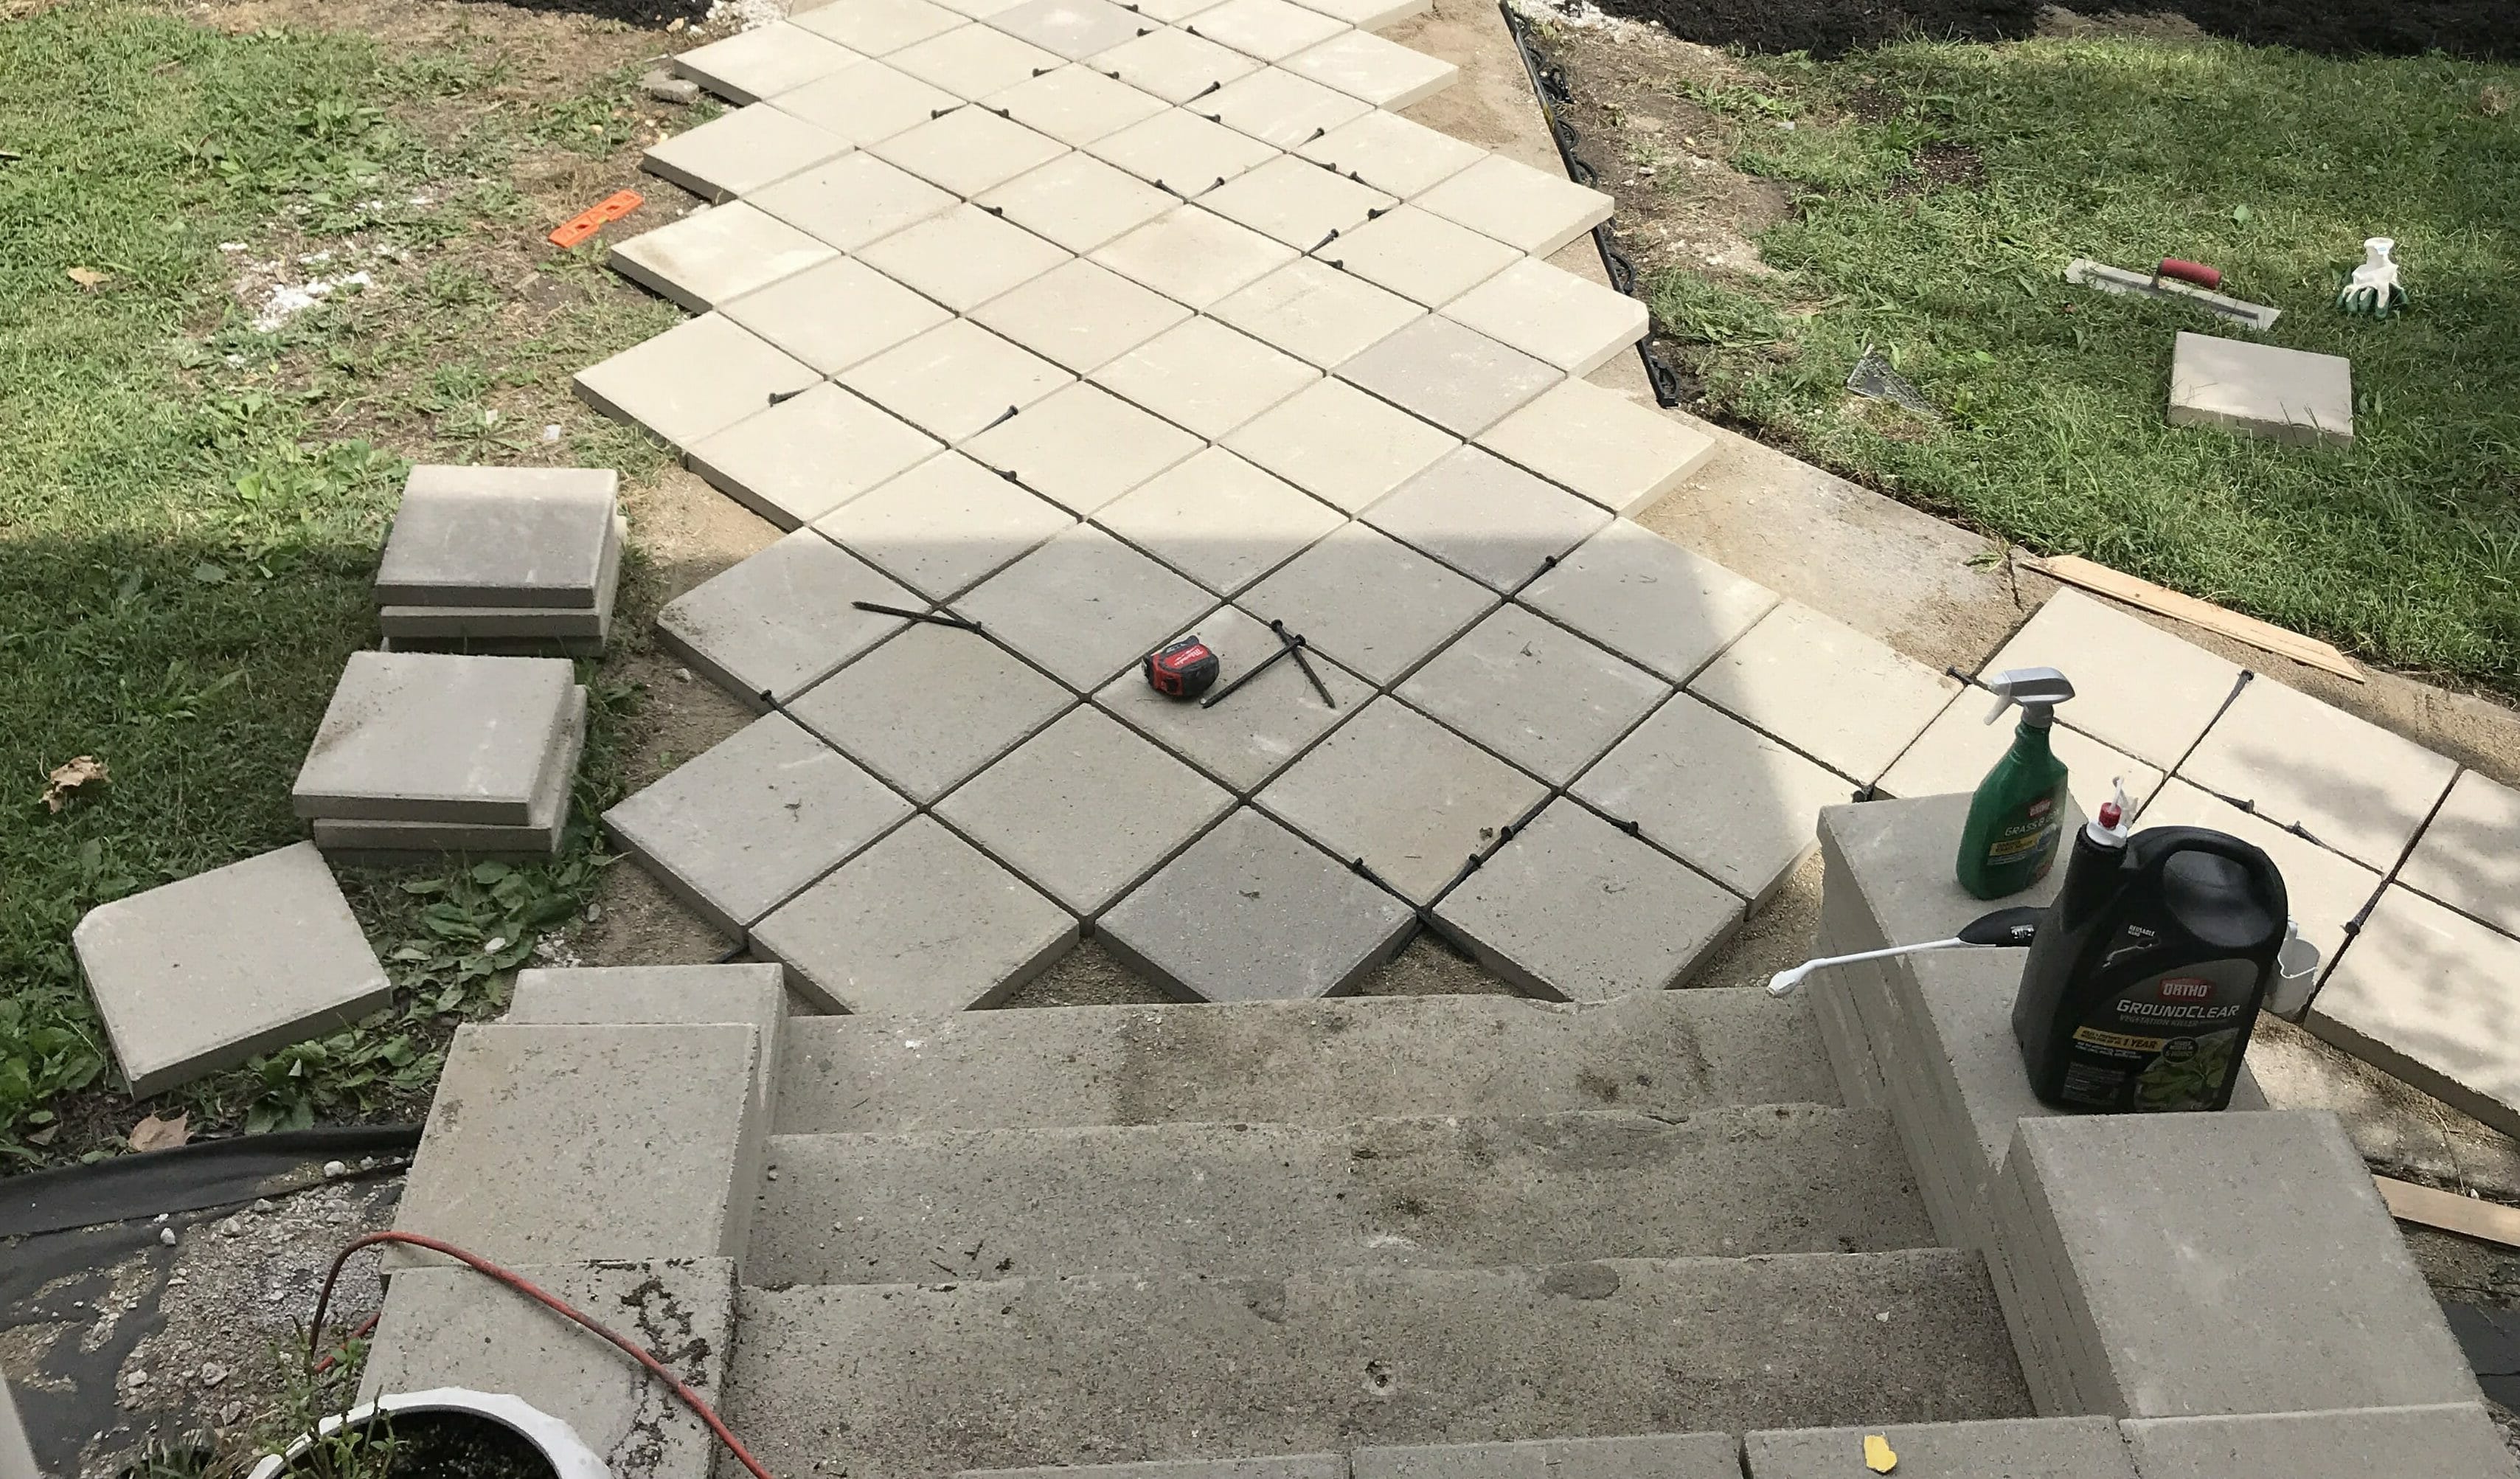
Step six: Make ALL OF YOUR CUTS
Angle Grinder // Round Saw // Bombardment
To make our cuts, nosotros used a round saw for directly cuts, and a grinder for our curved cuts. For both tools, we used diamond tip blades, which are needed for cutting through physical and stone without chipping. Because we laid our pavers in a diamond pattern and had big bend in our pathway, we had to brand a LOT of cuts. Information technology took the states Bryan many hours to get through all of them, but information technology was worth it!
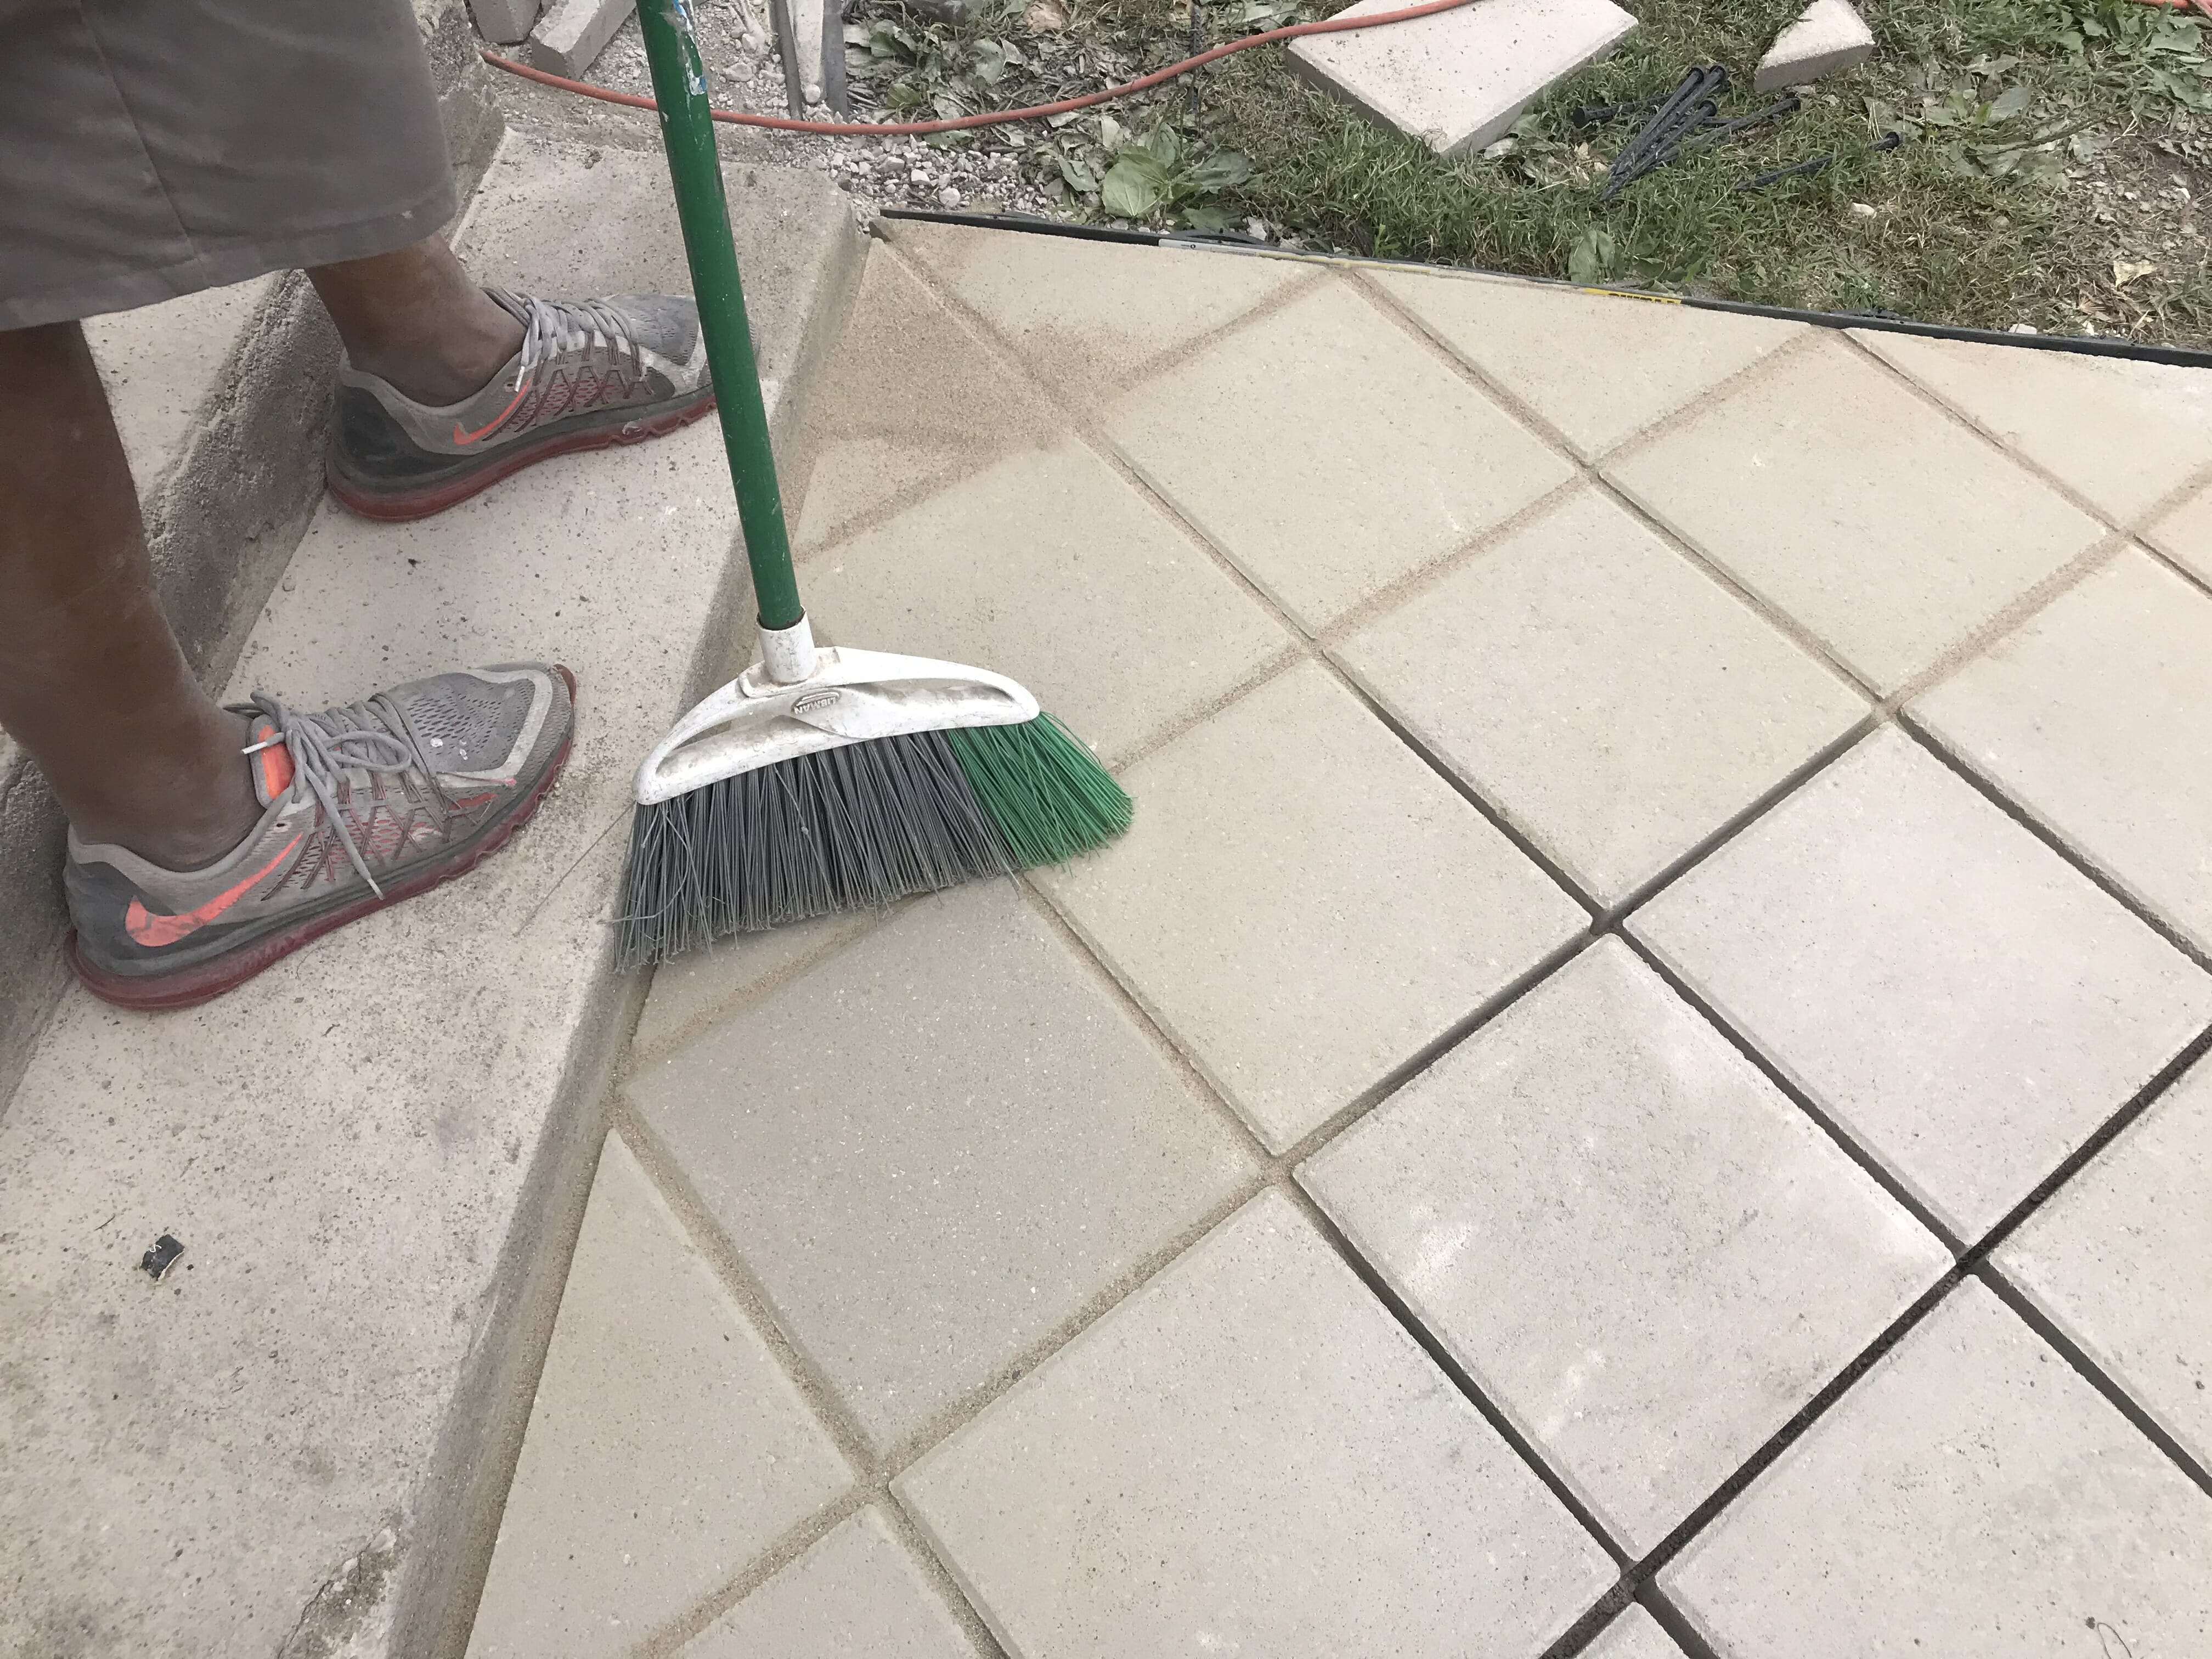
step 7: spread polymeric sand
Once all of the pavers were in place and our cuts were finished, we cleaned them off, removed the spacers, and spread polymeric sand into the joints. Polymeric sand is different from regular sand – it has polymers in it that become like a mucilage and concord pavers together when it gets wet.
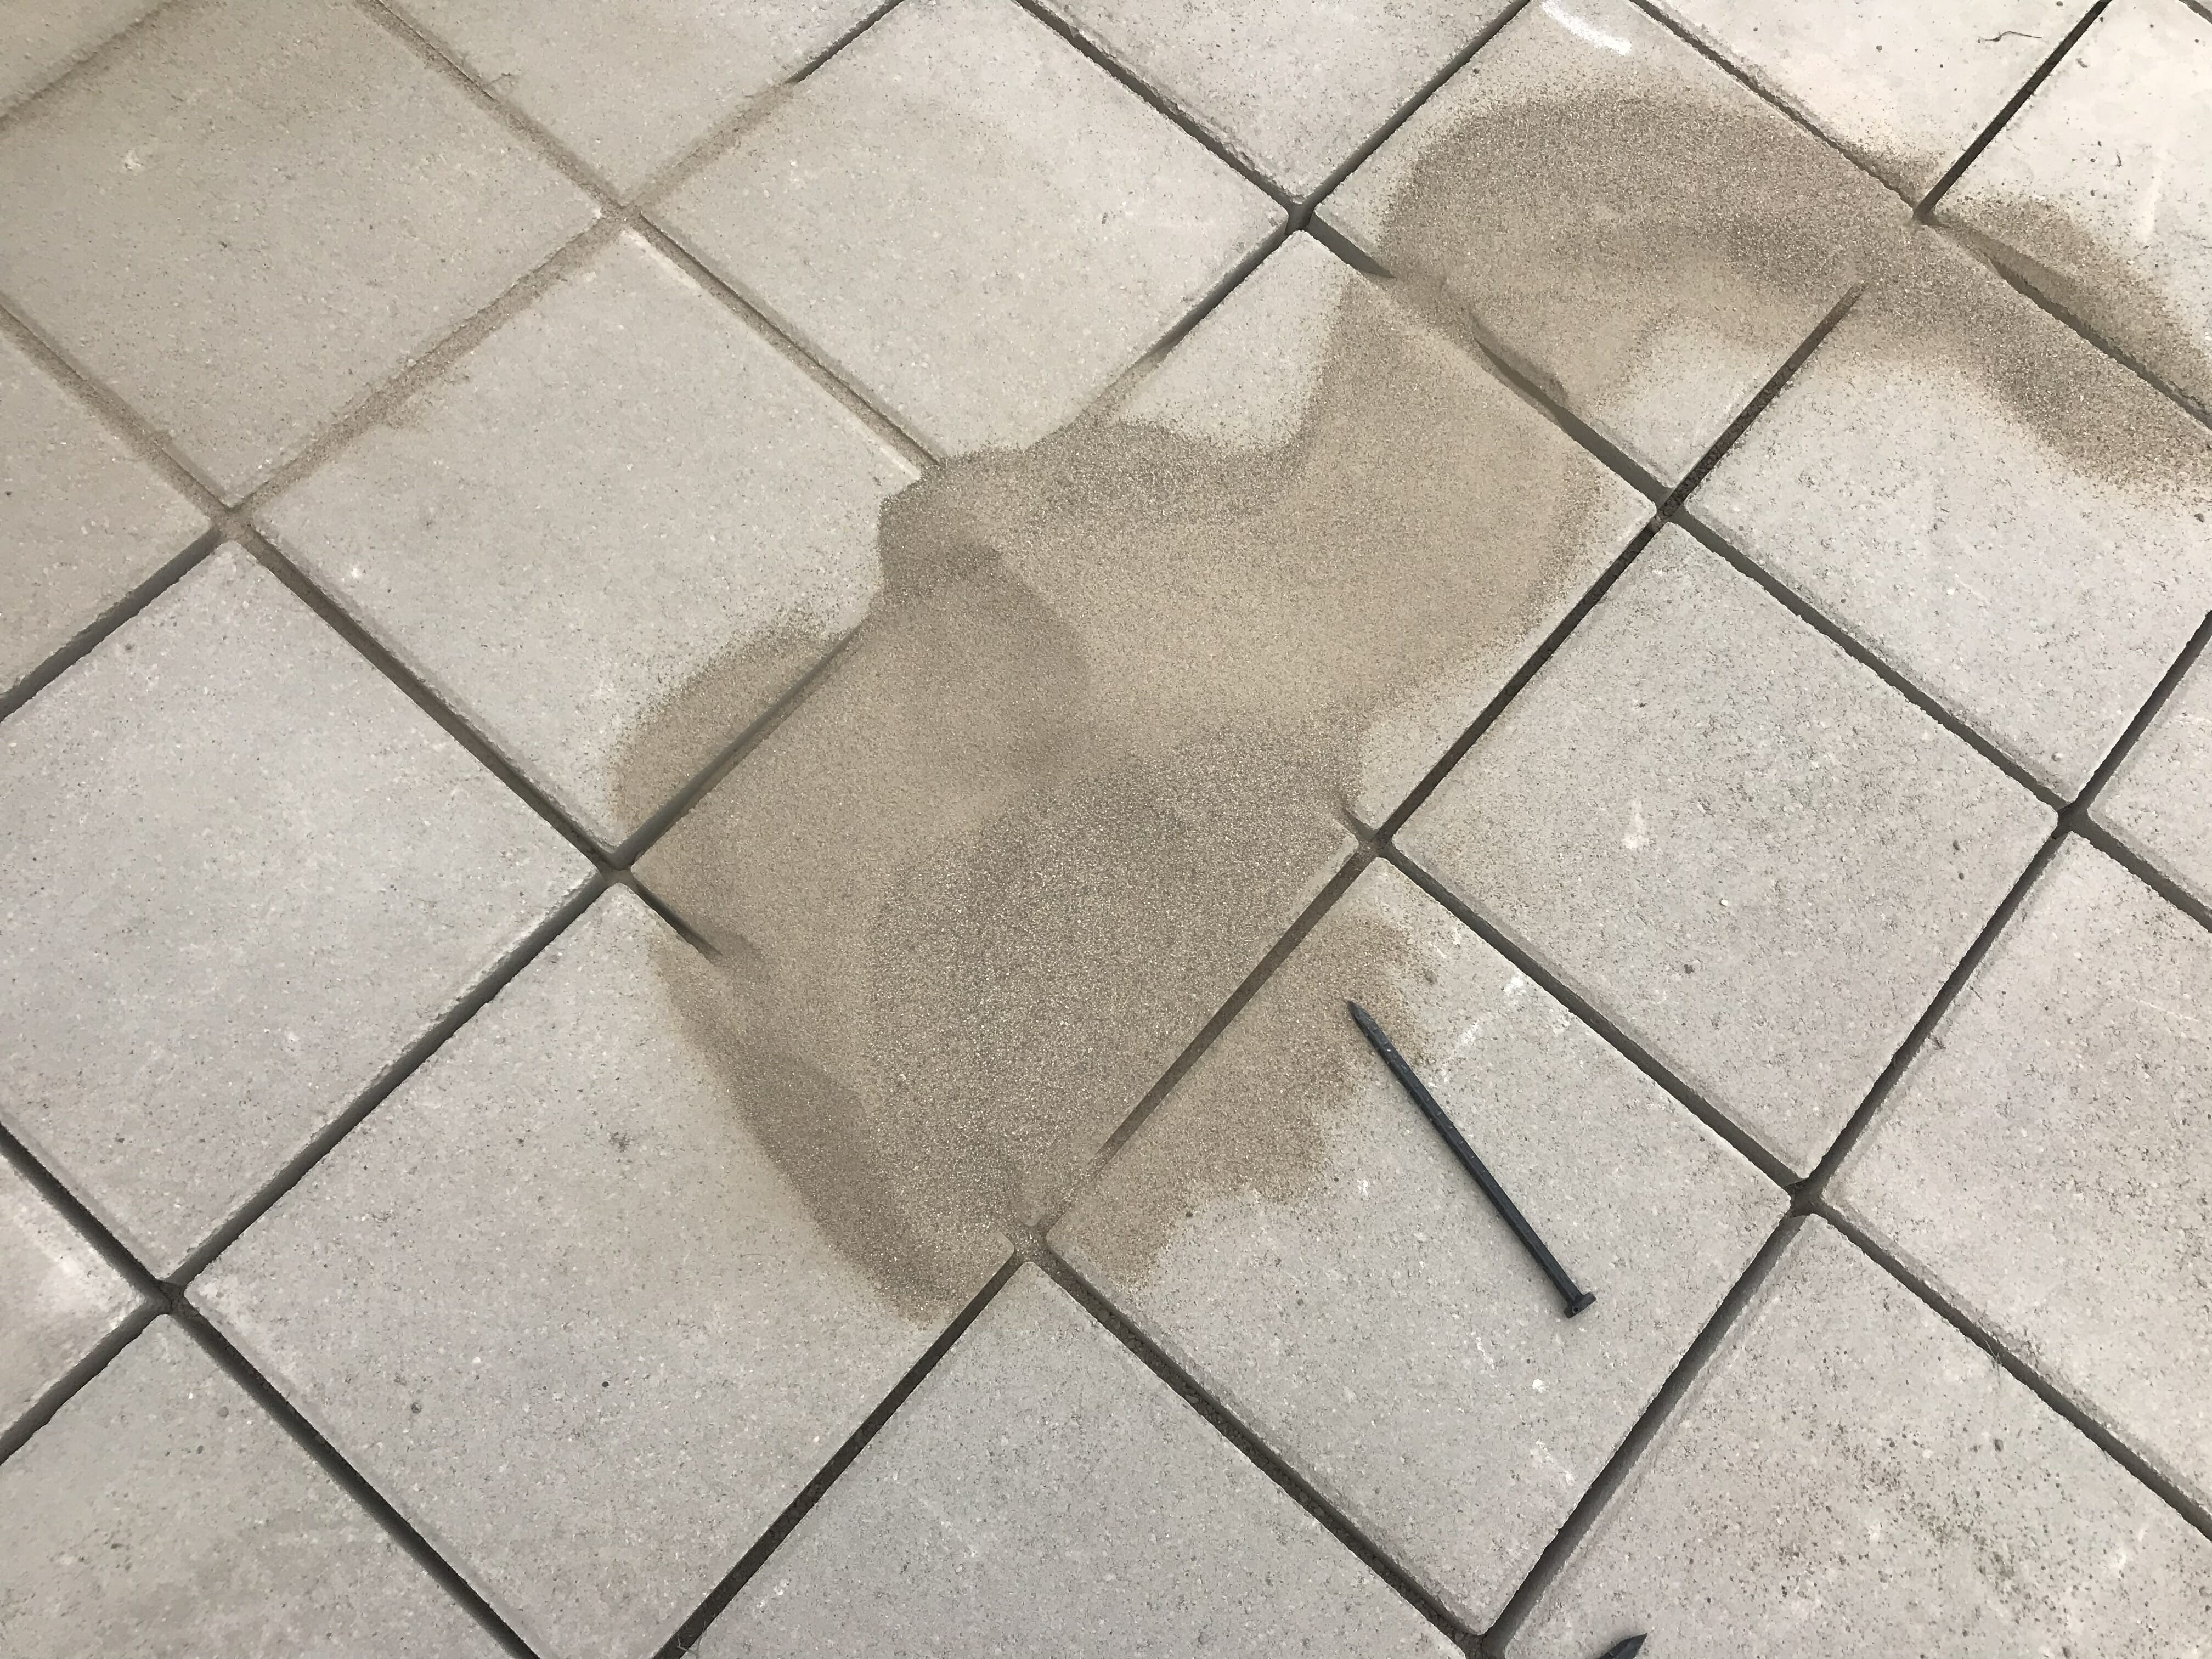
Nosotros used a broom to sweep the sand into all of the joints, and then moisture the unabridged walkway with our hose when we were finished.
I wasn't sure just how secure our pavers would be, being that nosotros didn't employ mortar, simply this for sure worked. They haven't shifted one bit, even with furniture moved in and out, the stroller going over them every 24-hour interval, etc.
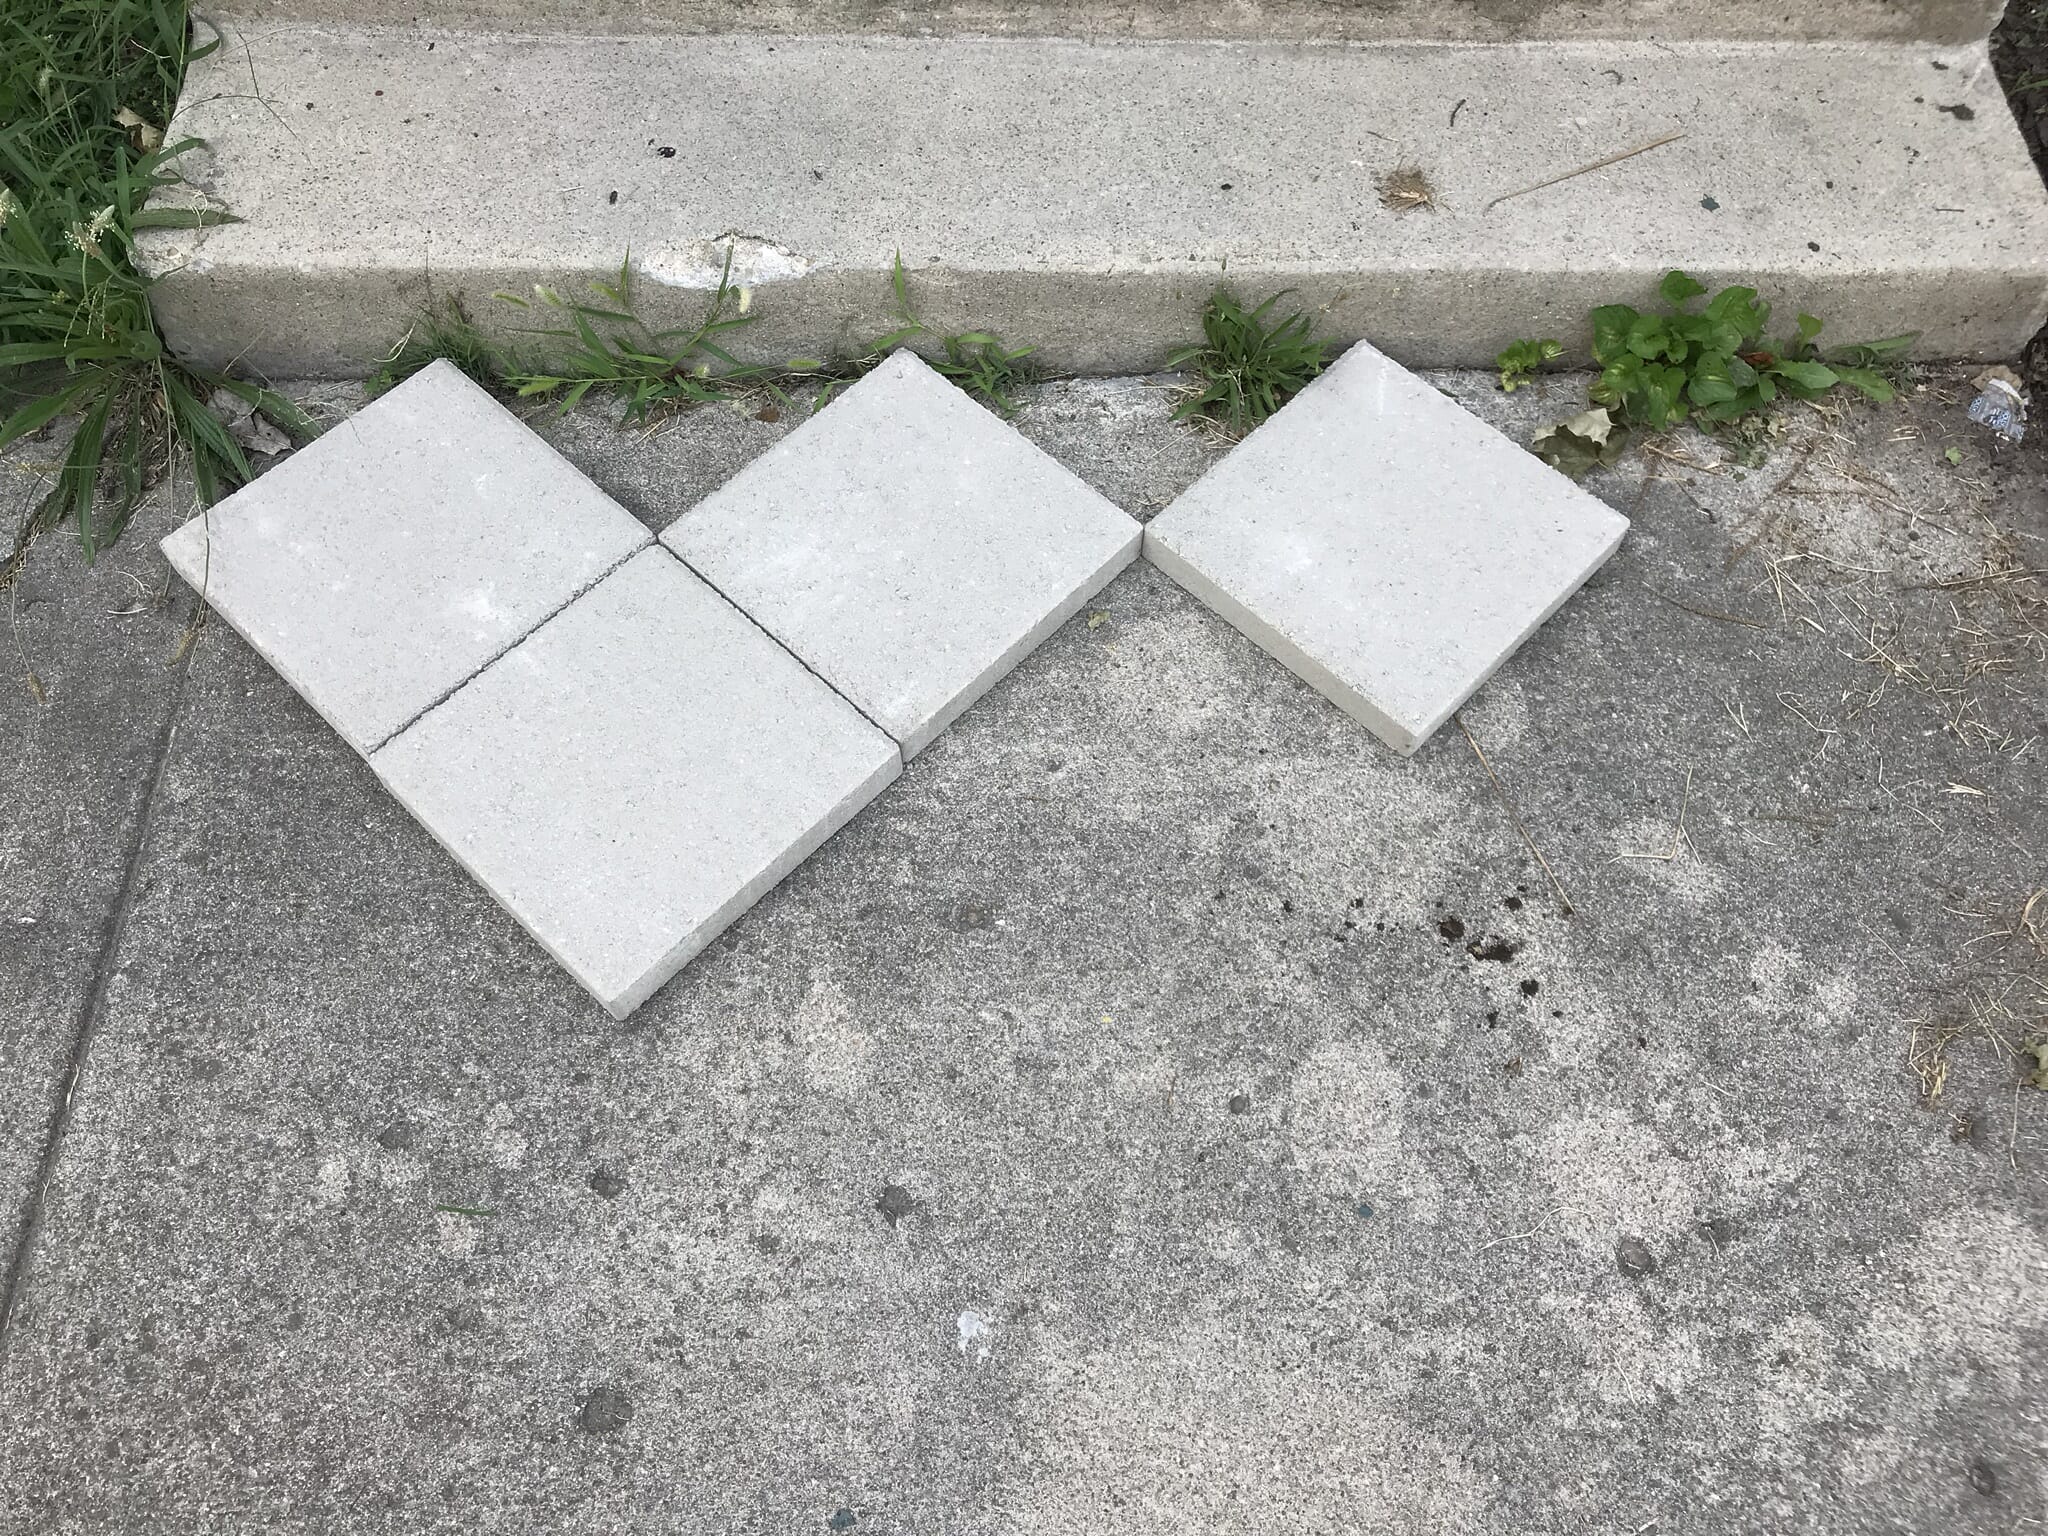
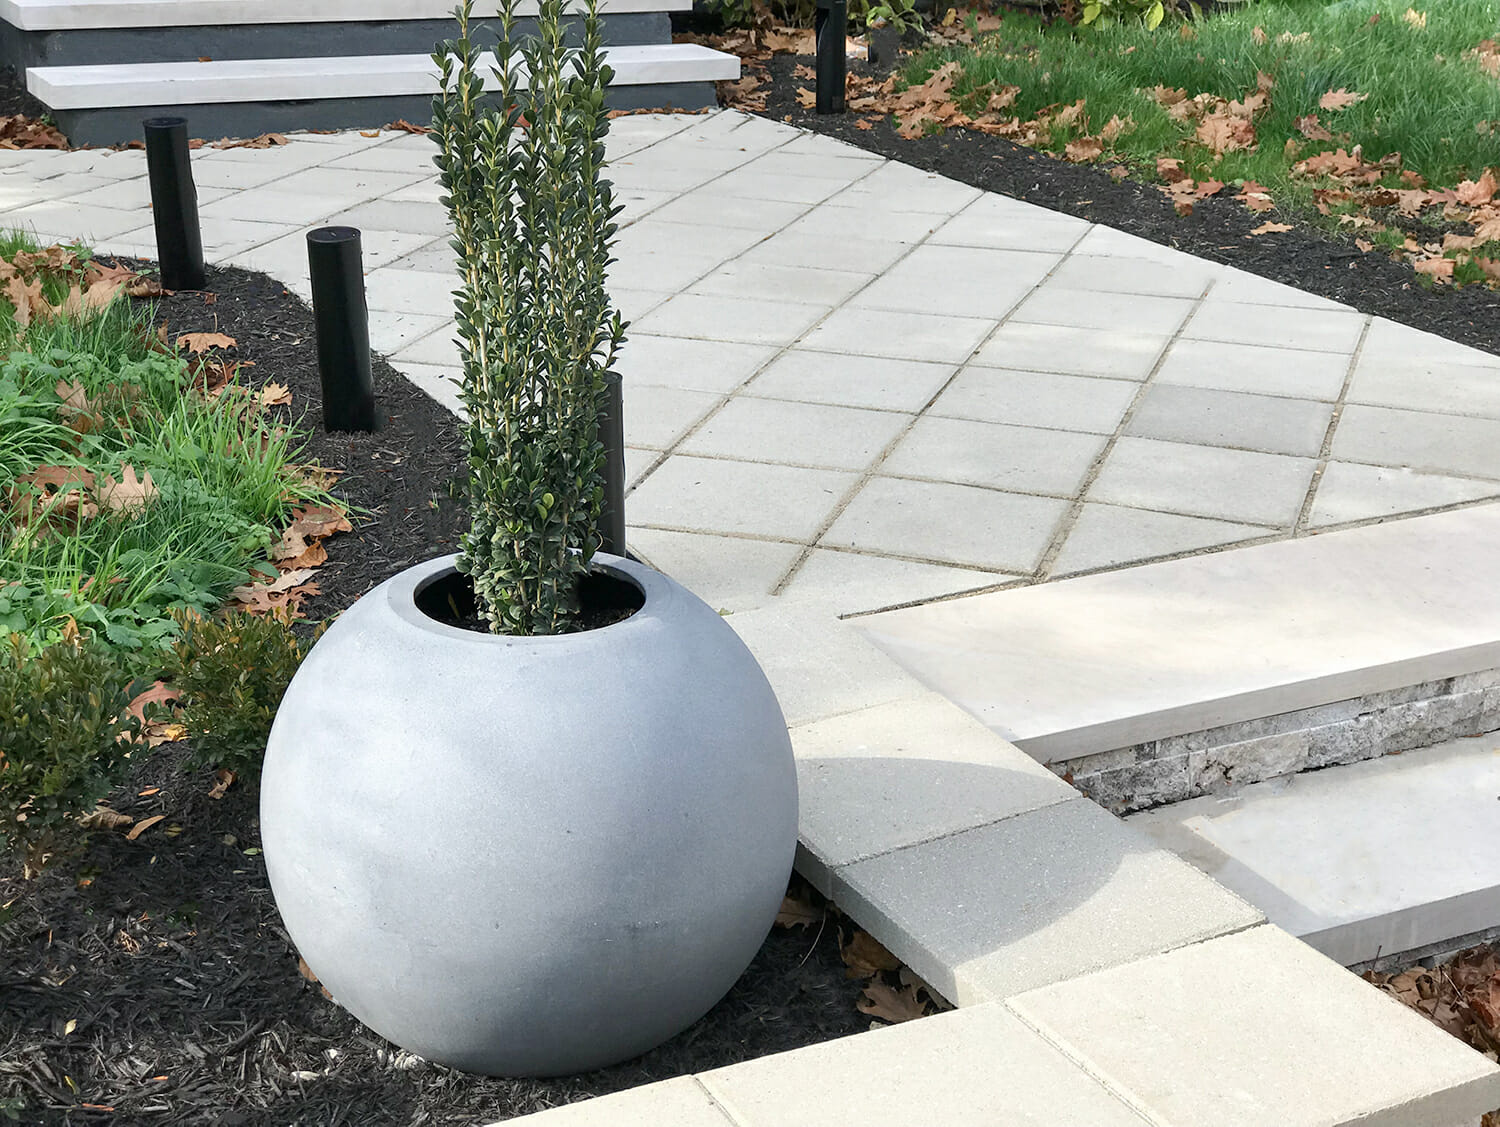
step eight: Adjust stair treads and risers
By installing the i.v″ pavers over our walkway, we needed to add together height to our stair treads to level everything out. Y'all can run across hither how short our bottom porch stride is, and the unfinished border in the front.
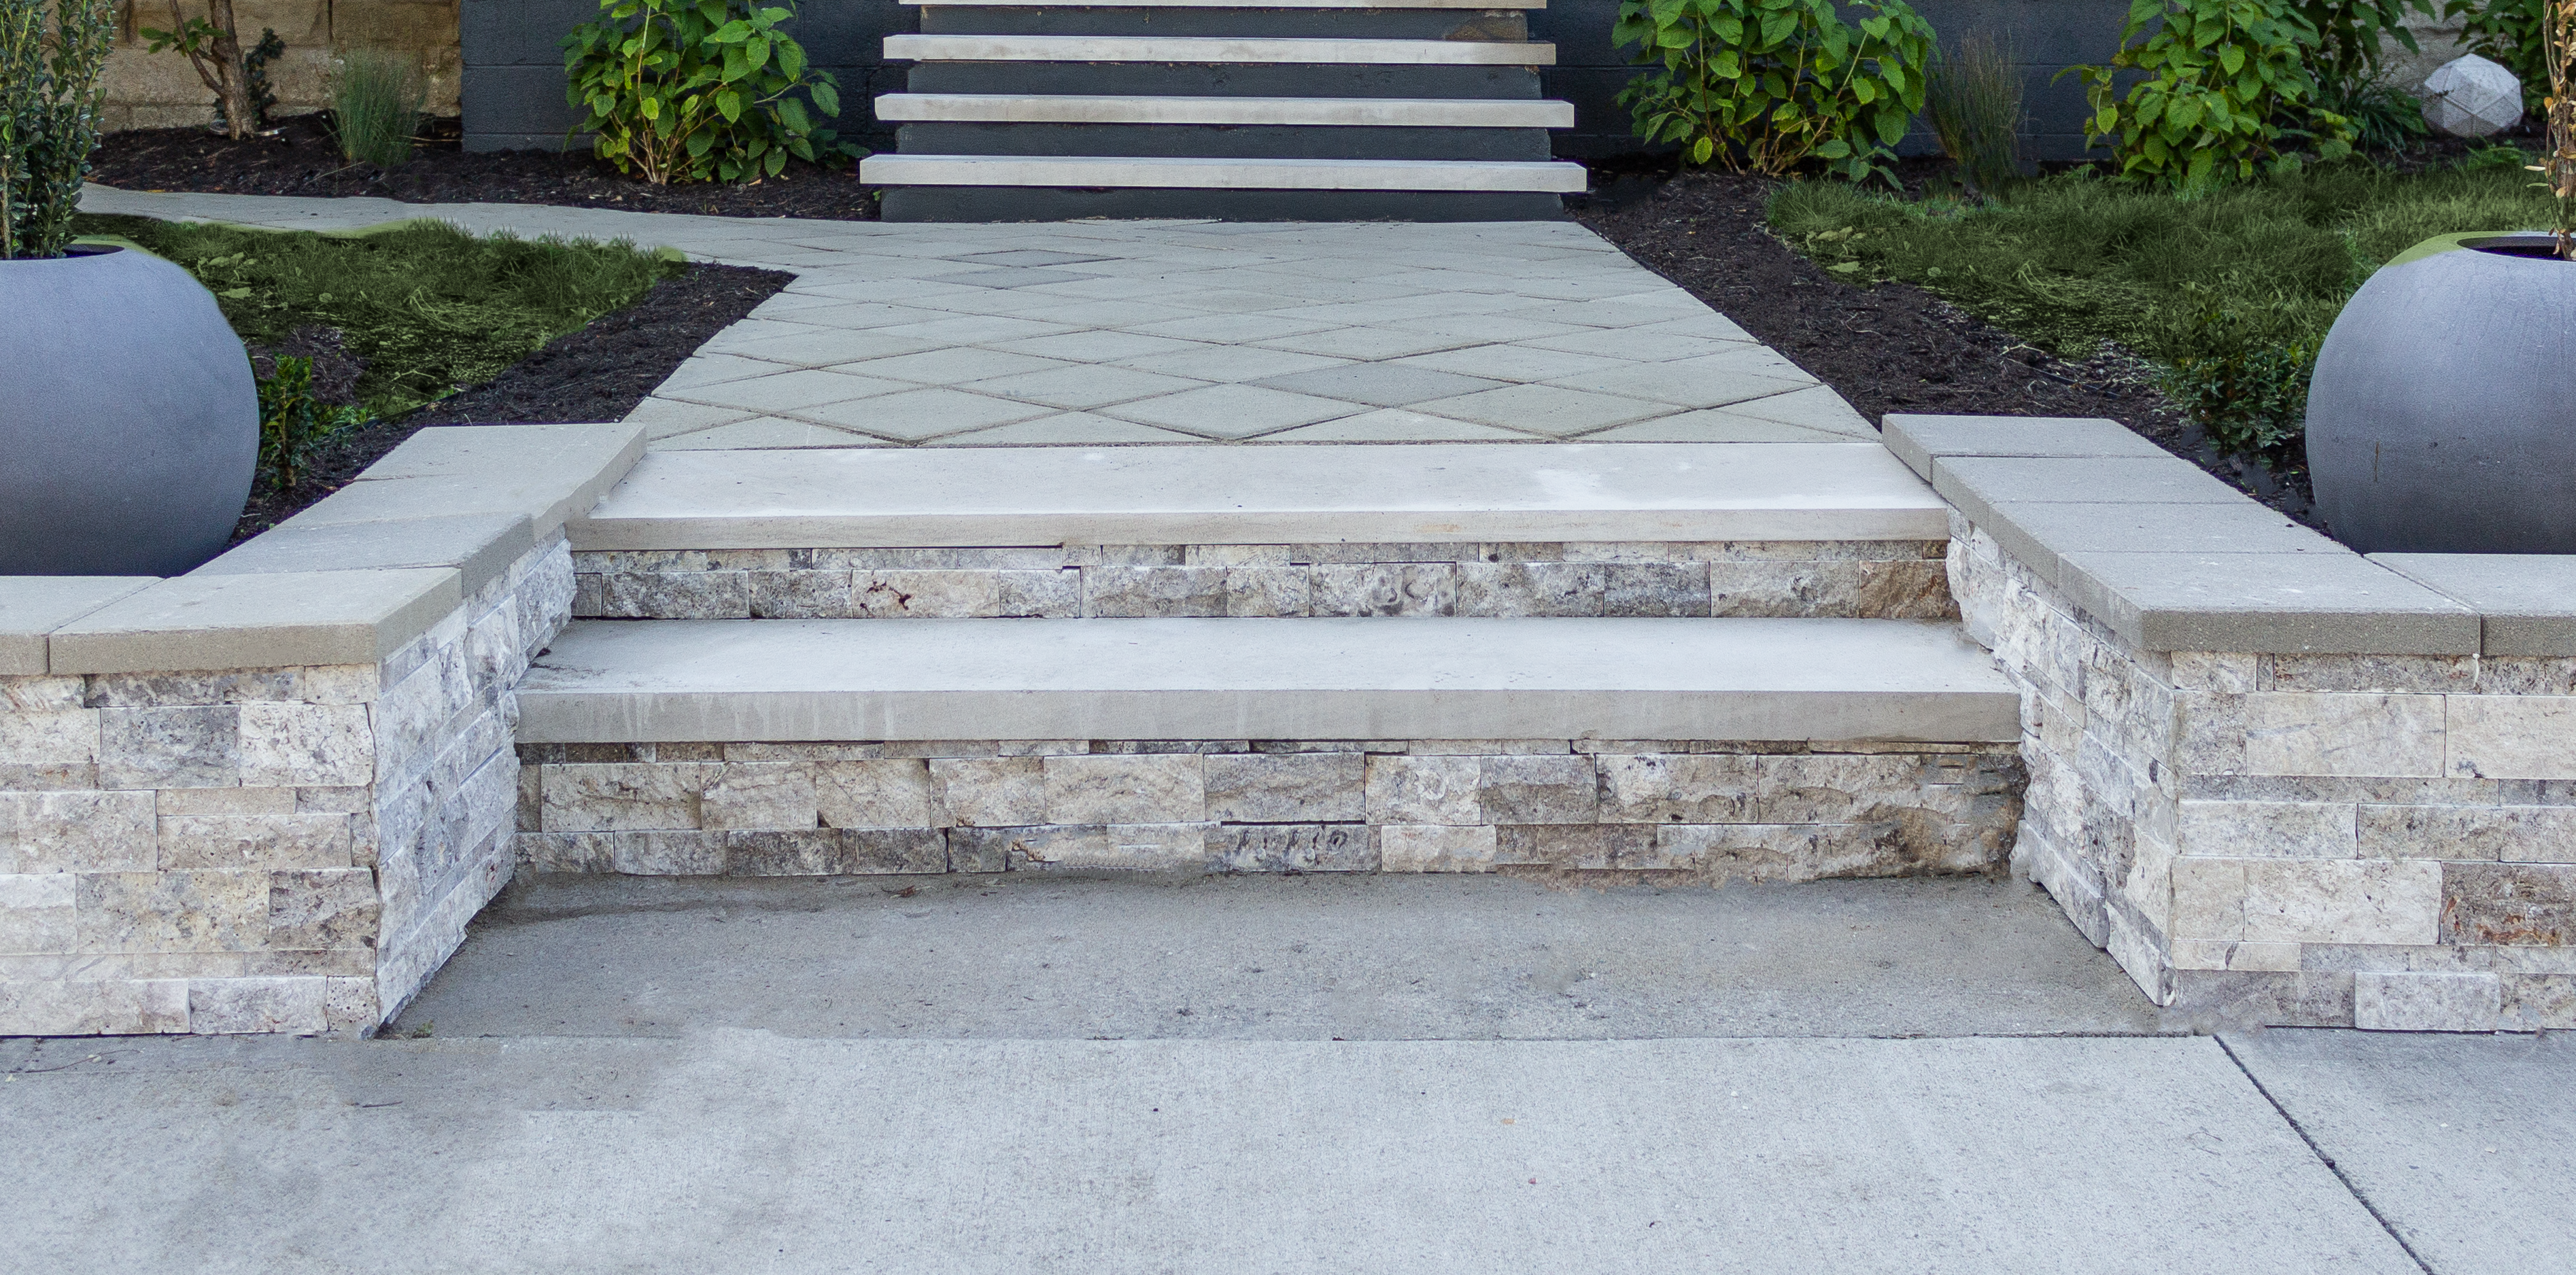
Nosotros bought limestone stair treads from a local stone yard to cap the front of the walkway and all of the stairs. It's a little lighter than the physical is, but over fourth dimension it should even out. Next year, we'll stop our stairs and add limestone risers, but for now, paint will become us through the winter!
We're really, reaaaaaally happy with how it came out! Nosotros saved hundreds, if not thousands, by using these $i pavers and working with what nosotros had.
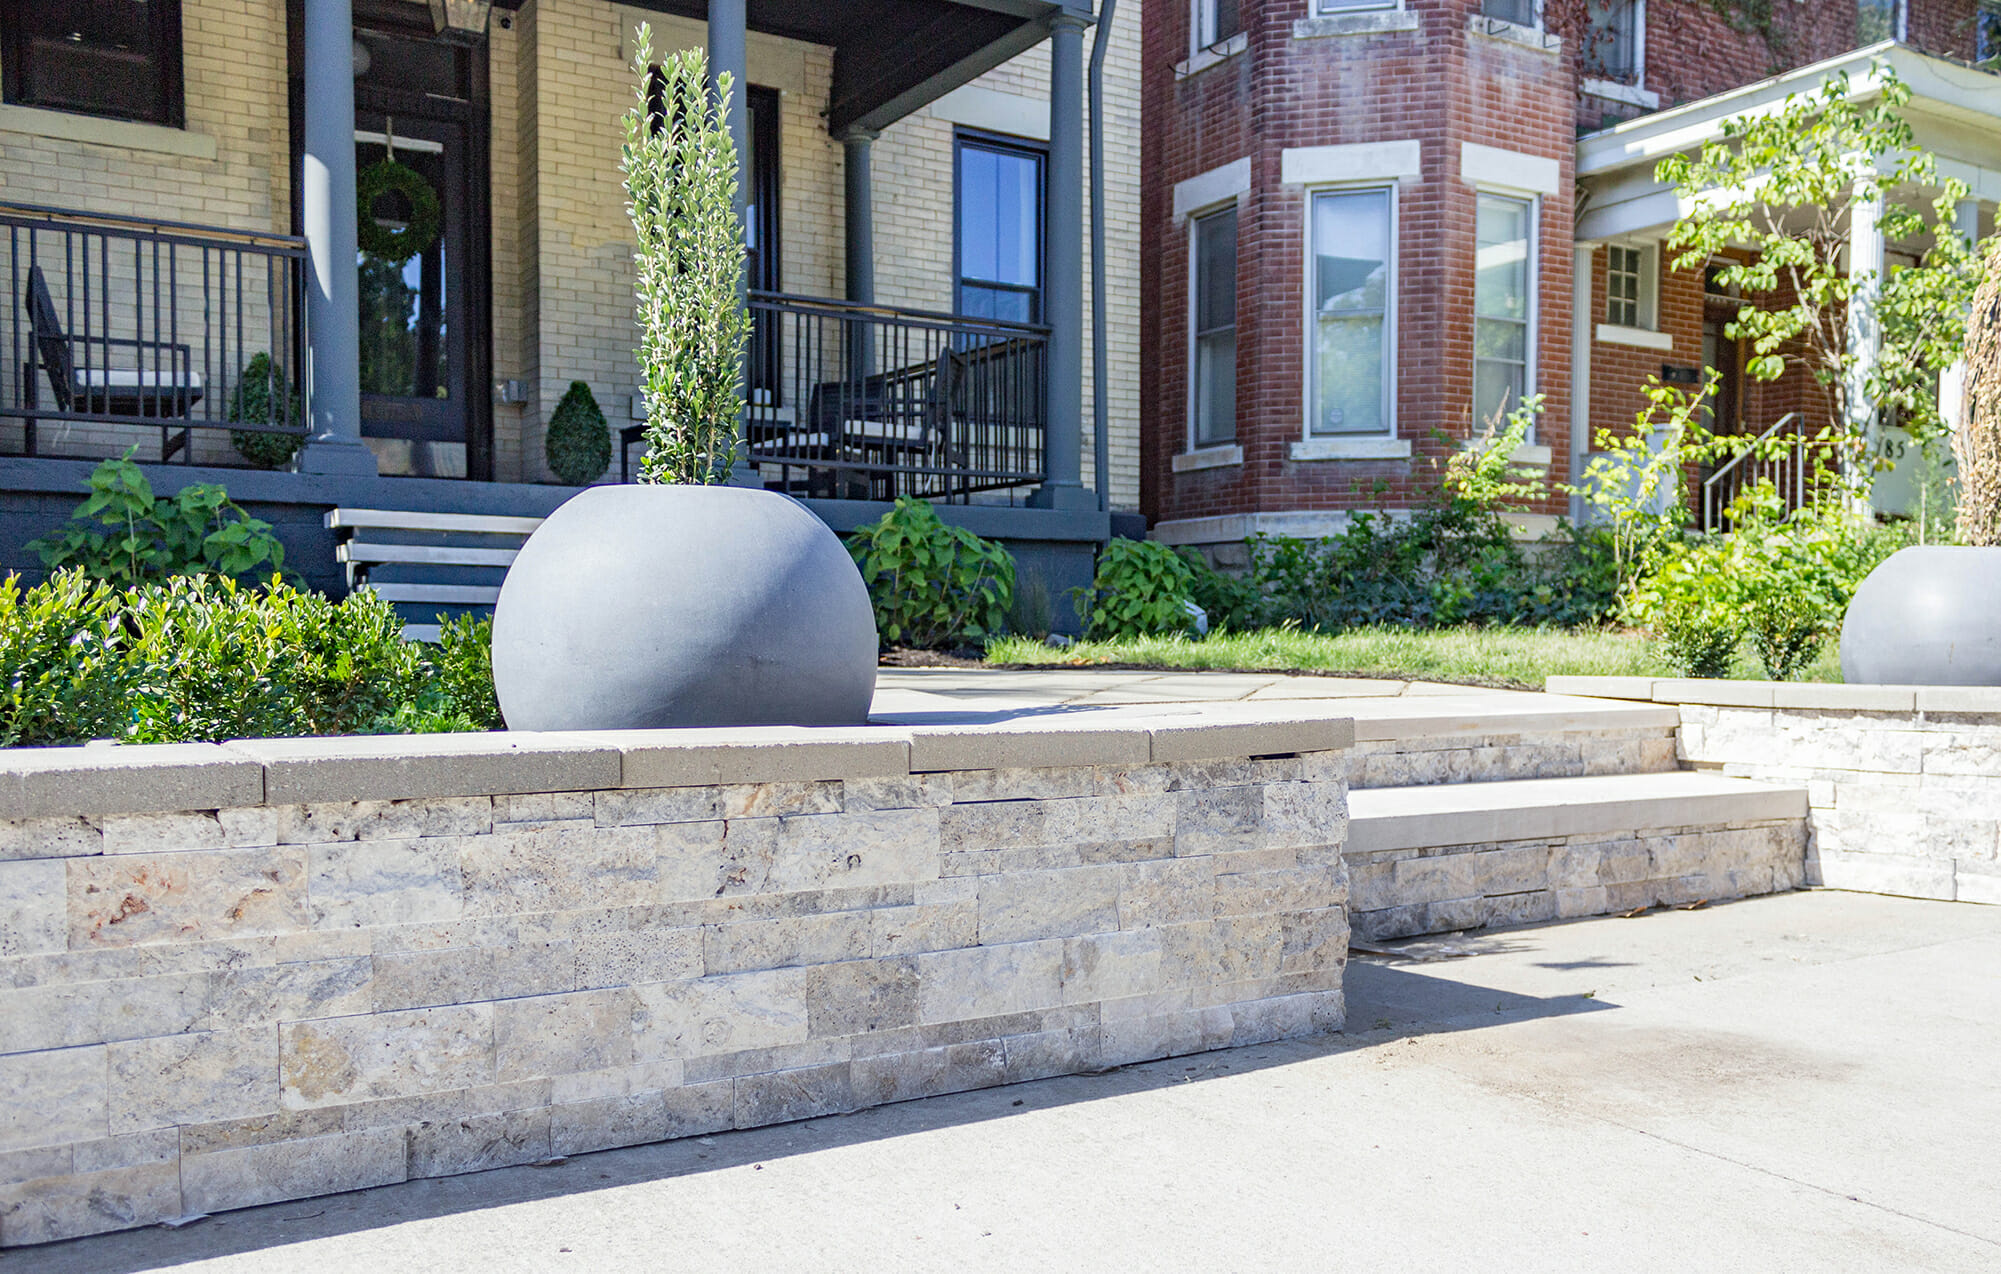
OUR RETAINING WALL
You may have also noticed that nosotros installed a retaining wall! This was some other budget friendly project that we tackled ourselves, and one that made a HUGE impact on our curb appeal. Remember when it looked like this?
This view looks justtt a chip different now.
Nosotros used these materials to get the project done:
Tile saw // Travertine ledger rock // Landscape adhesive // Concrete blocks // Grinder
We started by installing a retaining wall using 8×16 concrete blocks (they're between $one-2 each at Lowe's) and adhered them together with landscape adhesive.
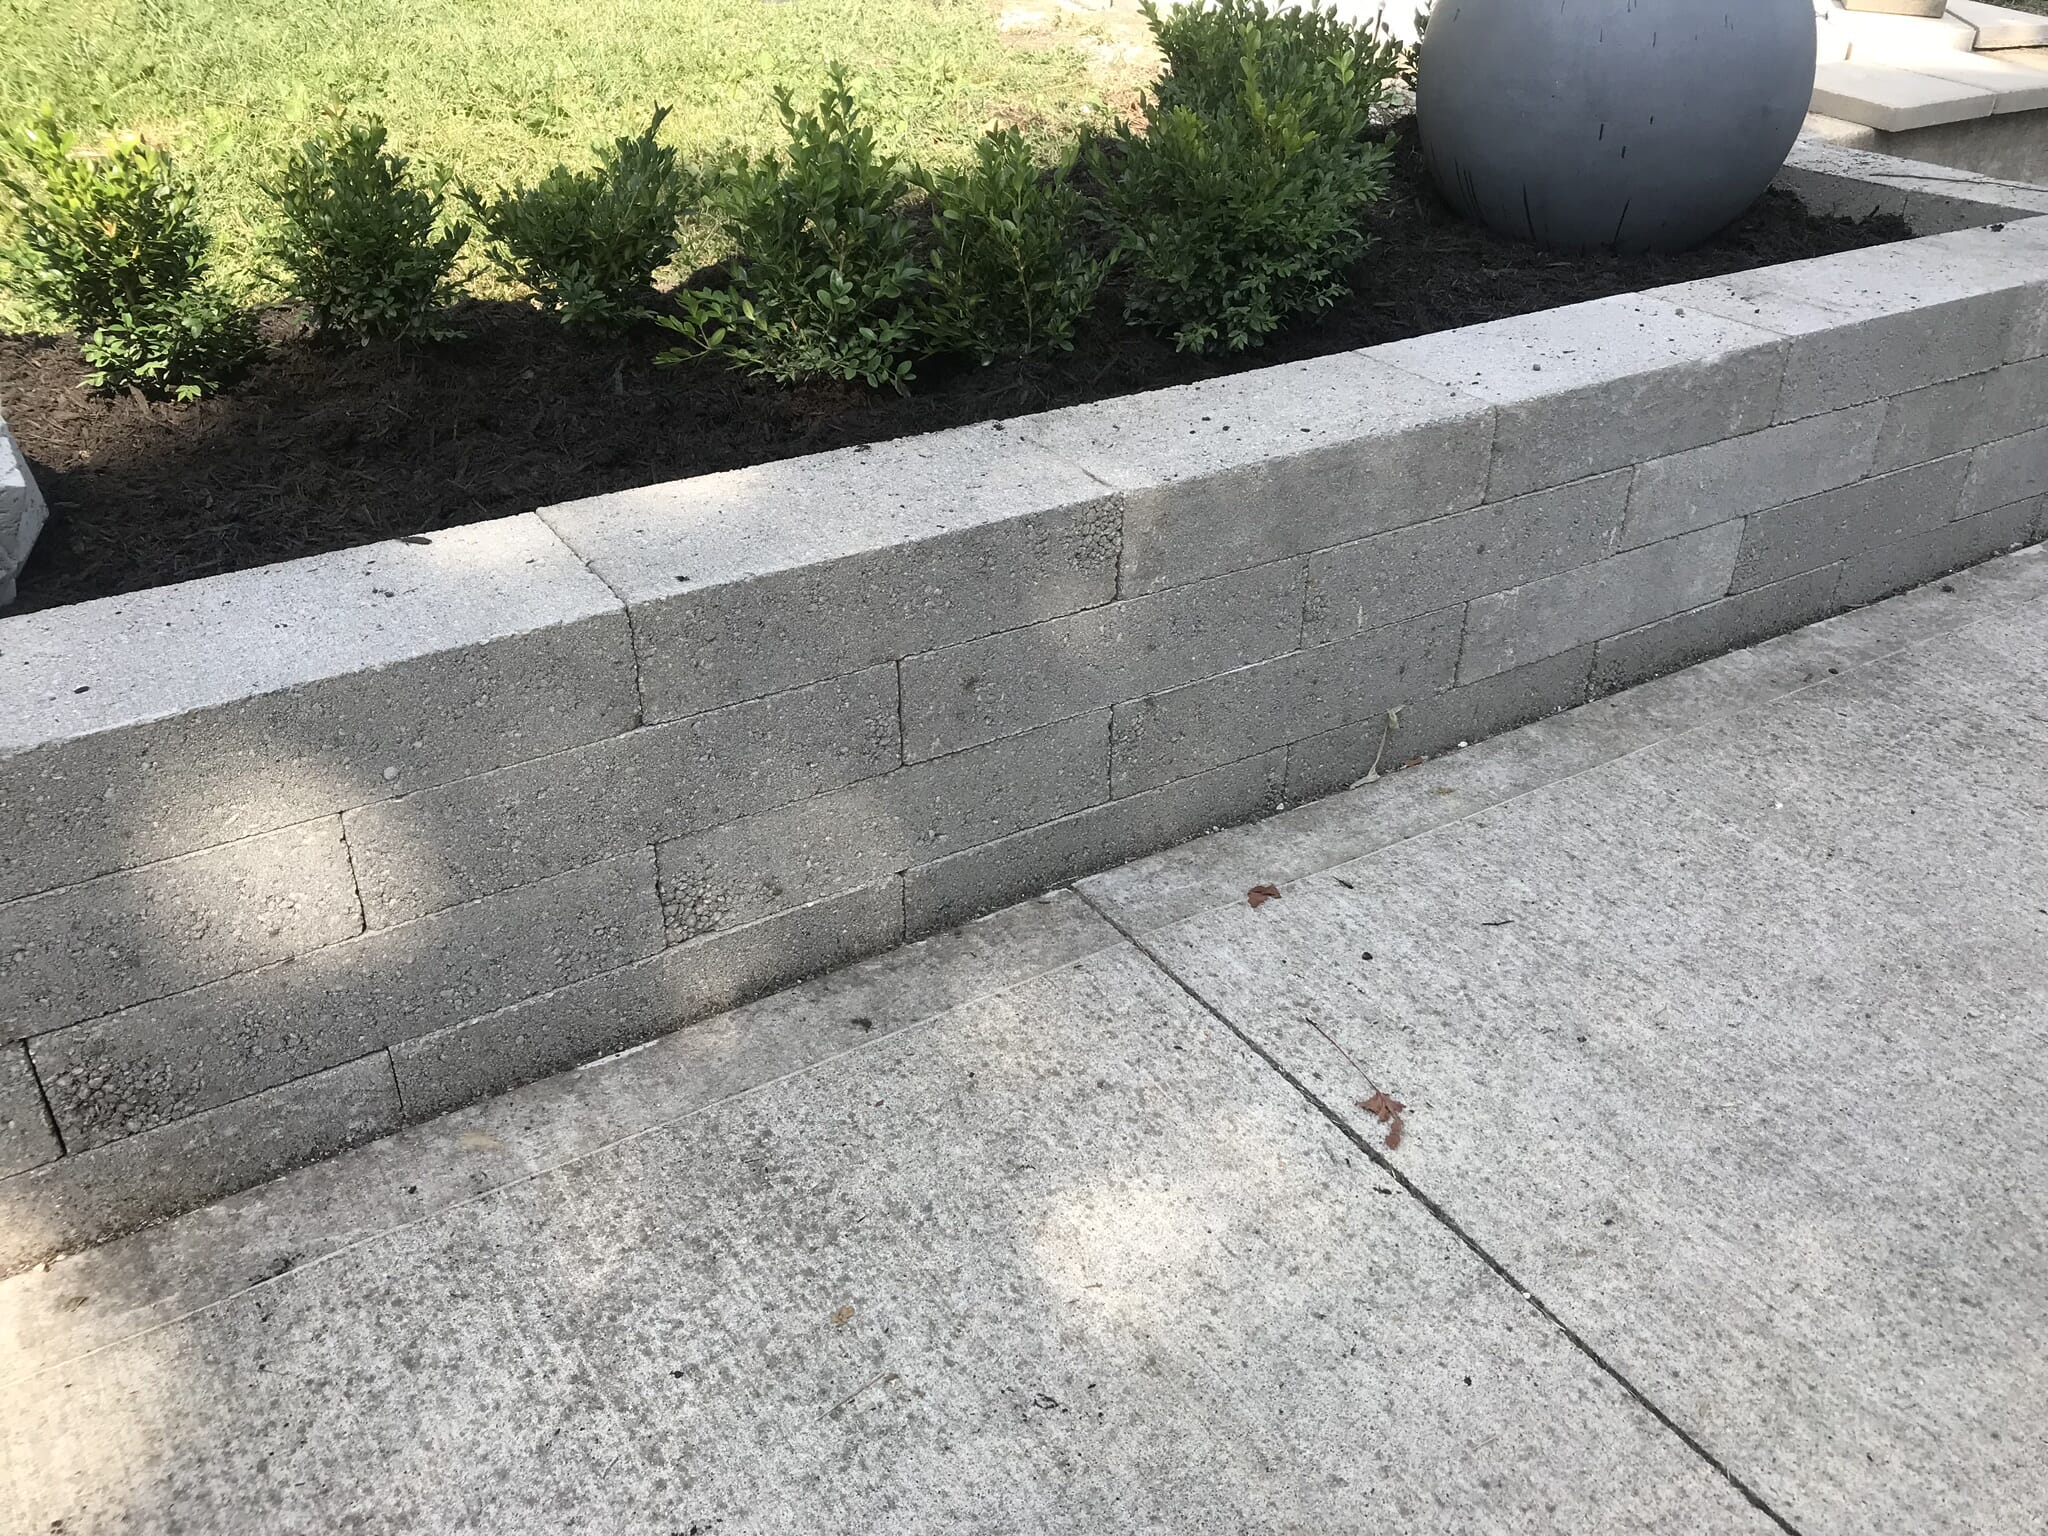
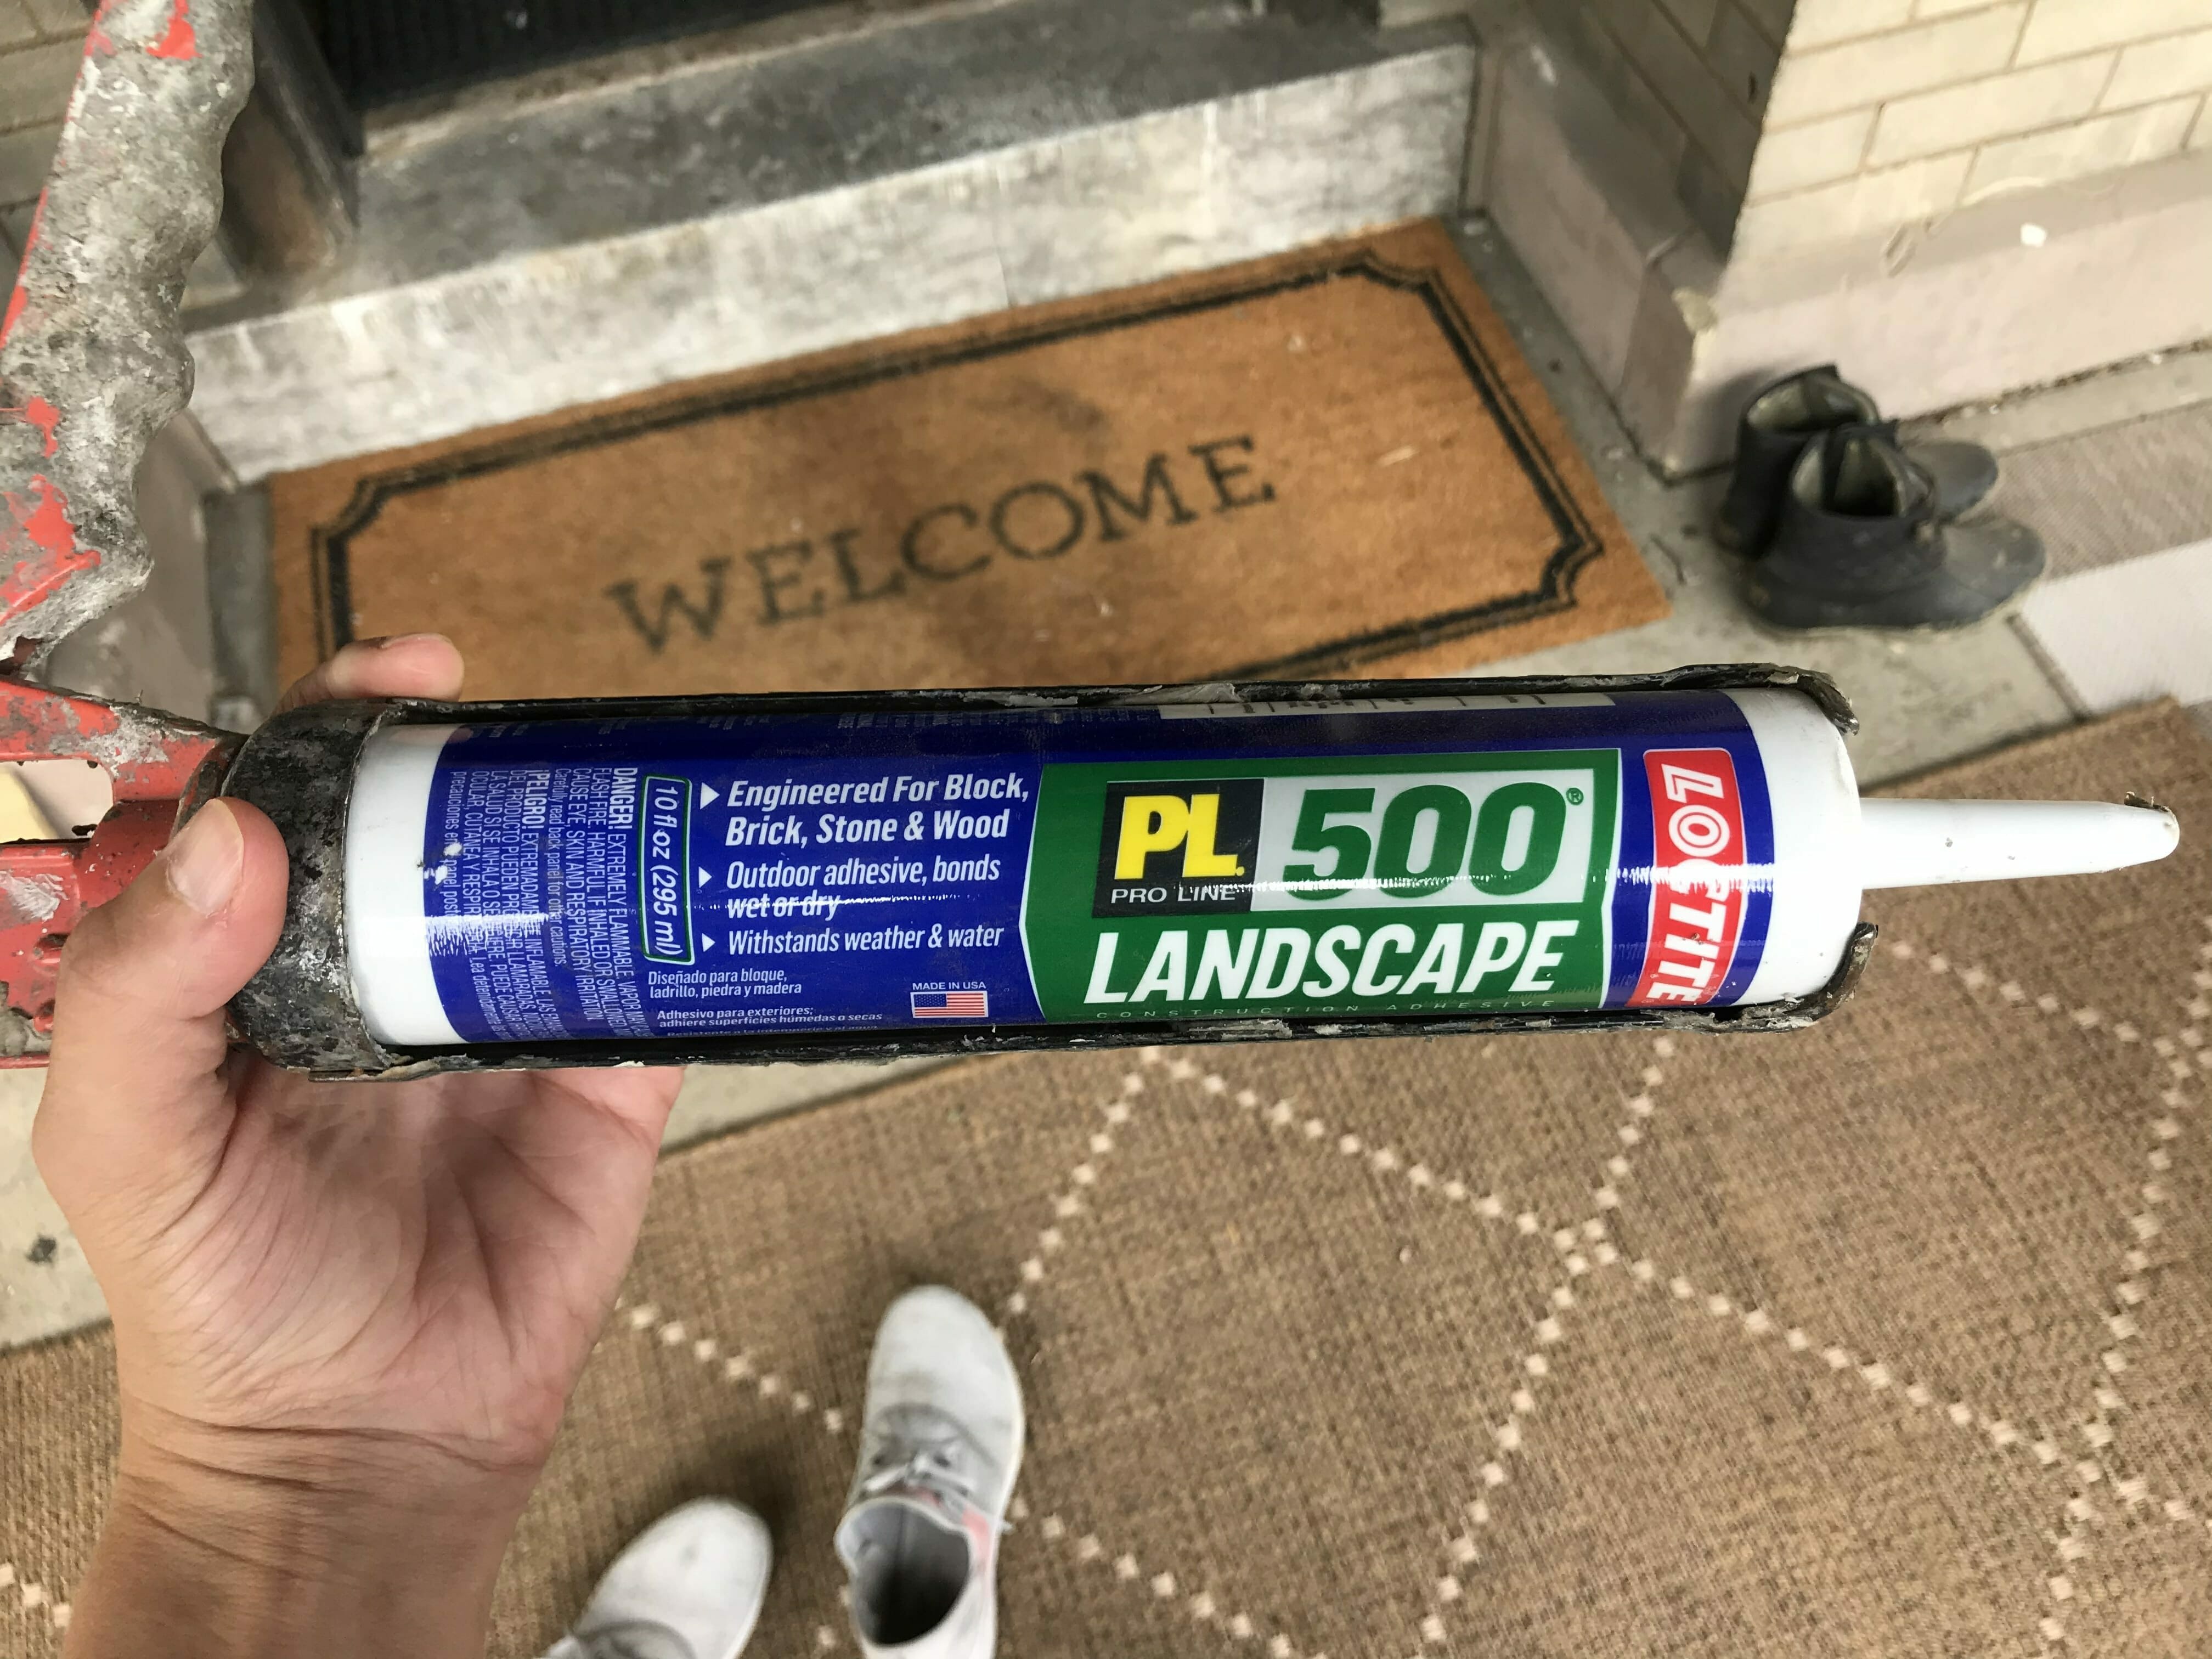
Later on everything was dry, we went over the physical with this travertine ledger rock, and used the same mural agglutinative to adhere it to the wall.
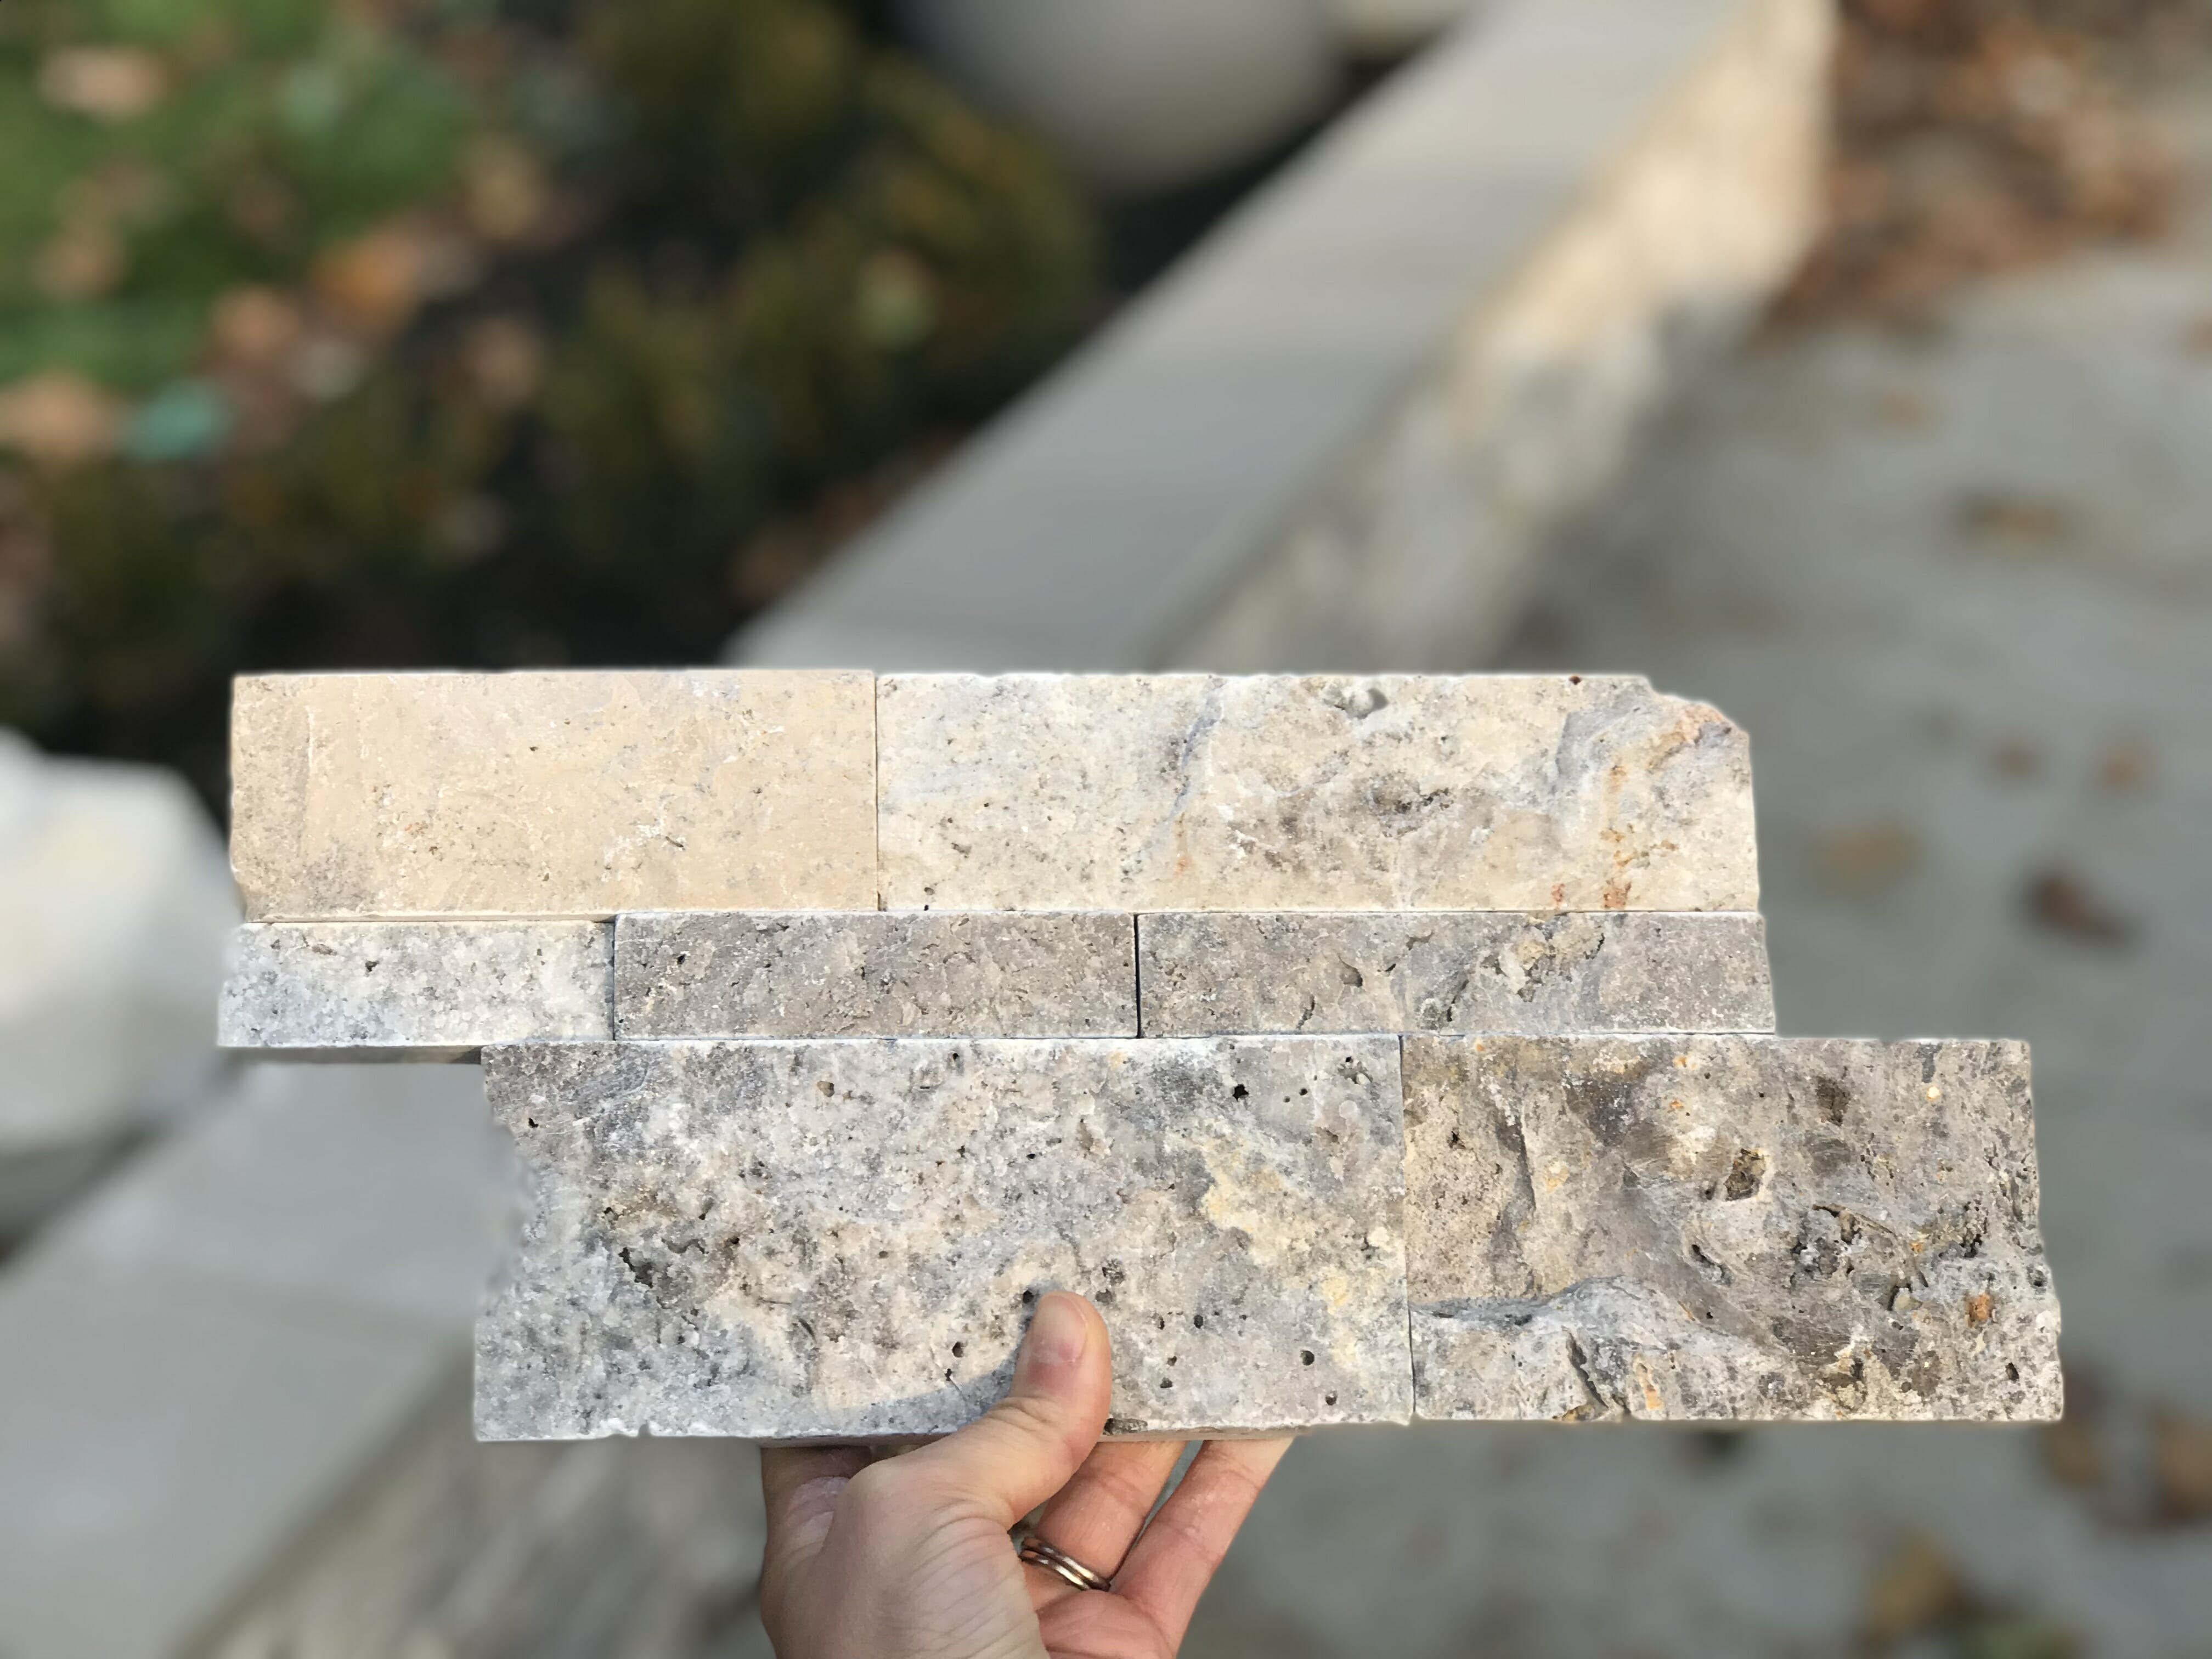
The nice matter about this ledger rock is that yous don't need grout, so information technology saved on time! Nosotros placed more $1 pavers on meridian to cap it off and tie it into the walkway.

This is what our house looks similar now…
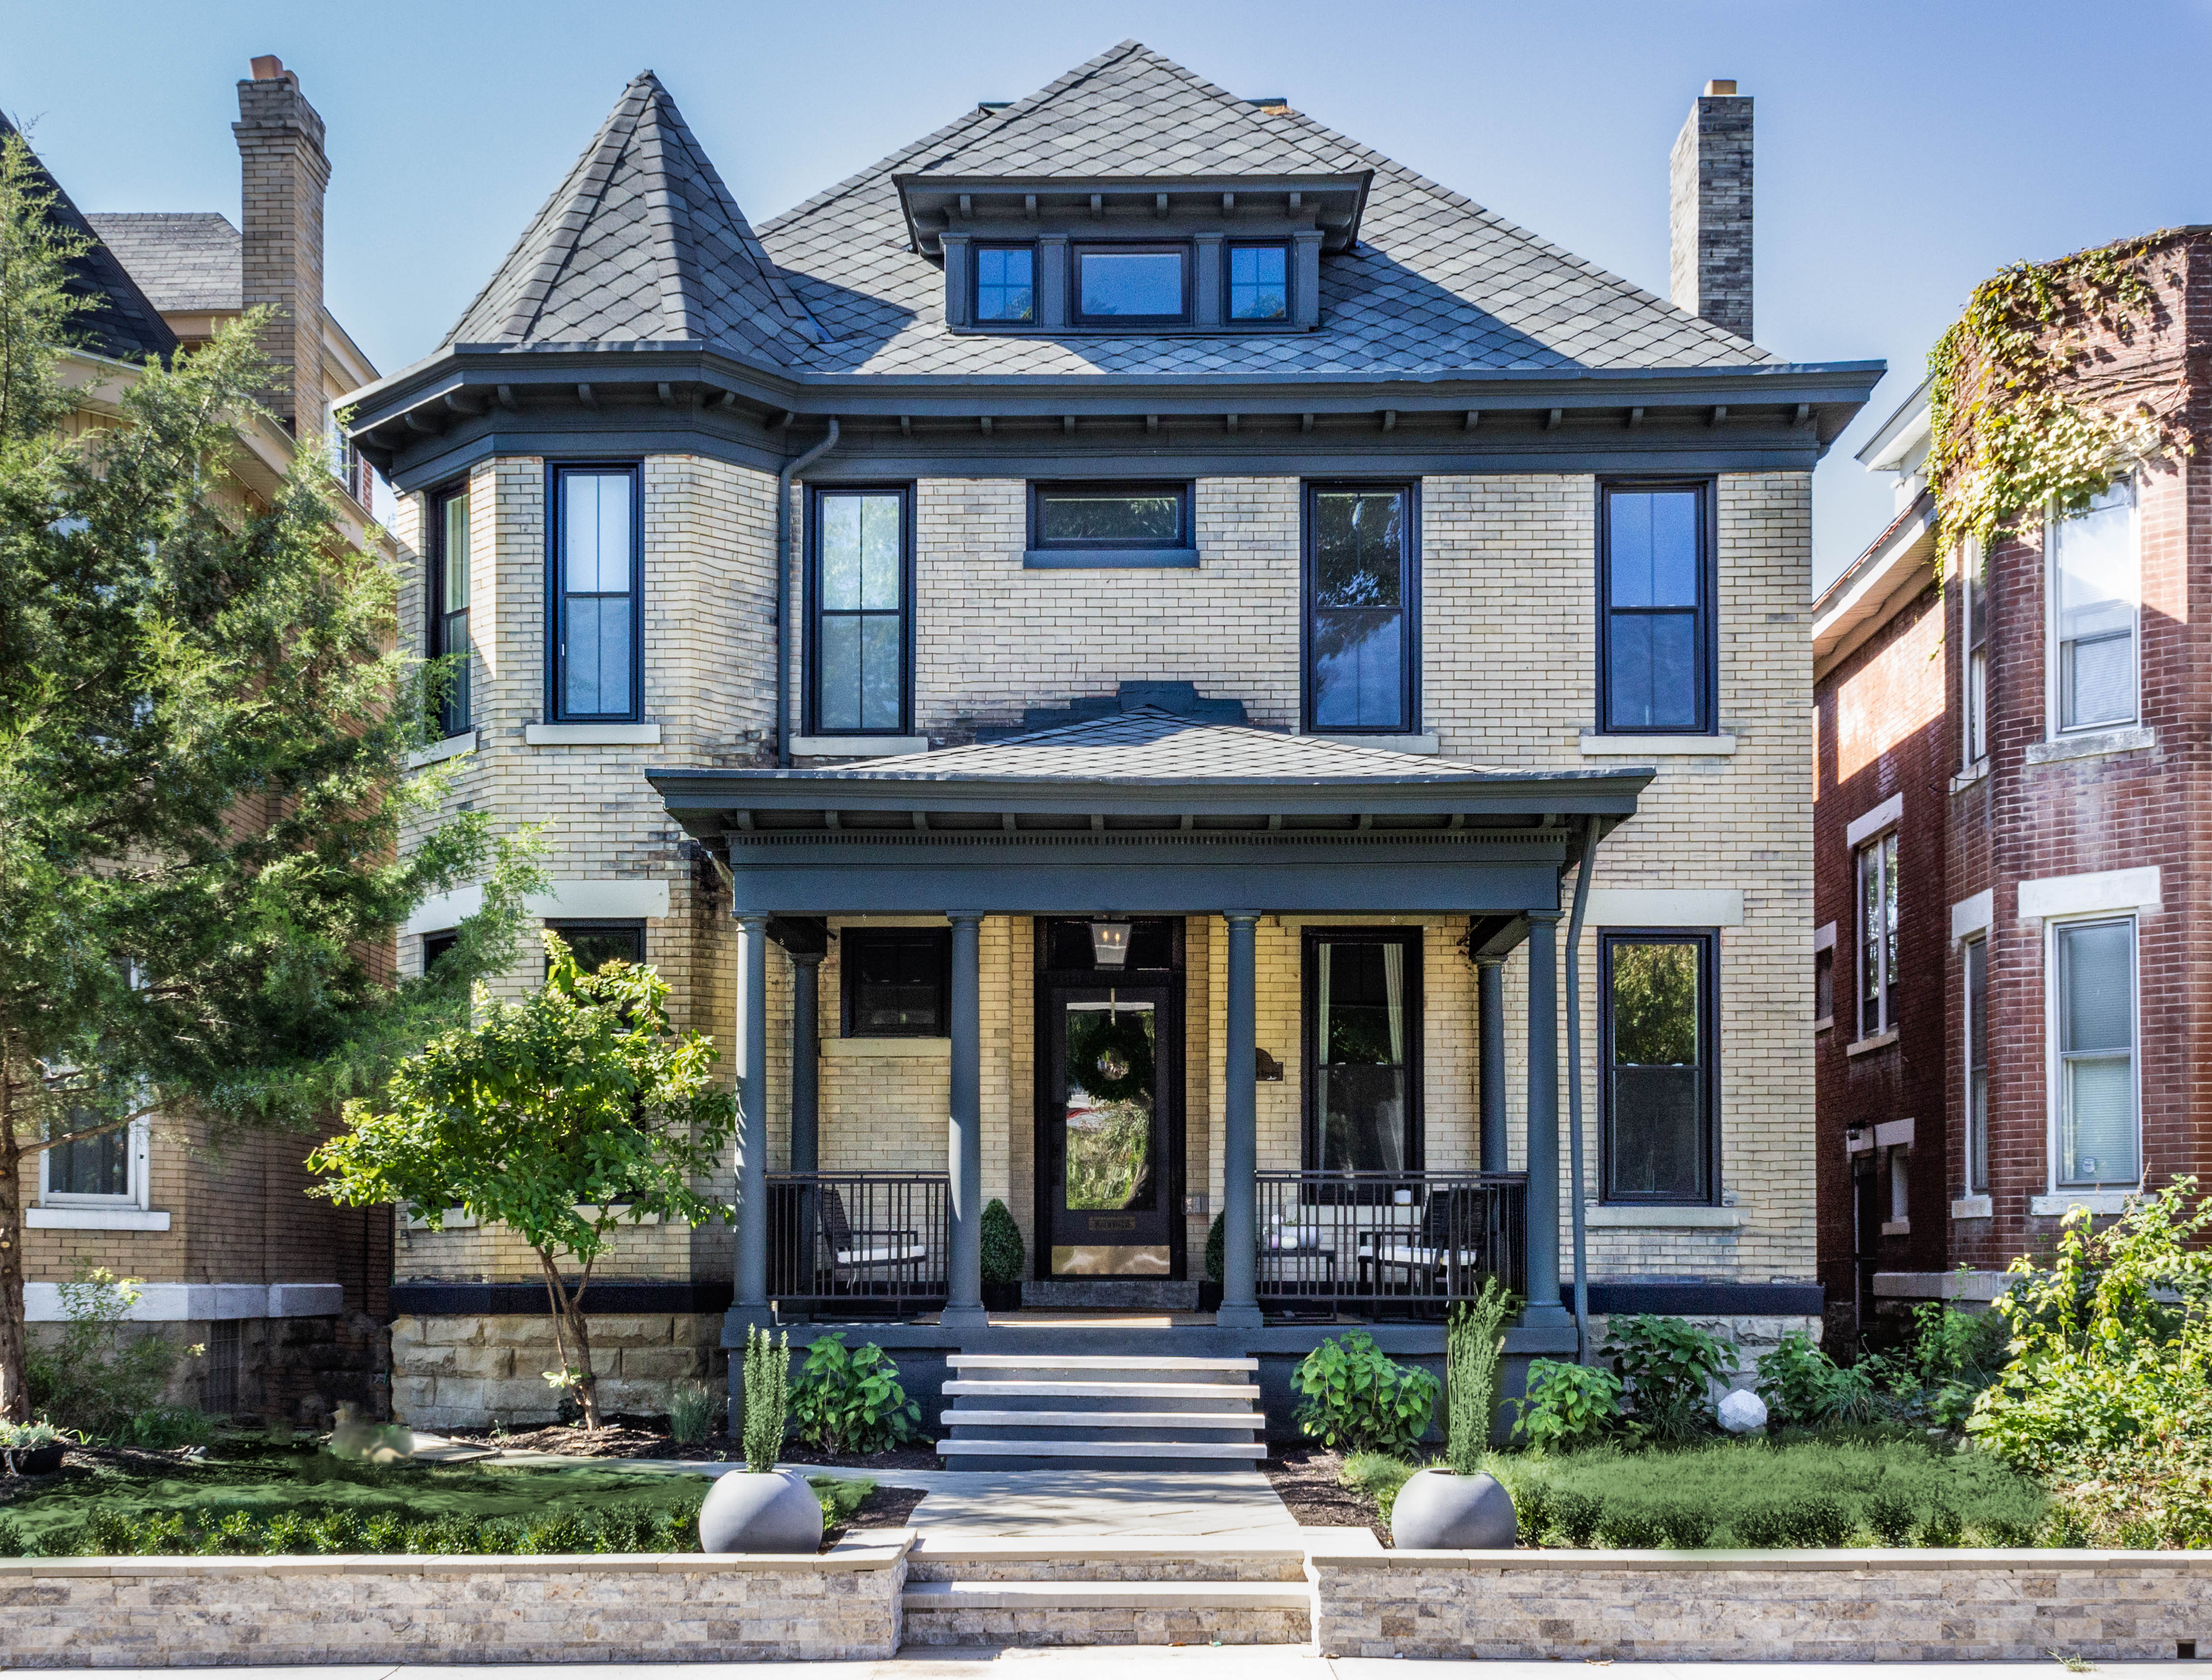
And this is where nosotros started – eeeek. Then glad we got these hardscaping projects finished before the atmospheric condition turned!
That'due south information technology guys. What do you think? Would you tackle a project like this?

Source: https://beginninginthemiddle.com/diypaverwalkway/
Posted by: moellersaingthad.blogspot.com
0 Response to "How To Install Brick Pavers On Concrete Steps"
Post a Comment